An explosion of tiny, wiggly creatures just waiting to hop into your craft cabinet. Clay in hand, we turn meltingly adorable spring animals into tiny masterpieces. FYI, you don’t need formal sculpting skills to make these—just a little patience and a lot of whimsy.
Meet the Cast: The Spring Clay Crew
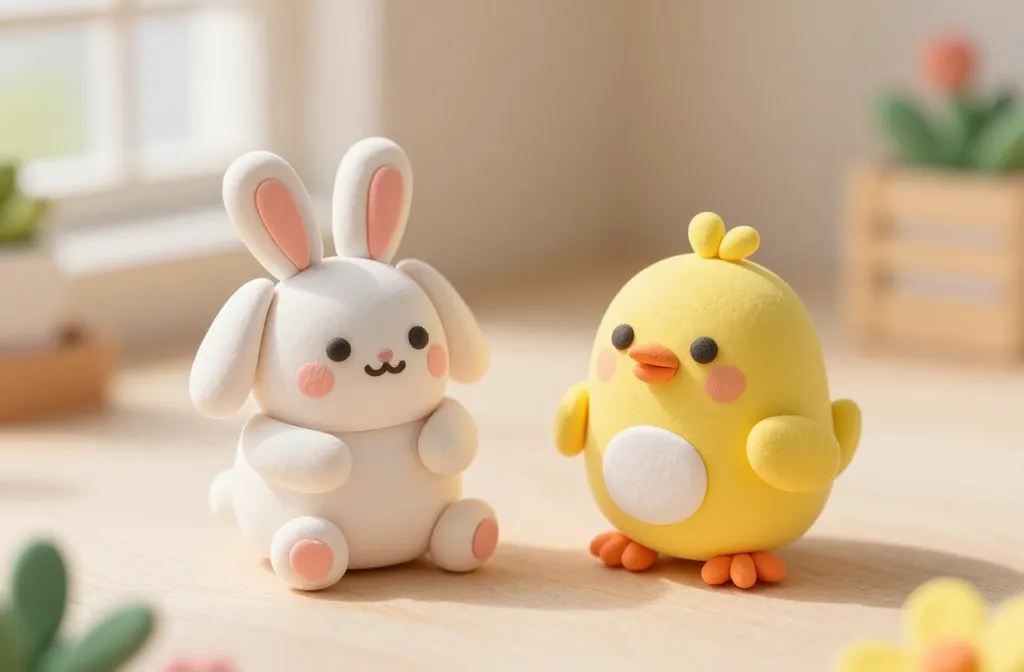
From fluffy bunnies to cheeky chicks, these little creatures bring sunshine to desks, shelves, and plant pots. Start with a simple bunny and you’ll suddenly want to make a whole family. The trick is keeping shapes simple and textures minimal but expressive. Ready to meet the stars?
1. Adorable Clay Bunny with Floppy Ears
– Materials: air-dry clay, a dot of pink for the inner ears, tiny black beads for eyes.
– Quick build: roll a teardrop for the body, add two long ears, then pinch a small round head. Attach ears with a little slip of clay and smooth.
– Finish: a light dusting of chalk pastels to bring out the cheeks. Boom, instant fluff.
2. Chirpy Clay Chick With a Spring Glow
– Materials: yellow clay, orange beak, tiny seed bead eyes, a touch of white for the belly.
– Quick build: form a small oval for the body, cup a tiny ball for the head, attach a beak and eyes.
– Finish: a dab of orange on the cheeks for warmth and a teeny white belly patch.
Seasonal Techniques That Make Them Feel Alive
Clay shines when you treat it like fine jewelry—tiny details, big impact. Here are some tricks to give your spring animals real personality.
Texture Without Tears
– Use a toothbrush to flick on tiny specks of white for a snowy chick or to create fur-like texture on a bunny.
– A toothpick makes cute fur lines and whiskers without turning your sculpture into a rough mess.
– Don’t overdo the texture; a few deliberate strokes look deliberate and adorable.
Color That Pops
– Go with soft pastels, then punch a contrasting color to draw attention to eyes or accents.
– Dry brushing can add depth without smearing color all over. Dab, dab, dab—in good taste.
From Sketch to Standing Statue: Stable Sculpting Tips
You want these little creatures to stand upright or perch nicely. Here’s how to avoid limp bunny syndrome.
Base Matters
– Create a flat, sturdy base by flattening a tiny disc of clay and attaching the body on top. Give it a small tail of extra clay for balance.
– If you’re not kiln-fired, let the base firm up overnight. Patience pays off, my friend.
Joining It All
– Use a tiny amount of slip (water + clay) to glue pieces. Press firmly, spin gently, and let dry.
– Reinforce joints with an extra pin of clay if you’re worried about wobble. Double-down on stability.
Mini Scenes: Display Ideas That Share the Love
These little critters aren’t just cute—they’re conversation starters. Here are some playful ways to show them off.
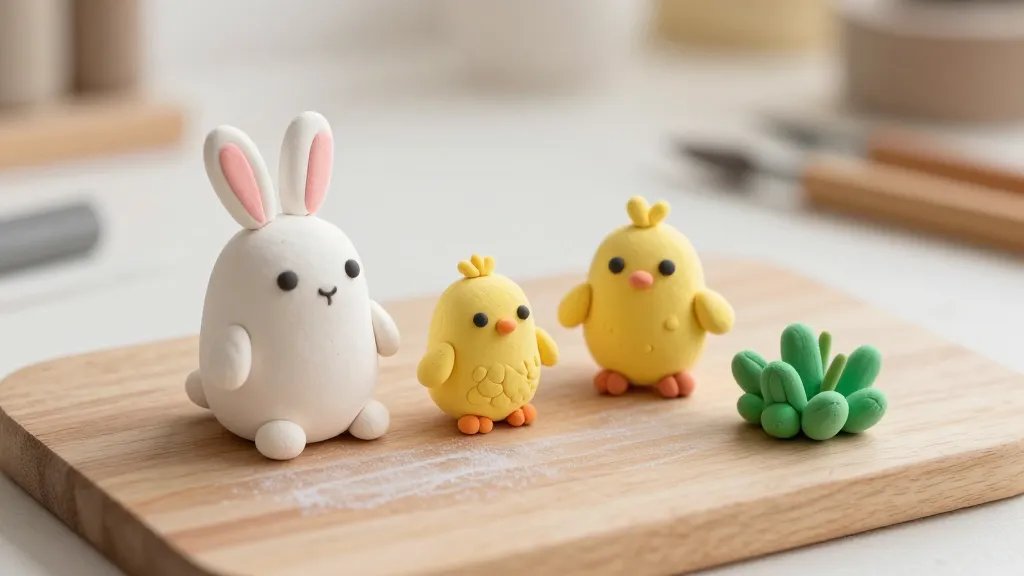
- Desk buddies: line up a bunny, chick, and a sprightly snail on a wooden tray.
- Planter pals: perch a chick on the rim of a small pot; add a mossy base for a forest vibe.
- Springy garland: string them with thin fishing line for a lightweight wall hanging.
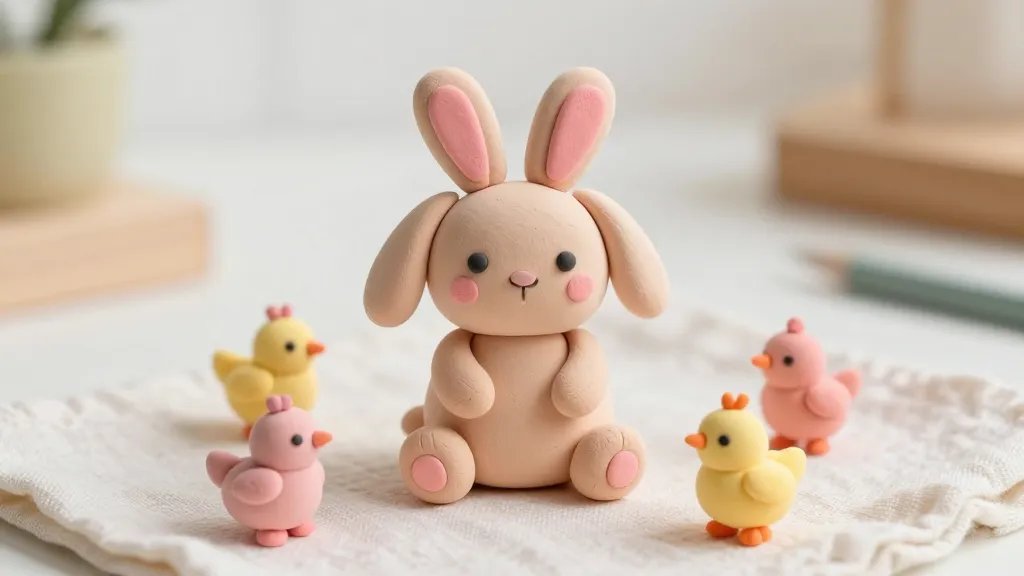
Colorful Variations: Making a Family of Spring Animals
Consistency is cute, but variety is even cuter. Try these ideas to grow your clay cast.
Seasonal Swaps
– Swap the bunny’s ears for a fox’s pointy ears and a fluffy tail to create a woodland vibe.
– Transform a chick into a duckling by adding a tiny tail feather and a greenish tint on the back.
Mix-and-Match Poses
– Give each creature a different pose: a chick with one wing lifted, a bunny mid-hop, a snail with a tiny smile.
– Small changes in posture breathe life into your little squad.
Maintenance: Keeping Your Clay Friends Looking Fresh
Even the cutest creatures need a little care to stay bright and charming.
- Protect from dust with a light spray of clear acrylic sealer. It adds shine without making them greasy.
- Avoid direct sunlight to keep colors from fading—FYI, pastel tones can be especially sensitive.
- If a piece gets nicked, patch it with a little fresh clay and blend the edges.
FAQ
How long does a clay spring animal take to finish?
Most small figures take 30–60 minutes of hands-on time, plus a few hours to dry. If you’re adding tiny details, plan a chilled session the next day to let everything set nicely.
What kind of clay is best for beginners?
Air-dry clay is your best friend here. It’s forgiving, easy to shape, and you don’t need a kiln. If you want extra strength, finish with a sealant after it dries.
Can I mix different clay brands?
Sure, but test a small piece first. Some brands bond better than others, and you don’t want fissures mid-glam shot.
How can I display these without them tipping over?
Use a flat base and consider a tiny bit of sculpting wire for extra support in larger figures. A decorative tray or a small herb pot makes a cute display.
Are these suitable for kids to make?
Absolutely, with supervision. Choose softer clays, pre-cut eyes, and avoid small parts that could be swallowed. They’re perfect as a weekend craft activity with a friend.
Conclusion
These clay-made spring animals are more than crafts; they’re little mood boosters you can hold in your hands. Each piece carries a splash of whimsy that brightens desks, shelves, and hearts. So grab some clay, channel your inner tiny sculptor, and start building your own cheerful spring zoo. Ready to post your first little critter and watch the likes roll in? IMO, the best part is seeing how your confidence grows with every tiny hop, chirp, and wiggle. Happy sculpting!


