Embroidery feels therapeutic until you poke yourself with a sharp needle. But fear not, beginner friends: these cute projects are approachable, quick, and satisfyingly adorable. You’ll finish with a smile and maybe a small addiction to thread. FYI, a little floss goes a long way.
Why Cute Embroidery Rocks for Beginners
– Quick wins build confidence: you get visible results fast.
– Minimal supplies, maximal payoff: a hoop, a needle, some floss, and a piece of fabric.
– Flexible styles: from kawaii animals to simple floral motifs, there’s something for everyone.
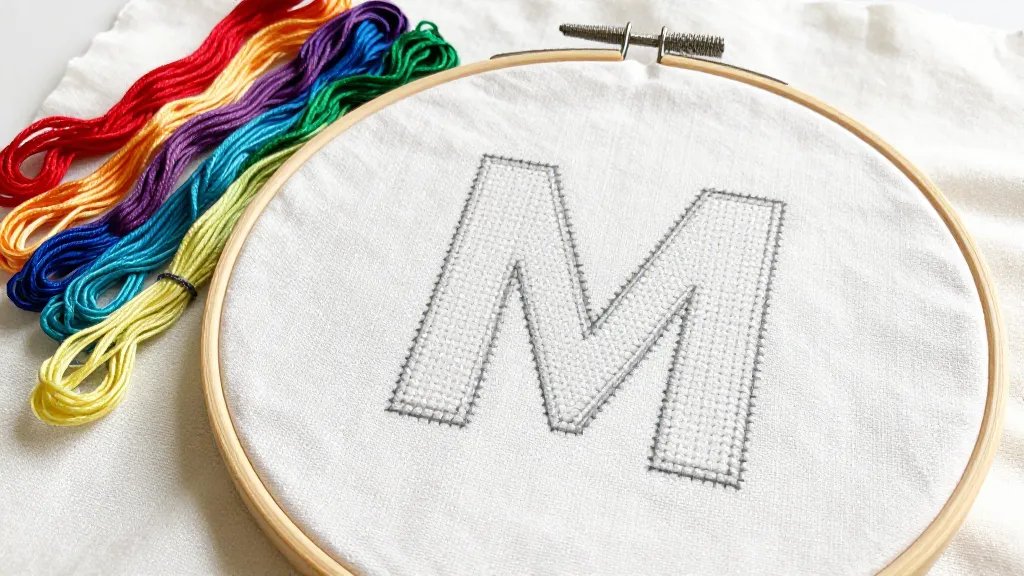
Project 1: Tiny Letter Mugs—Stitch a Greeting You Can Put On Repeat
- Pick a lightweight cotton or linen fabric and a small hoop. Keep your fabric tight like a drum—no floppy edges here.
- Sketch a simple word or initial in pencil. You don’t need a fancy font; a clean, chunky letter reads beautifully.
- Use a basic backstitch to outline the letter, then fill in with satin stitch for solid color.
- Trim, mount, and consider sealing with a bit of fabric glue to prevent fraying if you’re planning a mug cozy or wall hanging.
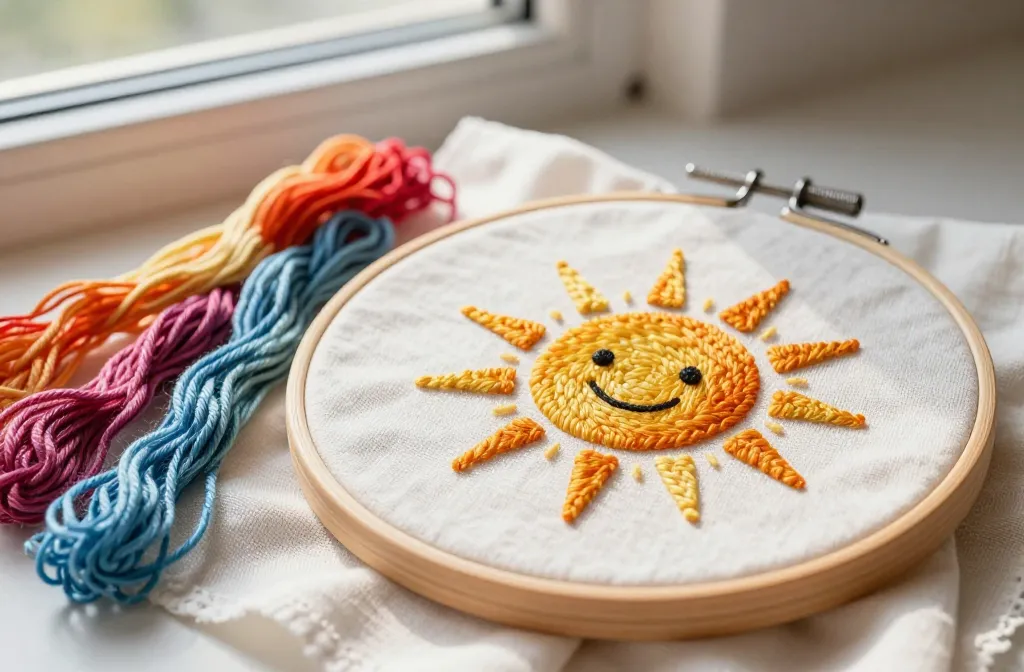
Project 2: Smiling Sunshine—Bright, Cheerful Motifs in Minutes
- Choose a sunny circle motif and two or three bold colors. The more contrast, the happier the piece looks.
- Go for a satin stitch for the sun, and a few straight stitches for rays. It’s amazing how little detail it needs to feel sunny.
- Use a small running stitch for a tiny smiling mouth or cheek dots if you want a cuter vibe.
Project 3: Adorable Animal Mini-Frames
Mini frames are perfect for hanging in a bathroom or nursery. Pick a chubby animal face—puppy, kitten, or a sleepy panda—and keep shapes rounded and friendly.
- Outline the face in backstitch, fill with satin stitch, and add simple features with a split stitch for texture.
- Limit color palette to 2–3 colors for beginners; less chaos, more success.
- Finish by mounting your hoop in a frame or turning the stitched piece into a small pin cushion.
Project 4: Patches for Personalization
Who doesn’t love a little customization? Patchwork is your friend when you want to test multiple stitches without commitment to one design.
- Start with a small square of fabric. Practice a few stitches on the side before you dive into the main design.
- Choose a simple motif like a heart, star, or cute cloud. Block color fills with a satin stitch keep it neat.
- Sew the finished patch onto a tote bag, backpack, or denim jacket. Instant personality upgrade.
Section Subtopic: Getting Your Tools Right Without Overthinking

What you actually need to start
Less is more. You want a basic embroidery hoop, a sharp needle, a handful of colors, and a scrap of fabric. That’s it. FYI, a magnifier lamp helps if your eyes are doing the “I’m tired” thing after a long day.
Thread basics you’ll actually use
Stick to six-strand embroidery floss, but separate it to create the look you want. Beginners tend to prefer thicker threads for easier coverage. Don’t be afraid to pull apart the strands for a finer line when needed.
Section Subtopic: Practice Makes Pretty—Smart Shortcuts
Keep stitches simple and effective
Start with simple stitches: backstitch for outlines, satin stitch for fills, and a handful of French knots for tiny dots. No need to master every stitch on day one.
Build a tiny stash of practice pieces
Treat every small project as a learning brick. When you have a few mini pieces, you’ll spot patterns in your mistakes and see progress faster. Also, your future self will thank you for all the practice reels you’ll have to show off.
Section on Personal Style: Finding Your Cute Embroidery Vibe
Are you team kawaii, or do you prefer retro florals? Either way, you can lean into your taste without complicating your life. Start with bold shapes, then layer in texture with simple stitches. IMO, the key is cohesion—pick a palette and stick with it.
Palette tips that actually work
Choose 2–3 base colors and 1 accent color. This keeps your project cohesive and reduces decision fatigue. Pro tip: test colors on the back of your fabric before you stitch them on the front.
FAQ
How long does a beginner embroidery project typically take?
Most quick projects finish in 20–60 minutes depending on size and complexity. If you stall, it’s not you, it’s the browser history of your brain—take a break and come back fresh.
What fabric is best for beginners?
Unbleached cotton or linen is forgiving and easy to work with. A light, even weave helps keep stitches neat. Avoid slippery fabrics at first, or you’ll chase your thread all day.
Which stitches should I learn first?
Start with backstitch, satin stitch, running stitch, and French knots. They cover most cute motifs and are easy to learn. FYI, mastering tension is more important than mastering every stitch.
How do I finish and protect my embroidery?
Wash gently, lay flat to dry, and iron on a low setting with a protective cloth. If you’re framing, mount with a matte backing to avoid glare. If you plan to wear it, consider turning it into a patch with a simple backing.
Can I embroider on clothing?
Absolutely. Start with small patches on denim or cotton tees. Use a stabilizer to prevent puckering, and keep your stitches light and flexible so the fabric moves with you, not against you.
Conclusion
You don’t need a fancy arsenal to start embroidery. A few colors, a hoop, and a willingness to make a little mess will carry you a long way. The goal isn’t perfect—it’s cute, satisfying, and totally doable. So grab a project you love, stitch a smile, and share your tiny masterpieces with friends. You’ll be hooked before you can say ‘purl’ (okay, that’s crochet, but you get the idea).


