If you’ve ever doodled tiny creatures in your notebook and thought, “I could actually make these,” you’re in the right place. This is all about chibi-style clay characters—tiny, adorable, and surprisingly easy to pull off. No fancy tools required, just a little patience and a big imagination.
What Makes Chibi Clay So Charmingly Easy
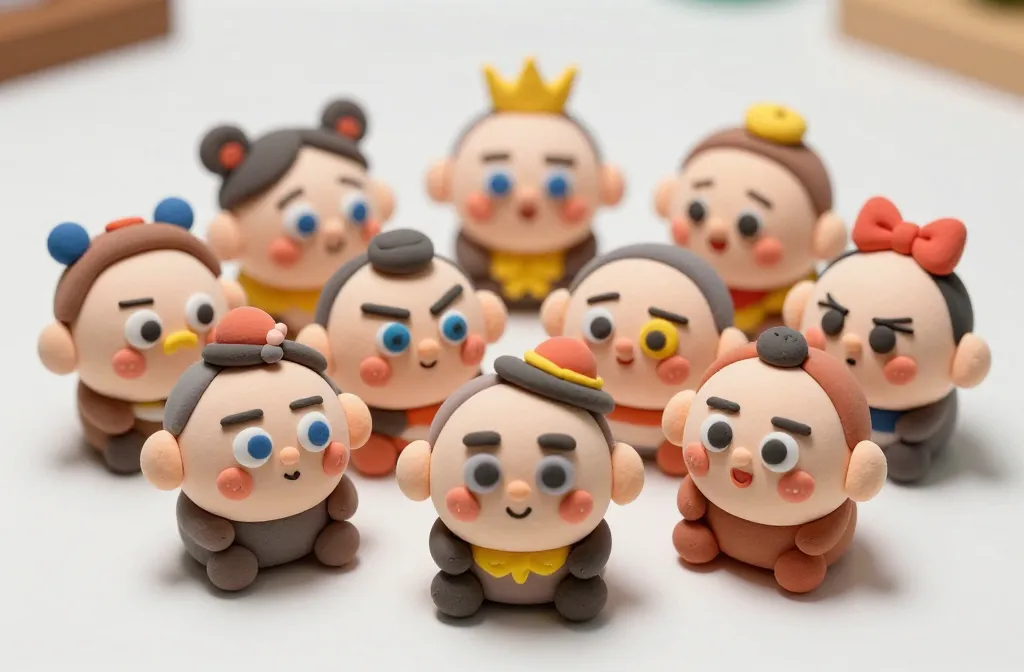
Chibi characters are all about exaggeration: big heads, tiny bodies, and expressions that scream personality. The clay version doubles down on these traits, turning everyday ideas into pocket-sized pals. The best part? You don’t need perfect sculptures to get big smiles. You get character, not flawless anatomy.
Core Elements You’ll Use
- Proportions: oversized head (about 1.5–2 times the body) with a squat torso.
- Simple limbs: short arms and legs that end in tiny hands and feet.
- Expressive faces: big eyes, small mouth, and cheeky eyebrows.
- Accessories: hats, bows, mini props to tell a story.
Choosing Your Clay Itinerary
You don’t need fancy brands to start. Sculpey, Fimo, or even cheap air-dry clay work fine. If you’re just testing the waters, grab a basic set with skin-tone, a couple of bright accents, and a white for highlights. FYI, white clay is your secret weapon for highlights and tiny teeth or shines in the eyes.
Air-Dry vs Bakeables: Quick Rundown
- Air-dry: no oven, easy cleanup. Patience matters—dry time varies.
- Bakeable: sets faster, sturdier, but watch the temp; overheating ruins details.
- Hybrid: bake the core, air-dry the tiny embellishments for flexibility.
Crafting Your First Chibi Mini
Let’s break it down into bite-sized steps so you can actually finish something this week.
Step-by-Step Quick Start
- Shape a rounded head. Think balloon with a chin bump for cuteness.
- Roll a small cylinder for the body and connect with a tiny neck.
- Attach stubby limbs and flatten the feet for stability.
- Roll mini balls for eyes, add a dot for the nose, and draw a mouth with a tool.
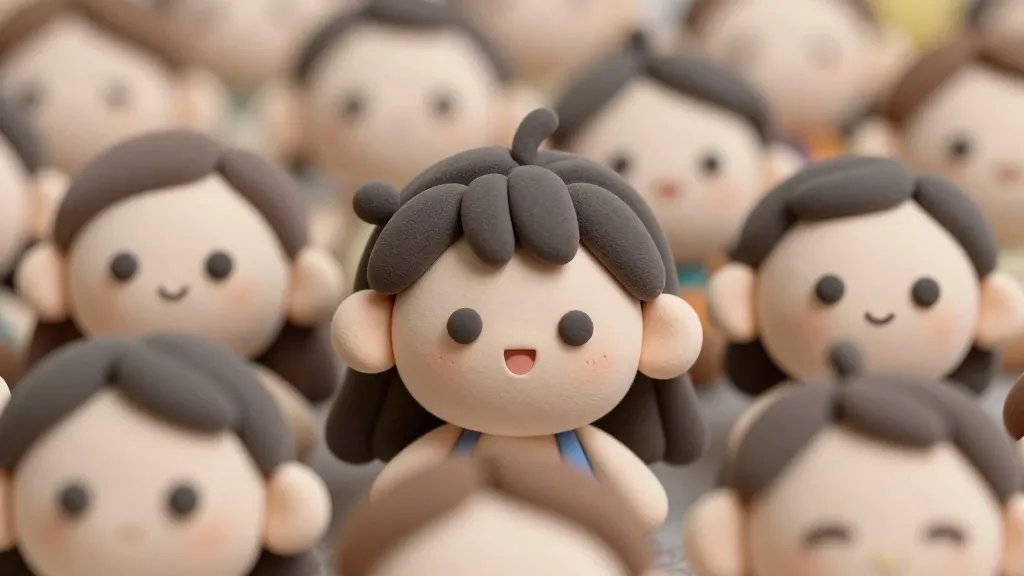
- Add a simple hairstyle or hat to boost personality.
- Gloss or paint highlights after baking or drying.
Elevating with Expressions Without Getting Lost
Expression is everything in chibi land. A great face can sell the whole vibe of your character.
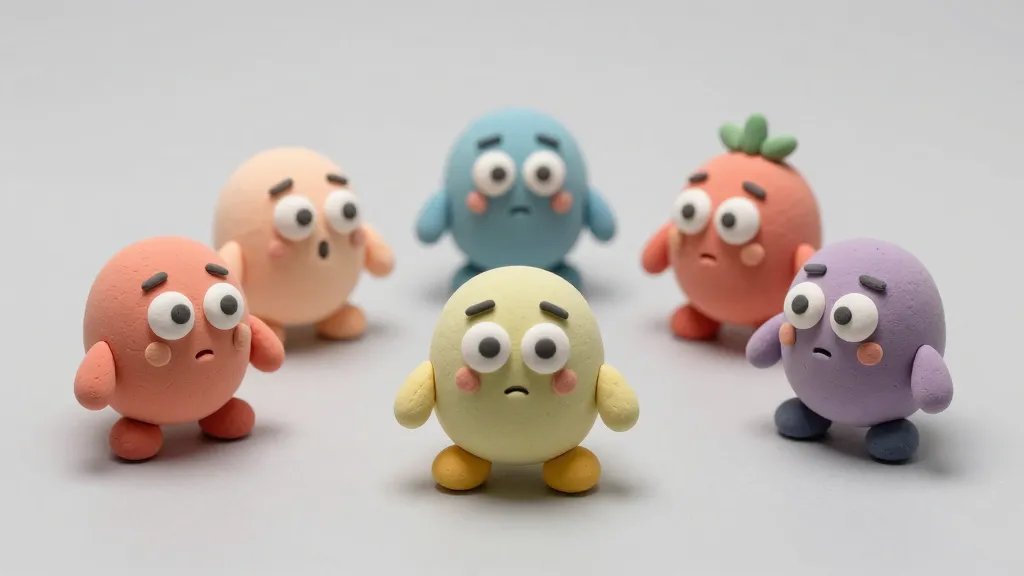
Eyes That Do the Talking
Use oversized circles or ovals for the eyes. A tiny dot or crescent high on the eye frame makes happy or mischievous moods pop. Consider a light glaze of white clay or paint for sparkles to give them life.
Brows and Mouth Magic
Eyebrows shape attitude: curved for kindness, angled for mischief. A simple curved mouth can read as surprised, shy, or smug—pick your character’s personality and lean into it.
Color Stories: Palette Picks for Quick Wins
Color is a storytelling tool. You don’t need a rainbow, just a thoughtful selection that matches your character’s vibe.
Color-Blocking Techniques
- Use a main color for clothing and a skin-tone base.
- Introduce a contrasting accent color for accessories.
- Save whites and metallics for eyes and tiny details to pop.
Texture Tricks You Can Do At Home
– Imprint tiny patterns on clothes using a toothpick or stamp tools.
– Add a subtle stripe or polka dot with a brush or end of a needle.
– Use a little sand or texture powder mixed with white glue for surface interest after drying.
Staging Your Characters: Poses and Display Tips
A static figure can feel flat. Give your chibi some life with simple poses and clever display ideas.
Simple Poses That Read as Curious or Playful
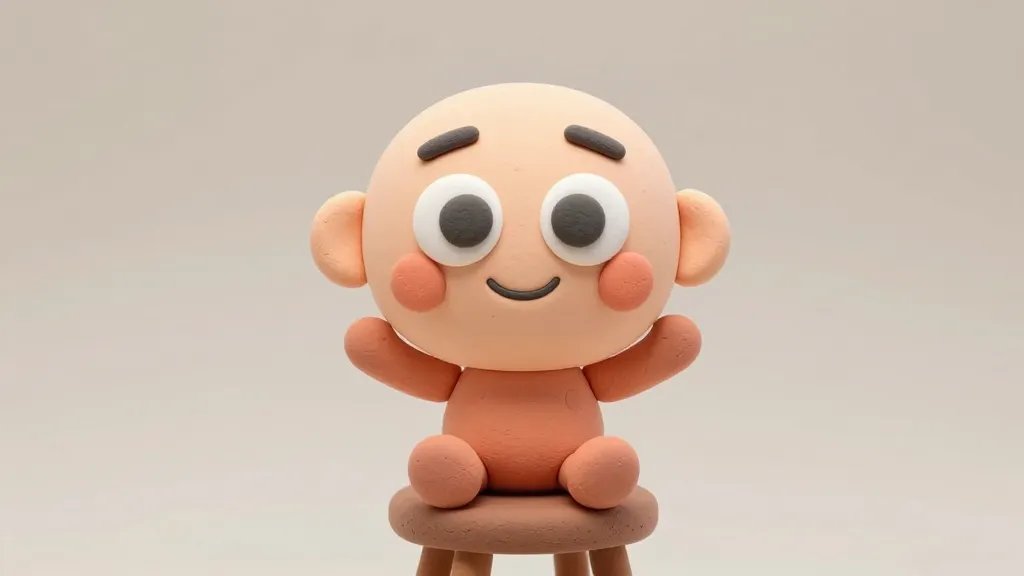
- One hand waved high, the other resting on the hip—classic friendly vibe.
- Both hands up in a tiny “ta-da!” pose for celebrations.
- Holding a miniature prop like a cup of tea or a flower.
Display Ideas That Don’t Break the Bank
– Create a tiny stage with a painted cardboard backdrop.
– Use a small stand or a cork for a mini diorama.
– Stack several figures into a cute scene to tell a story without words.
Maintenance and Repair: If Things Go Tiny-Troppo
Clays aren’t forever, but you can keep things looking cute for longer with a few habits.
Durability Do’s
- Keep figures away from direct sun to avoid color fading.
- Seal into place with a light clear glaze if your clay doesn’t harden well.
- Store in a cool, dry area to avoid warping.
Common Fixes
If something breaks, don’t panic. You can reattach with a little fresh clay slip (a mix of clay and water) and score the surfaces before pressing together. Let it cure fully before handling again.
FAQ
What’s the easiest material for a total beginner?
Air-dry clay is your best friend if you want instant gratification. It doesn’t require baking, tools are minimal, and you can fix mistakes quickly. If you like the sturdier result later, switch to bakeable clay for your next project.
How do I avoid fingerprints on fresh pieces?
Keep your fingers clean and slightly damp while shaping, or wear thin nitrile gloves. You can also smooth with a craft brush and a tiny amount of water. FYI, a light touch goes a long way.
Can I paint after it dries?
Yes. Most clays accept acrylic paints nicely. Seal with a clear varnish to prevent chipping if you plan to handle them a lot. IMO, a matte sealant often looks friendlier on chibi characters.
How big should my first chibi be?
Start small, around 2–3 inches tall. It’s easier to handle, faster to dry, and you’ll see results quicker, which is highly motivating.
What’s a quick project to practice core techniques?
Make a tiny chibi version of a pet or favorite snack. Use basic shapes for the head and body, then practice eyes and a big smile. It’s a confidence booster and tons of fun.
Conclusion
Chibi-style clay characters are a playful gateway into the world of tiny, expressive art. You don’t need a studio full of fancy tools to create something that feels alive and charming. Start with a few simple shapes, dial up the personality with eyes and a smile, and soon you’ll stack a whole crew of adorable minis. So, what are you waiting for? Grab some clay, your imagination, and a friend to laugh with as you sculpt your first batch.


