An unofficial promise: by the end of this, you’ll be crafting tiny furry friends that spark joy and maybe a few confused compliments. Grab your polymer clay, a goofy inner child, and let’s turn skeptics into believers, one adorable whisker at a time.
Why mini clay pets anyway?
Who doesn’t love tiny things that look ridiculously real? Miniature clay pets let you capture personality in a heartbeat without committing to a real pet’s mess, neediness, or weird sleep schedules. FYI, these little guys travel well on a desk, in a pocket, or perched on a plant pot like a tiny guardian. Ready to dive in? Let’s go.
Tools and materials you’ll actually need
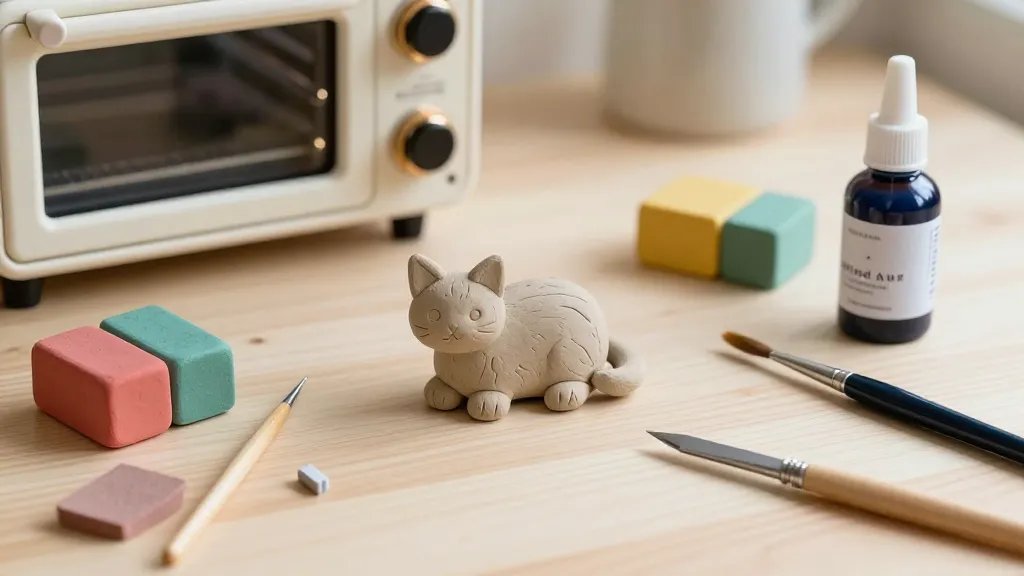
- Polymer clay in a few colors
- 1 small oven or toaster oven (check clay package for temp)
- Metallic accents, if you want shiny eyelids or tiny collars
- Craft knife, needle tool, and a tiny brush
- Sandpaper or a nail file for smoothing
- Gloss glaze or varnish for that glossy fur look
Pro tip: you don’t need fancy tools to start. A basic kitchen toolkit will do—just keep everything clean and labeled. IMO, the simpler, the better for beginners.
Choosing your animal vibe
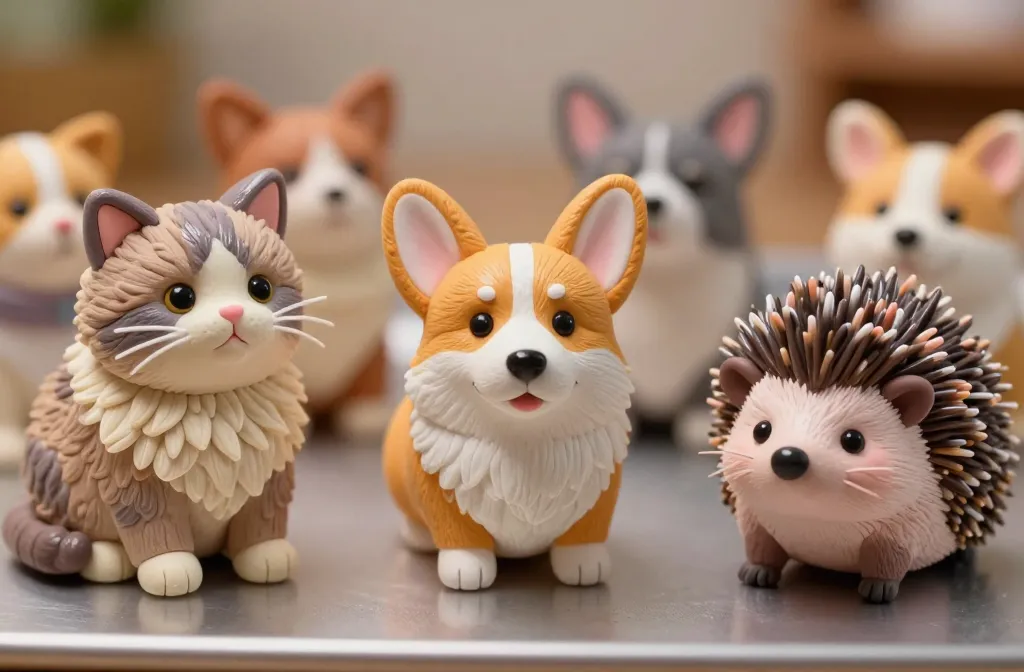
Do you want a chonky cat, a perky corgi, or a moody hedgehog? Pick a vibe first, because the rest of the build flows from the personality you want to convey. Start with a reference photo or two to nail proportions. Use a baking sheet as your main stage, so you don’t wander off into chaotic sculpting energy.
Common starter creatures
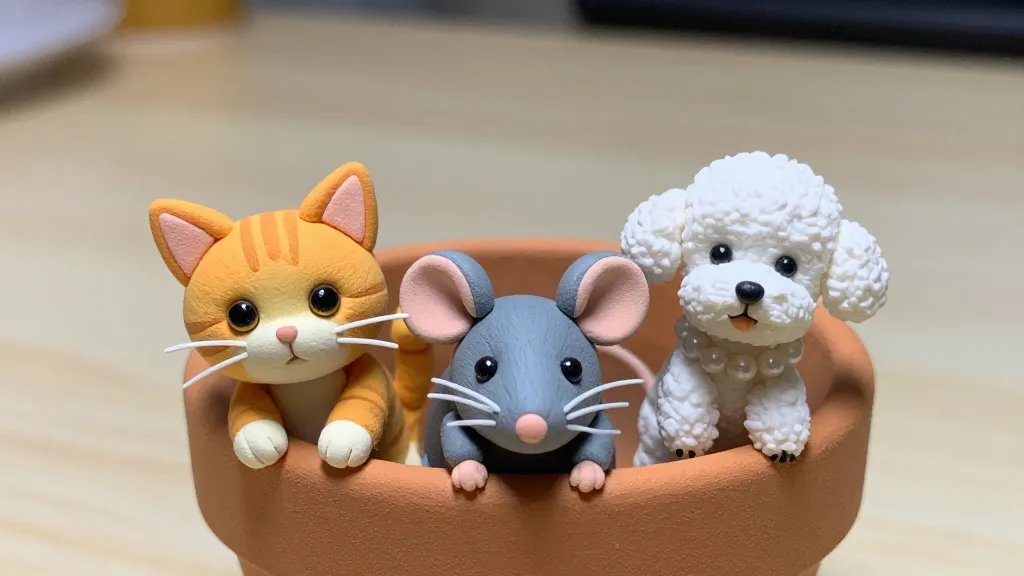
- Chubby cats with big eyes
- Fluffy dogs that look like they ate a marshmallow
- Smol birds perched on tiny branches
- Whimsical hedgehogs with glittering noses
Yes, you can mix and match colors—this is the playground of clay. FYI, exaggerated features read as cute on a tiny scale, so don’t stress about perfect realism.
Basic sculpting steps you can actually follow
- Condition the clay by kneading until soft.
- Shape the main body, limbs, and head. Keep things symmetrical-ish—it helps with charm.
- Attach limbs with a tiny amount of fresh clay acting as glue.
- Roll tiny balls for eyes and details; use a needle for pupils.
- Smooth seams with an alcohol wipe or a soft tool.
- Bake according to package guidelines, usually around 110-130°C for 15-30 minutes.
- Sand lightly after cooling, then glaze for a glossy finish.
Tips for getting smooth surfaces
- Wrap clay in plastic as you shape to prevent sticking.
- Lightly dust with cornstarch if it resists smoothing.
- Apply a thin glaze layer to seal the surface and add sheen.
Color stories that pop
Color choice sets the mood. Do you want a pastel, sunset-inspired fur or bold neon accents? Start with a neutral base and add pops of color for eyes, noses, and tiny accessories. Remember: shading thin lines and tiny highlights will bring those eyes to life. IMO, a little contrast goes a long way toward “next-level” cuteness.
How to layer color like a pro
- Base coat first; let it bake and cool.
- Add secondary shades in small patches for depth.
- Use a fine brush for whiskers and fur texture.
Textures that sell the cuteness
Fur texture screams personality, but you don’t need an expensive tool to fake it. Use stippling with a stiff bristle brush, or tiny fabric fibers tucked into the clay to simulate fur. For scales or a hedgehog vibe, press a textured tool gently against the clay while it’s malleable. The trick is layering and light pressure to mimic natural texture.
Texture shortcuts you’ll actually use
- Stippling for fur
- Fabric scraps for subtle patterns
- Toothpick dots for tiny freckles or pimples on a pet’s snout
Adding personality with accessories
Tiny accessories instantly tell a story. A scarf, a collar, a little hat, or a perched tree branch can transform a plain sculpture into a character. Keep accessories lightweight and secure; you don’t want them falling off when the clay is baking or being displayed. FYI, a tiny name tag adds a playful touch and makes your piece feel alive rather than “just cute.”
Accessory ideas to spark joy
- Mini scarves in plaid or solid colors
- Colonial-style bow ties or tiny bow collars
- Miniature food props like a slice of pizza or a fish bone as props
Finishing touches: sealing and displaying
Seal the deal with a gloss glaze or matte finish depending on your vibe. Glaze adds a wet-eye sparkle that reads as “alive,” while matte gives a modern, artsy look. Don’t skip the bake-and-cool cycle between layers—this strengthens the piece and prevents smudging.
Where to display your miniature pets
- Shelf corners that need a smile
- Desk makeshift pet corner for your workspace
- Mini display cases for a tiny art gallery vibe
Deep dive: troubleshooting common hiccups
Every crafter hits snags. Don’t panic—most issues are fixable with a quick reset. If pieces crack, you likely baked too fast or undercooked; rework the seam with fresh clay and bake a bit longer next time. If the eyes smudge, correct with a tiny dot of black and re-coat. Remember: patience is your best tool here.
Cracks or sticking seams
- Gently blend with fresh clay and smooth with a tool
- Re-bake at a lower temperature for a short period
Color bleeding or fading
Use a thin primer sometimes, or apply a glaze in multiple thin layers to seal color. If color still runs, switch to a slower-curing glaze for better control.
FAQ
What clay should beginners start with?
Start with polymer clay like Sculpey or Fimo and pick one brand to learn your heat settings. Polymer clay is forgiving, easy to sculpt, and forgiving for first-timers. FYI, practice makes pretty fast progress here.
Do I need a kiln or special oven?
Most beginner projects bake in a standard kitchen oven. Read your clay’s package for temperature guidelines, and always ventilate. IMO, a cheap toaster oven set aside for crafts saves from smelling up your home during experiments.
How long does a miniature clay pet typically take?
Depends on complexity. A simple cat or dog might take 1-3 hours across sessions, while a detailed scene with multiple characters could stretch longer. Break sessions into 30-45 minute blocks to stay fresh and avoid clay fatigue.
How do I fix a broken limb after baking?
If a limb snaps, you can glue with a tiny amount of fresh clay acting as a cement. Add more shading to conceal the joint. If the break is severe, bake it again briefly after attaching to bake the glue into place securely.
Is glazing necessary?
No, but glaze adds durability and a polished look. Gloss glaze makes eyes pop and fur look vibrant, while matte may suit a minimalist vibe. Try both on different pieces to see what you prefer.
Conclusion
Miniature clay pets are the perfect mix of calming craft and instant reward. You get to unleash creativity, learn real sculpting basics, and end up with tiny companions that brighten your desk and feed your social feed. So, what are you waiting for? Grab some clay, channel your inner child, and start sculpting—your future tiny animal army awaits. IMO, the internet definitely deserves to meet your new adorable squad.


