Want to build a tiny squad that sparks joy every time you glance at your desk? You’re in the right place. This mini kawaii friends collection tutorial isn’t just cute—it’s totally doable, even if you’re a craft noob. Grab your clay, your paints, and a dash of patience, and let’s dive in like we’re BFFs trading tiny tips.
What you’ll need to start building your crew
– Supplies: air-dry clay or polymer clay, sculpting tools, acrylic paints, tiny brushes, sealer, and a small oven if you’re using polymer clay.
– Workspace: a non-stick mat or parchment paper, a smudge-free area, and a quick-dry schedule so you don’t get distracted by snacks.
– A tiny mindset: patience, whimsy, and a willingness to fail spectacularly a few times before nailing it.
If you already have the basics, you’re halfway there. FYI, you don’t need every gadget in the store to begin; start simple and upgrade as you go.
Designing your kawaii crew: characters with big hearts and tiny vibes
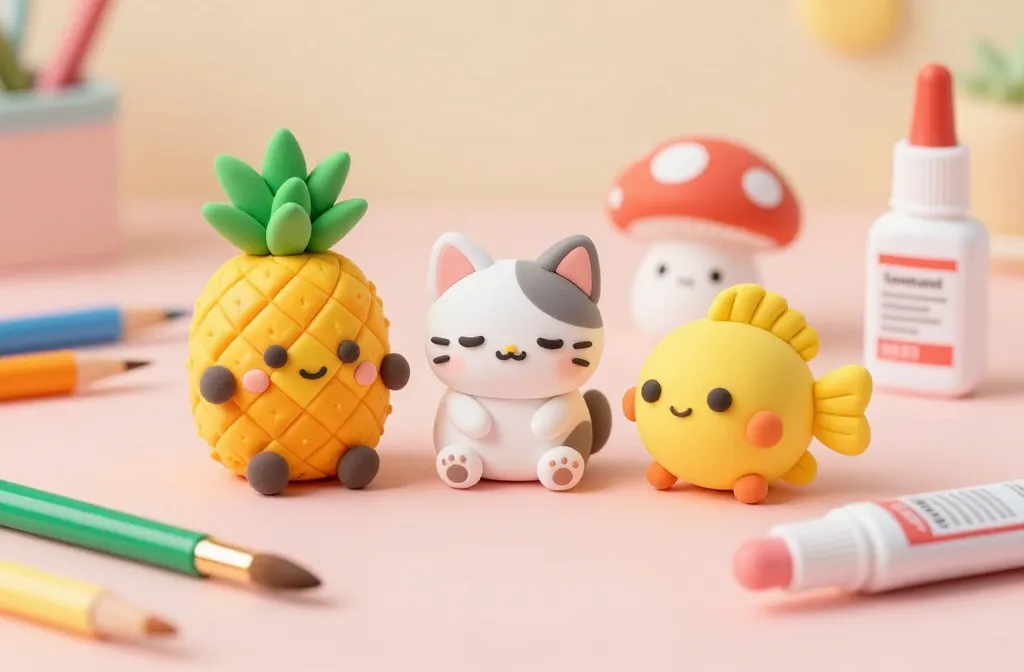
Think about personalities before shapes. Your mini friends should have distinct traits that translate in miniature form. Maybe a sleepy cat, a sunny pineapple pal, and a shy mushroom buddy. Sketch quick thumbnails; don’t overthink it.
Character ideas to spark your imagination
- Sunny Pineapple: wide eyes, tiny crown, a leaf cape.
- Sleepy Cat: droopy eyelids, a little blanket scarf.
- Mushroom Buddy: cute cap, spots, and a tiny backpack.
- Bubble Fish: blobby fins, a cheeky grin.
If you’re stuck, combine traits you love. Mix a creature from a dream with a familiar food item, and you’ll end up with something irresistibly cute.
Step-by-step sculpting: bring your characters to life
– Step 1: Blocky basics. Roll balls for heads and shapes for bodies. Keep proportions slightly exaggerated for max cuteness.
– Step 2: Connect limbs and accessories. Use a bit of clay as glue or twist pieces gently so seams aren’t obvious.
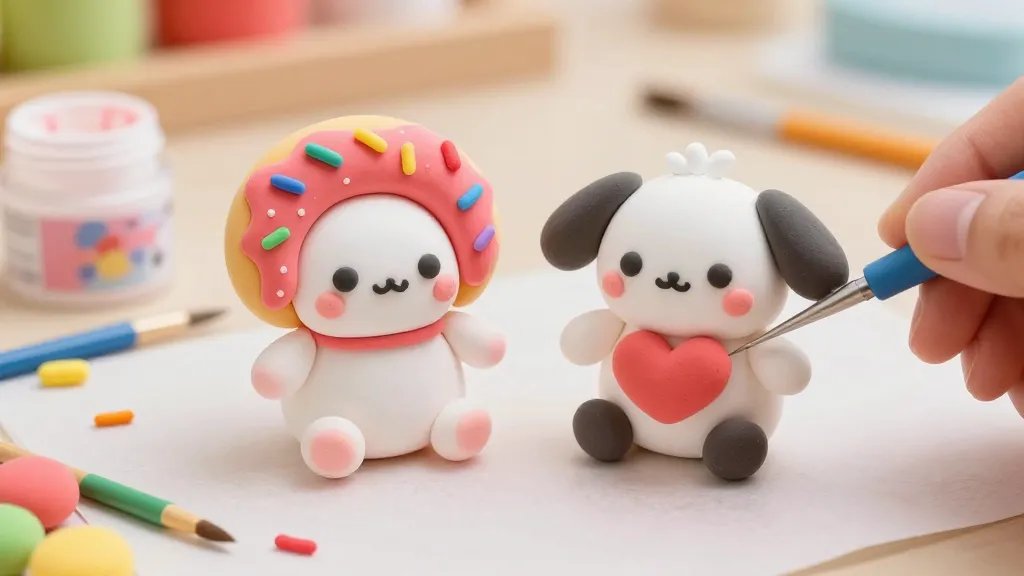
– Step 3: Add details. Noses, eyes, mouths—tiny features read big on a mini scale.
– Step 4: Bake or dry. Follow clay instructions to the letter; undercooked clay looks moody and won’t hold its shape.
– Step 5: Paint and seal. A dab of white paint for highlights makes eyes pop. Seal to preserve color and prevent smudges.
Want better results? Pause after Step 3 to add tiny blush cheeks or glimmering eyes to make characters pop.
Painting mini masterpieces: color theory for beginners
– Use soft palettes: pastels or gentle brights read kawaii well. High-contrast eyes can steal the show.
– Layer skin tones. Start light, then add a touch of pink or peach for warmth.
– Save details for last. Tiny white dots for sparkles turn ordinary eyes into magical ones.
Pro tip for glossy finishes
A light gloss on the eyes or a glossy bead as a drop of tears can add personality without turning the piece into a slick mess. FYI, don’t overdo it—humor and charm come from restraint.
Accessories and habitat: where your mini friends hang out
Your tiny world needs a home. Build a mini shelf, a loom of daisies, or a mini tea set to stage your crew.
- Base and backdrop: a wooden base or a painted tile works wonders.
- Mini props: a cup, a book, or a potted plant adds storytelling to your scene.
- Display ideas: tiny hangers, a string display, or a cute collector’s shelf.
If you’re feeling extra, craft a tiny scene that tells a story about each character’s personality. Readers love moments that feel like a mini comic strip.
Finishing touches: textures, tiny details, and personality boosts
– Texture is your friend. Scored lines, stitched-looking seams, or dotted patterns add depth without overcomplicating things.
– Accessories make characters sing. Little hats, scarves, or shoes can differentiate friends at a glance.
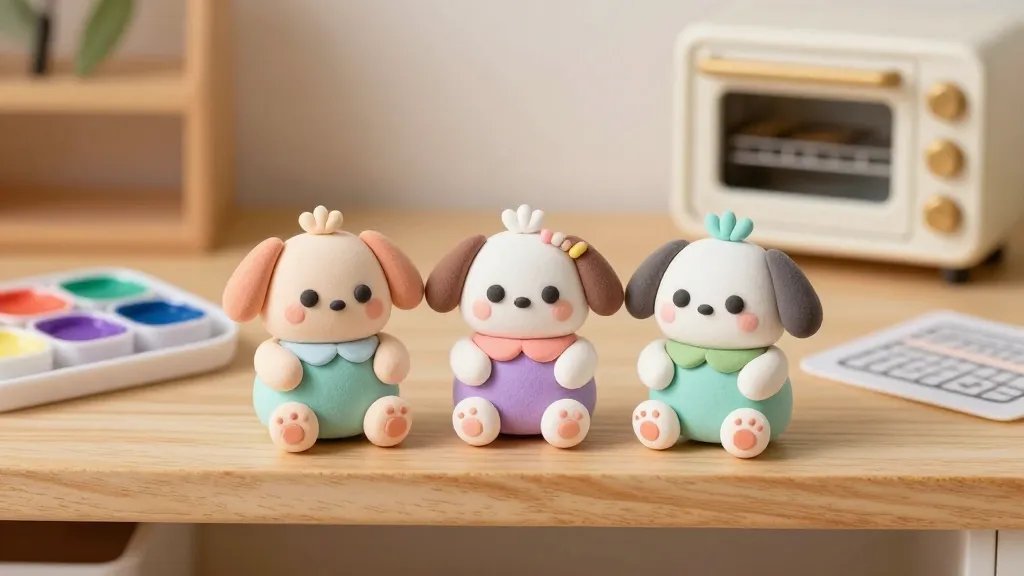
– Consistency matters. Pick a few signature shapes or colors and reuse them across characters to unify your collection.
Photography and sharing: show off your mini squad
– Lighting matters. Natural light or a soft lightbox shows colors true and reduces harsh shadows.
– Angles are everything. Shoot from a slight eye level to accentuate the kawaii vibe.
– Captions that spark joy. A 2-3 sentence backstory or a punny line makes your post pop.
If you’re sharing online, keep it fun and approachable. People love behind-the-scenes peeks—your tiny mistakes can become the most endearing parts of the story.
Maintenance and care: keeping your mini friends fresh
– Dust regularly with a soft brush. Tiny characters pick up dust faster than you think.
– Store safely. Use a padded box or a display cabinet to avoid scuffs.
– Re-seal when needed. If colors fade, a fresh coat of sealer can bring back the glow.
Experimenting with variations: what if you tried new forms?
Try different sizes, textures, or materials. Polymer clay often yields crisp details, while air-dry clay is forgiving and easier for quick sessions. Mixing mediums can spark exciting results, so experiment fearlessly.
FAQ
What’s the easiest first character to start with?
Start with a simple shape and a friendly face. A round head on a small body with big eyes and a tiny smile is an instant win. It’s forgiving and helps you build confidence fast.
Do I need expensive tools to begin?
Not at all. You can start with basic household items: a toothpick, a knife, a wooden skewer, and a paintbrush set from the craft aisle. As you get hooked, you can invest in specialized tools, but you’ll survive on a modest kit.
How long does it take to finish a character?
Depends on your pace. A quick cut-and-paste job might take 30–45 minutes, while a more detailed figure can stretch to a couple of hours. Break sessions into bite-sized chunks if you’re busy.
How should I seal my mini friends?
Use a clear acrylic sealer. Light coats work best; allow each coat to dry fully before applying the next. This protects color and keeps details sharp.
Can I use air-dry clay for kids or beginners?
Absolutely. Air-dry clay is forgiving and requires no oven. It’s perfect for quick builds, but you’ll still get charming results.
What if my pieces crack or deform?
Cracks happen. Smooth the area with a damp finger or add a tiny bit of fresh clay to bridge the crack. Bake or dry according to your material’s instructions and seal to prevent further issues.
Conclusion
You’ve got a toolkit, a handful of ideas, and the kind of enthusiasm that makes tiny things feel like magic. The Mini kawaii friends collection isn’t just about cute faces—it’s about telling tiny stories with texture, color, and a wink of whimsy. So grab your clay, pick a character, and start crafting your own adorable squad. FYI, you’ll probably end up keeping a few for yourself, and that’s totally fine. Enjoy the process, show off your progress, and don’t be afraid to laugh at your early attempts.


