An easy, playful guide to crafting tiny clay furniture that looks cute on any shelf. You’ll learn fast, laugh a little, and maybe pretend you have a designer budget. Let’s dive into tiny furniture land without the drama.
What You’ll Need Before You Start
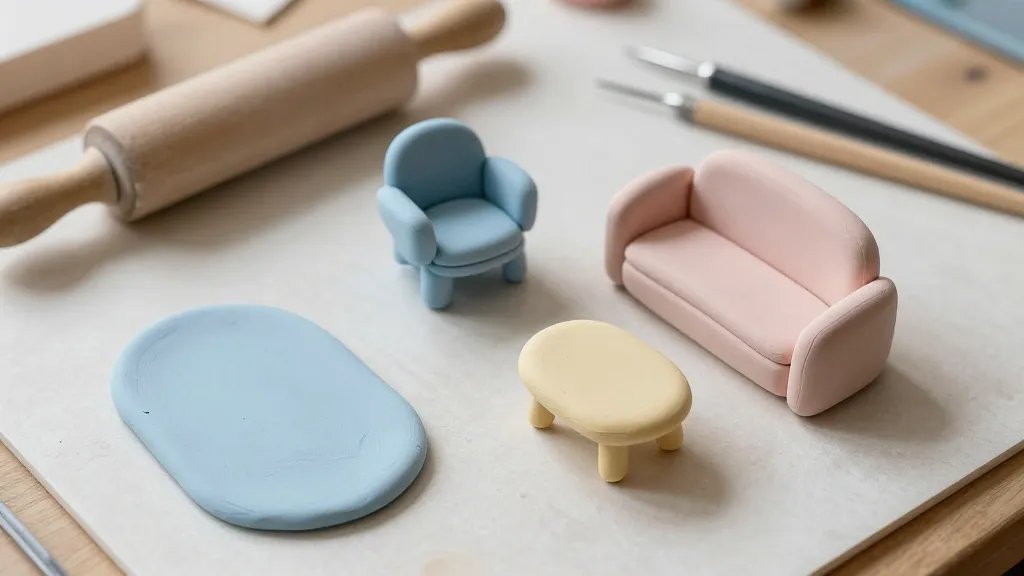
– Clay basics: air-dry or polymer clay, depending on your vibe.
– Tools: basic sculpting tools, a needle or toothpick for details, a small rolling pin, and a craft knife.
– Workspace: a clean, flat surface, a good light source, and a tray to catch tiny dust bunnies.
– Finishing touches: sandpaper or a soft file, gloss or matte sealer, and a tiny brush for paint.
FYI, you don’t need an elaborate setup to start. If you’ve got kids’ clay or old polymer clay from a craft kit, you’re basically halfway there. Ready to roll? Let’s shape some furniture that fits in the palm of your hand.
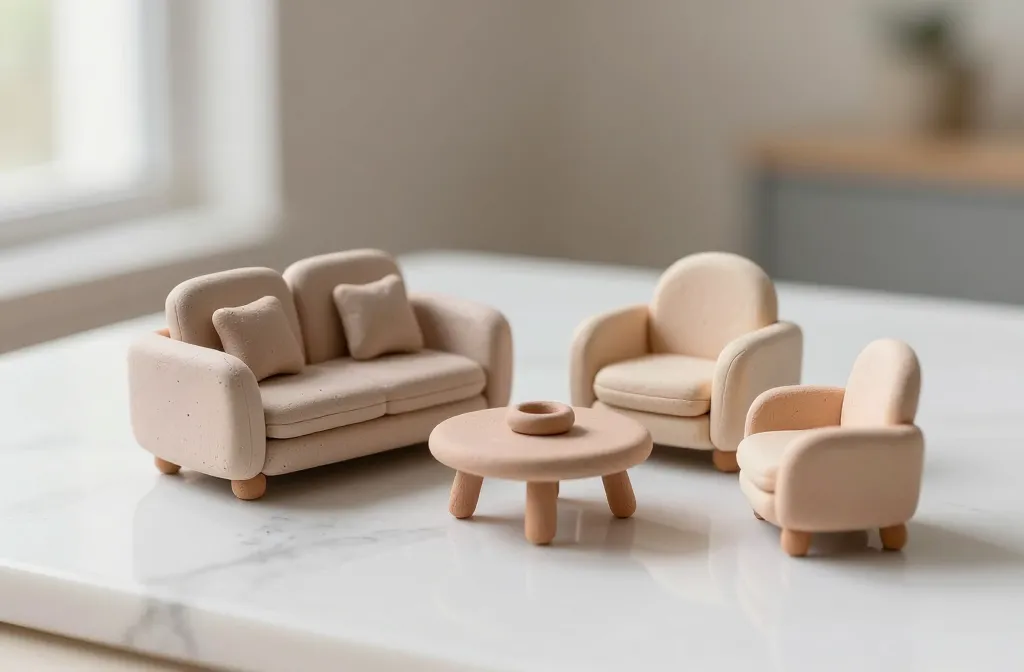
Sculpting the Mini Sofa: The Cozy Centerpiece
– Start with a small rectangular base. This becomes the seat frame.
– Roll out a slab for the backrest. Attach gently with a bit of clay water or a dab of your base color.
– Add cushions by shaping two tiny rounded rectangles, then pinched edges to mimic plush padding.
– Smooth seams with your finger or a soft brush dipped in a bit of water.
Want it to feel extra comfy? Give the cushions slight indentations with the tip of a needle to mimic seams. Pro tip: let the sofa cure a bit before you handle it too much—tiny furniture loves patience.
Detailing the Legs and Arms
– Gently roll four small cylinders for legs. Attach to the base with a dab of moisture or a tiny amount of clay slip.
– Add slim arms by flattening small rectangles and curving them into place along the sides of the sofa.
– Texture the legs with a shallow groove to resemble wood grain using a toothpick.
This part is where your personality sneaks in. Short, chunky legs? Sleek and tall? It’s your tiny unit, so own it.
Crafting a Dining Table That Steals the Show

– Create a flat top by rolling a square or rectangle. Keep edges crisp for a modern vibe.
– Slice four small cylinders for legs and attach to the corners.
– For a wood-look finish, a quick brush with a fine line of paint or a woodgrain texture tool does wonders.
Color Palettes That Pop
– Keep one bold color and one neutral shade for contrast.
– For a playful look, pair pastel tones with a stark white or black base.
– If you’re feeling moody, go monochrome with varying shades of the same color family.
Remember, contrast helps your mini scene read clearly, even from a distance of a few inches.
Bedroom Nook: A Mini Bed You’d Actually Want to Sleep On
– Start with a low-rectangle bed frame. Add a tiny headboard by shaping a curved or straight edge piece.
– Create a mattress by flattening a slightly larger piece of clay and then padding it with a separate, slightly smaller piece.
– Add a tiny blanket by curling a thin strip and draping it over the edge, letting the ends hang a little.
Want it to look luxurious? A satin-like glaze on the blanket can give the illusion of texture. FYI, a little highlight on the edges makes everything pop.
Storage and Decor: Shelves, Cabinets, and Tiny Accessories
– Build simple shelves using flat pieces with small vertical supports. Attach securely to your display base or a mini backdrop.
– Create a miniature cabinet with a boxy shape and doors that swing open. A tiny hinge can be simulated with a hair-thin strip of clay or a painted line.
– Add accessories: a little book, a plant pot, a lamp, or a coffee mug. These tiny props scale the scene and tell a story.
Mini Greenery and Lighting
– Roll tiny balls for faux succulents in a small pot. Place them in a row for a chic windowsill look.
– Make a micro lamp by shaping a cone for the shade and a short cylinder for the base. A dab of metallic paint really sells it.
– If you want a glow, you can add a small LED (battery-operated) behind a translucent backdrop. Safety first—use low heat options.
Finishing Touches: Sealing, Sanding, and Polishing
– Lightly sand any rough edges to avoid snagging tiny clothes or fingers.
– Apply a clear sealer to protect the paint and prevent cracking. For polymer clay, bake first if your clay requires it, then seal.
– Don’t forget to wipe away any dust before sealing. A clean surface equals a glossy finish.
Care tips: Keep your mini furniture away from direct heat or sunlight for prolonged color life. Dust every so often with a soft brush to keep it looking fresh.
Display Ideas: Show Off Your Tiny Masterpieces
– Create a themed “room” on a shallow wooden tray or a piece of corkboard as a base.
– Add tiny rugs cut from fabric scraps, and place the furniture on top for a cozy vignette.
– Photograph with natural light. The small scale loves soft shadows and a little contrast.
Storytelling through Scene Building
– Build a narrative around your mini space: a cozy breakfast corner, a chic studio, or a reading nook.
– Stage tiny characters (charms, beads, or clay figures) to give life to your setup.
– Change the scene with the seasons or your mood—your shelf becomes a tiny cinema set.
FAQ
Do I need special clay to start?
Not at all. You can begin with air-dry clay for quick results or polymer clay if you want stronger, baked pieces. Either works, and both are forgiving for beginners.
How long does it take to complete a piece?
Depends on detail, but a simple sofa, bed, and a couple of accessories can come together in a few hours spread over a couple of sessions. Patience = cute tiny furniture.
What if the pieces crack or don’t stick?
Cracks usually show up if the clay dries too quickly or if you overwork it. Keep pieces smaller and let layers firm up. For joining parts, use a thin amount of water or clay slip to help bind seams.
Can I paint after baking?
Yes, but use paints compatible with your clay (acrylics work well). A clear sealant after painting protects the finish and keeps colors vibrant.
Any tips for beginners worried about size?
Start with a simple, cohesive scale—like 1:12 or 1:24—and keep all pieces within that range. Consistency makes the whole scene feel intentional rather than hodgepodge.
Conclusion
Mini clay furniture is the perfect creative escape: fast, forgiving, and incredibly satisfying when you see a complete tiny room come to life. Don’t stress about perfection; celebrate the quirky charm of your handmade pieces. FYI, the best part is you can repaint, remix, and redo any section as your taste evolves. Ready to build your tiny dream home? Grab some clay, and let your imagination run wild.


