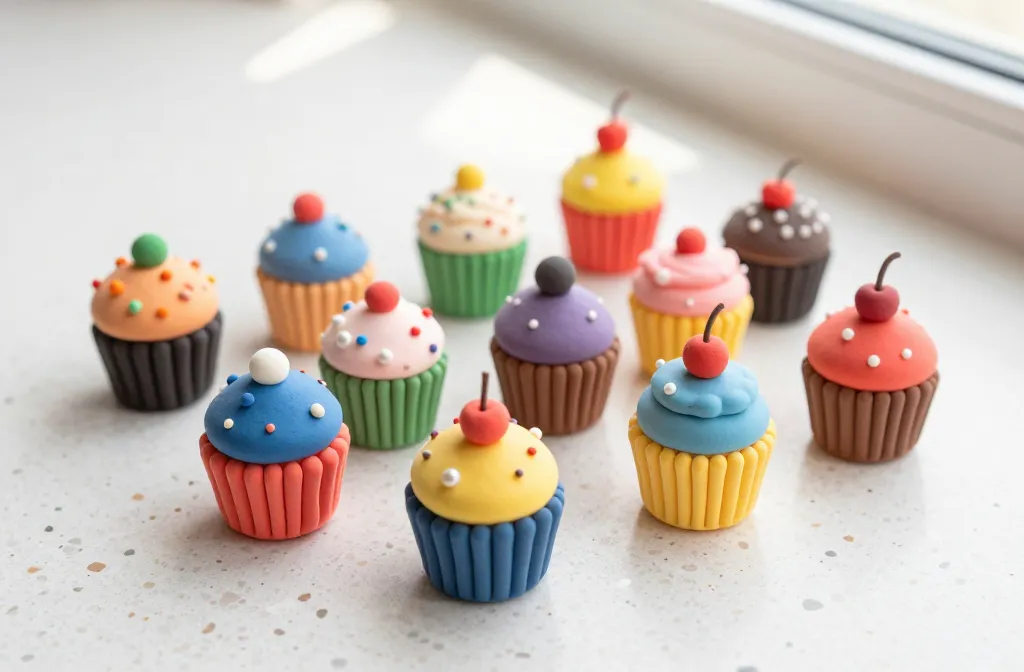
Mini clay cupcakes are not just adorable; they’re oddly satisfying to make and display. If you’ve ever doodled tiny pastry dreams, this tutorial is your next dopamine hit. Let’s dive into a playful, hands-on guide that will have you stacking cute little confections in minutes.
What You’ll Need Before You Begin
– Basic supplies: polymer clay in your favorite colors, a small rolling pin (or a trusty pencil), craft knife, and a glue option for keeping pieces together.
– Tools that make life easy: a needle or toothpick for tiny details, a silicone mat, and a small smoke-free oven or heat source if you’re curing clay.
– Safety notes: work in a well-ventilated area, wash hands after handling clay, and bake per the clay brand’s instructions.
Are you picturing a mini bakery in your craft corner yet? If not, you will once you start mixing colors and stacking layers.
Step-by-Step: The Quick Start Guide
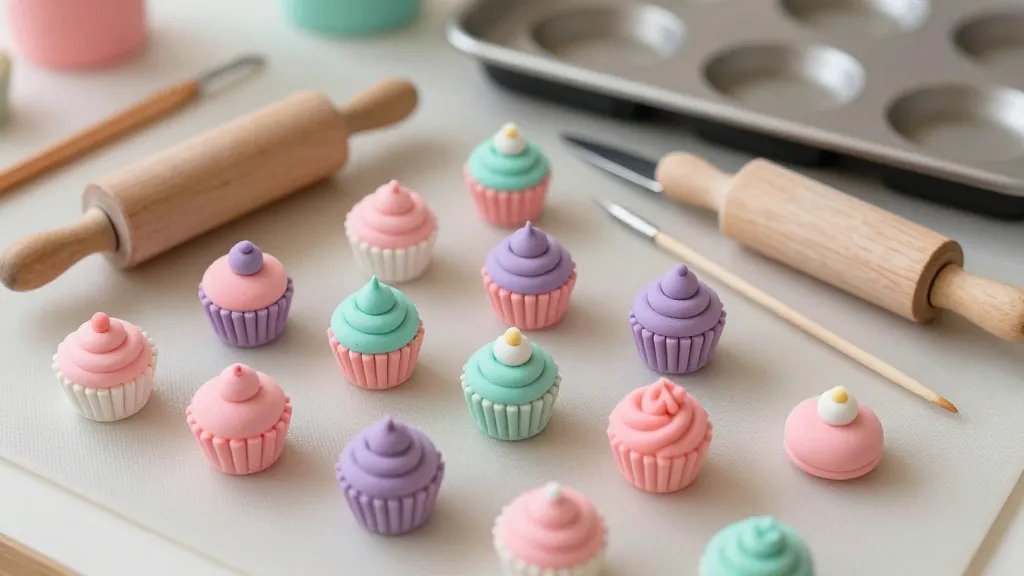
1. Pick a color palette. Think pastel sprinkles or bold neon. You’re the boss of your cake shop, so go wild.
2. Roll a ball for the cupcake base. Flatten slightly to resemble a tiny cupcake liner.
3. Create a cone for the cupcake top. Attach it to the base with a dab of liquid clay or pressed seam.
4. Add a swirl of frosting. Use a small tool to sculpt a spiral or rosette. Don’t overthink it—practice makes perfect.
5. Add sprinkles, cherries, or little pearls. Tiny details read as “finished” even at a tiny scale.
6. Bake or cure according to your clay’s instructions. Let cool completely before handling.
FYI: The real magic is in the tiny details. A few well-placed sprinkles can sell the entire look.
Color and Texture: Making It Realistic (Or Not)
– Color layering: start with a base, add a second shade for depth, then highlight with a lighter tint. It makes the frosting feel plush.
– Texture tricks: dab with a soft brush to simulate frosting ridges, or press a slightly textured tool for a “waffle cup” effect.
– Gloss vs matte: a matte finish on the base makes the frosting pop, while a glossy glaze on a tiny cherry adds realism.
Want a pro tip? Mix a dash of white with your frosting color to keep it lively and not flat.
Subsection: Tiny Details That Elevate everything
Sprinkles that actually read as sprinkles
Tiny dots or rods work best. Use a sharpened needle to dot on the spice-colored specks or tiny rods from a different clay color. It gives your cupcake an irresistible “I baked these this morning” vibe.
Fondant-look accents
If you want a satin finish or a fondant-like band around the base, roll a thin strip and wrap. Press softly so it adheres without crumbling.
Display and Storage Ideas
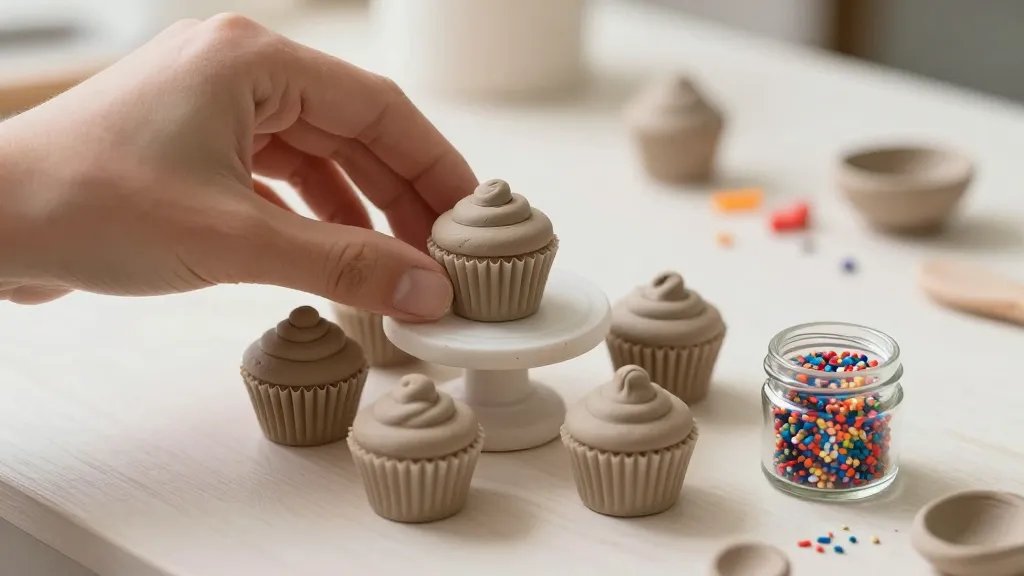
– Display options: floating shelves, a small cake stand, or a glass cloche. The more visibility, the more “wow” you’ll get.
– Storage tips: keep in a cool, dry place away from direct sun. If you’re not displaying them yet, store pieces in a shallow box with tissue to prevent squashing.
– Photogenic hacks: a simple, clean background helps your mini treats shine in photos. FYI, a tiny white backdrop can make colors pop.
From Hobby to Mini Masterpieces: How to Make a Set
As you gain confidence, try building a coordinated set:
– Start with three colorways (pastel, bold, and monochrome) to mix and match.
– Create a “flavor” theme for each cupcake: vanilla, strawberry, lemon, chocolate. You’re not baking, but the vibes matter.
– Place your cupcakes on a tiny plate or cake stand to create an appealing scene for photos.
FAQ
Do I need a real oven for polymer clay cupcakes?
Polymer clay typically cures in a home oven. Always follow the brand’s temperature guidelines. Do not bake on the stove or outside if the instructions say otherwise. Safety first, tiny chefs.
How long does curing take, and can I avoid burning them?
Curing times vary by brand, usually around 15-30 minutes at the recommended temperature. Use a dedicated oven thermometer to avoid hotspots. If you’re worried about burn marks, test with a small piece first.
Can I mix clays from different brands?
Yes, you can, but test for compatibility. Some brands cure at slightly different temps. If in doubt, cure a test piece and adjust if needed.
What if my pieces crack after baking?
Cracks usually happen when the clay becomes too thin or dries out too much. Try smoother surfaces and avoid over-handling while the clay is soft. Keeping pieces evenly moist during shaping helps too.
How can I attach frosting to a cupcake base without it falling off?
Use a tiny dab of liquid clay or a strong adhesive suited for clay. Press gently and let cure fully before moving the piece. Patience pays off here.
Is there a quick way to create realistic sprinkles?
You can’t press real sugar sprinkles into clay, but you can paint tiny colored dots after curing or embed micro beads that resemble sprinkles. It’s all in the tiny details.
Conclusion
Mini clay cupcakes are the perfect little project for crafters who want fast wins and lots of smiles. They’re forgiving for beginners but also endlessly adaptable for seasoned hobbyists. So grab your color palette, roll out some mini frosting, and start building your tiny confectionery world. FYI, once you start, you’ll probably end up gifting a few dozen—no shame in the bake-ish game. Have fun, and happy sculpting!


