An intro you can actually use tonight: If the kids are bored, this is your magic wand. Clay animals are tiny, forgiving, and oddly captivating. Let’s dive into simple, goofy projects that turn clay into adorable pals—with zero meltdown risk.
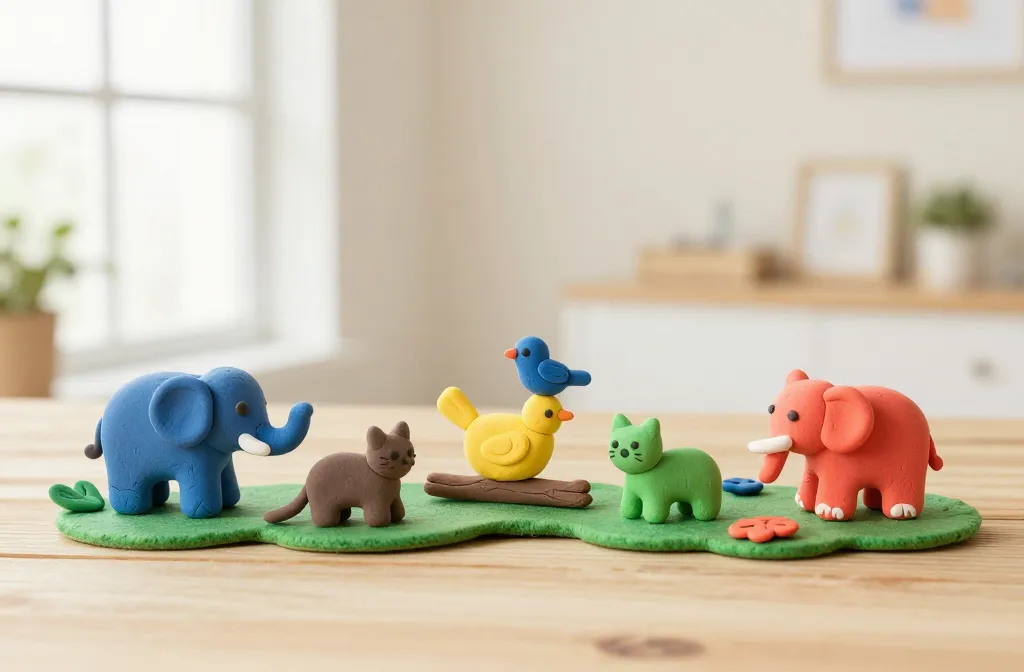
Colorful Staple Animals Kids Can Make Fast
– Easy elephants with a few teardrop shapes
– Playful cats using a pinch-and-roll technique
– Silly birds that perch on a branch made from scrap clay
These classics come together in minutes and leave room for silly details. FYI, you don’t need perfect symmetry to win at creativity. The mess cleans up, the smiles stay.
Quick Tips for Beginner Handbuilders
- Keep your clay soft with a quick knead before shaping.
- Use your fingers and simple tools to texture, not carve.
- Attach pieces with a dab of water or a tiny bit of clay slip.
Small-Scale Sculptures That Teach Big Lessons
Mini projects pack a lot of learning into tiny hands. They’re perfect for a rainy afternoon or a party activity.
Elephants on a Patch of Grass
Roll a ball for the body, add a smaller ball for the head, and pinch ears into floppy crescents. A short strip of green clay becomes grass—instant stage for the elephant to “stand” on.
Owls in a Tree Nook
Make a teardrop body, a circle head, and big disc eyes. Stack on a branch made from brown clay and add leaf textures with a toothpick. These owls look wise even without beaks—that’s art, baby.
Character-Building Projects: From Clay to Story
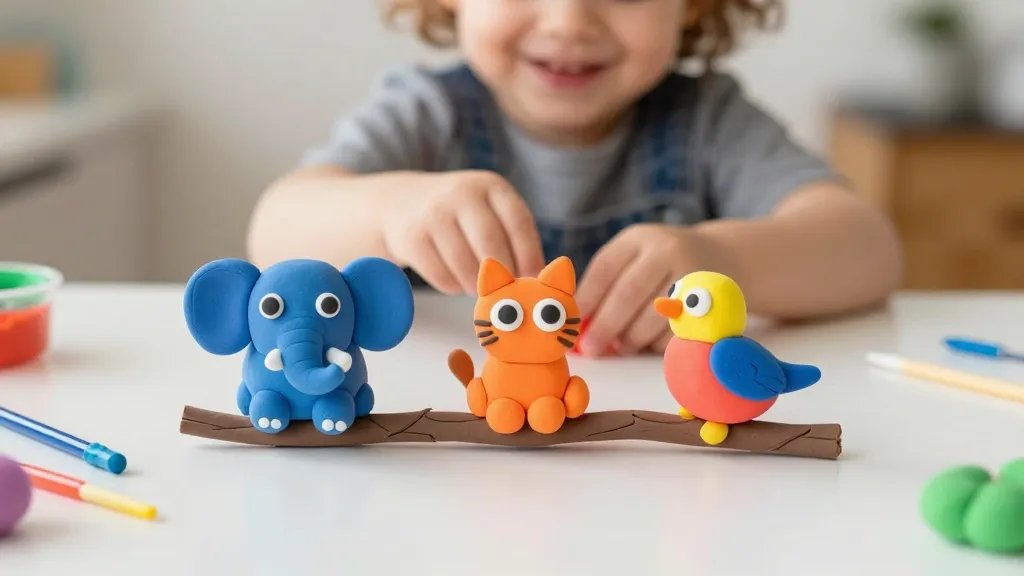
Turn each critter into a character with a name, a backstory, and a tiny prop. Kids love bringing a character to life beyond the sculpture.
Forest Friends Tale Cards
Create three to five animals and write a one-sentence story card for each. Then, place the cards near the sculptures and read them aloud. Everyone loves a little dramatic applause for the “acts.”
Magical Mud Pals: DIY Stop-Motion Setup
Use a simple smartphone stand and a neutral backdrop. Move each clay figure a little between frames to create a goofy short film. FYI, you don’t need fancy software—just capture and enjoy.
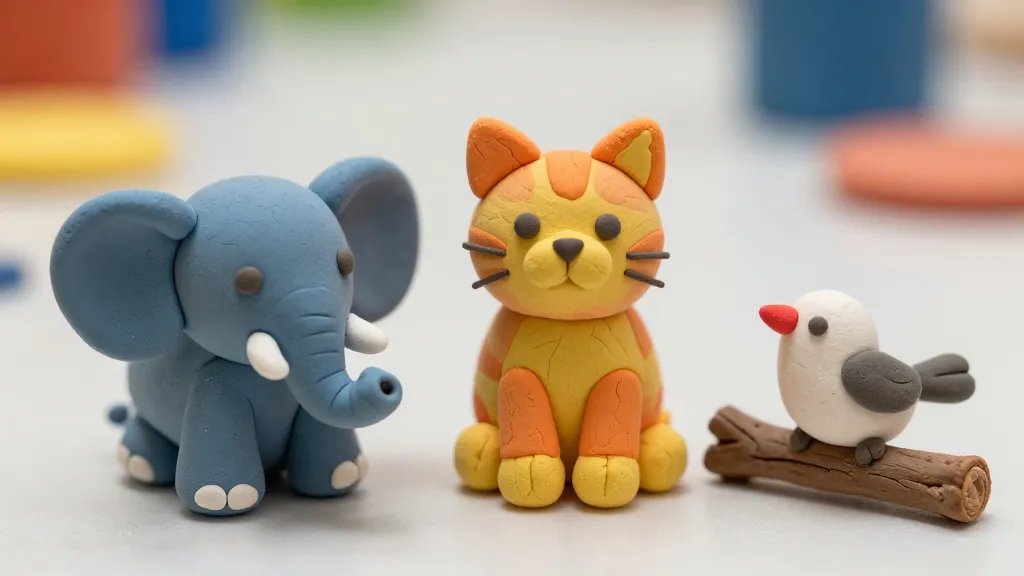
Texture Play: Surfaces that Tickle the Senses
Texture adds personality. Sand a little texture into the surface or press patterns with kitchen tools to tell a story without words.
Feathery Fur and Scaly Surfaces
Gently press a fork or comb to create fur lines. For scales, press tiny dots in a row with a needle tool. The details do most of the talking here.
Clay “Fabric” That Isn’t Fabric
Wrap a strip of clay around bodies to simulate scarves or capes. A small bead becomes a button; texture with a toothpick for extra pizzazz.
Clay Safety and Cleanup: Keep It Fun, Not Frustrating
Safety and cleanup save the day—especially with little hands on clay. Here’s what to keep in mind.
- Use non-toxic, kid-friendly clay. Water-based options are easy to clean up.
- Protect surfaces with a washable mat or a large sheet of newspaper.
- Keep wet wipes handy for quick cleanups and damp hands between sessions.
Storage Secrets for Busy Crafters
Store finished sculptures in a dry, safe spot. If you’re making multiple sessions, wrap clay pieces in plastic wrap to keep them from drying out between projects.
Involving Different Ages: A Team Effort
Kids of different ages can learn together with buddy sessions. Younger kids focus on shapes; older kids fine-tune texture and details.
Age-Appropriate Roles
- Preschoolers: Shape bodies and stick on simple features.
- Kindergarten: Add eyes, ears, and basic textures.
- Older kids: Design complex poses, figure out color schemes, and write quick backstories.
FAQ
What clay is best for kids?
Non-toxic, air-dry clay works wonders for beginners. It’s easy to handle, dries without baking, and you can fix mistakes with a quick rework. If you want longer-lasting pieces, choose polymer clay and bake with adult supervision.
How do I avoid cracks in clay figures?
Keep pieces soft and evenly hydrated. Score and slip when attaching limbs, and avoid thick, dry areas that dry unevenly. A tiny amount of water or slip helps joints hold together during shaping.
How long does it take to dry clay animals?
Air-dry clay typically dries within 24 to 48 hours, depending on thickness and humidity. For polymer clay, follow package instructions and bake at the recommended temperature and time.
What are some easy patterns for beginners?
Simple shapes beat complexity. Start with a ball for a head, a oval body, and add ears, tails, and tiny limbs. Texture with a toothpick or comb to add character without getting overwhelmed.
Can we personalize our clay animals?
Absolutely. Let kids choose colors, add accessories, or create mini props like hats or scarves. Personal touches make the project feel special and unique.
Final Tips to Make This a Hit
Keep sessions short and playful. Invite kids to name their creatures, tell a quick story, or perform a tiny “show and tell.” The goal isn’t perfect sculptures; it’s joy, experimentation, and a little messy laughter. IMO, the best moments happen when a clay animal accidentally ends up wearing a tiny hat or a goofy grin.
Conclusion
Clay animal projects are a fantastic mix of art, storytelling, and fine-motor practice. They suit solo crafting, family time, or classroom fun, and you can scale complexity as kids grow. So grab some clay, set a timer, and prepare for giggles, proud smiles, and a dozen new best friends born from squishy, colorful shapes. Catch you at the clay table—let’s make something adorable and a little ridiculous.


