An easy, joyful guide to clay critters that little hands can actually make. We’ll keep supplies simple, steps short, and the fun high. Ready to craft, giggle, and maybe hide a few squeaky-eyed turtles under the sofa? Let’s dive in.
Why Kids Love Clay Animals
Crafting with clay taps into imagination in a way that drawing sometimes can’t. Kids feel the clay under their fingers, shape with purpose, and watch an idea become something they can hold. FYI, the mess is part of the magic, not a warning label.
- Textures that invite exploration
- Immediate, tangible results that boost confidence
- Endless customization: colors, sizes, personalities
Starter Projects: Simple, Quick Wins
If you’re onboarding a tiny sculptor, start with easy builds. Short steps keep patience intact and smiles high.
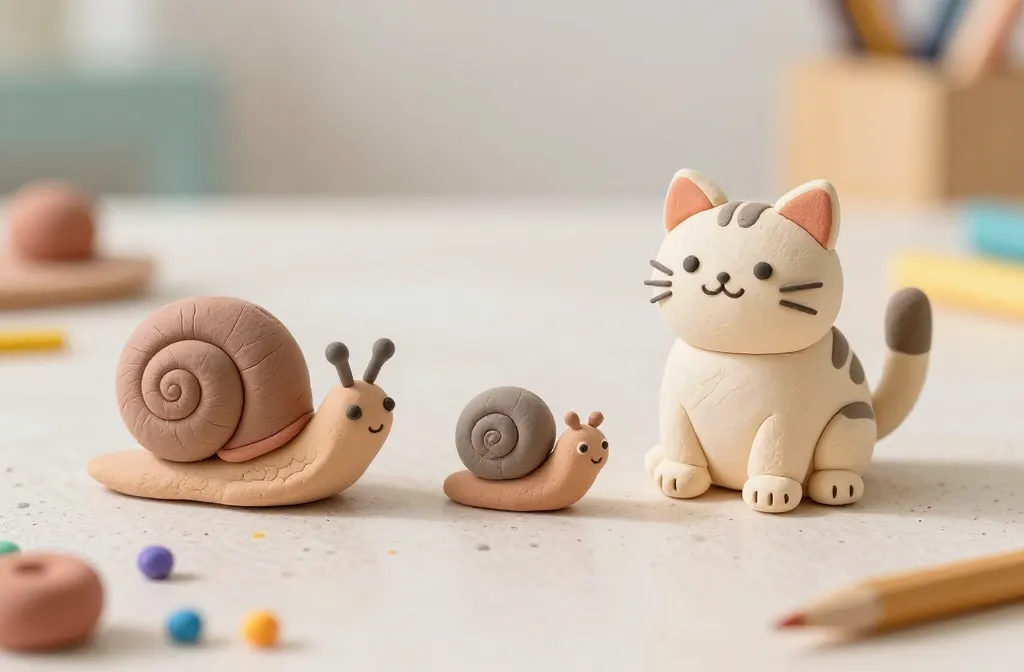
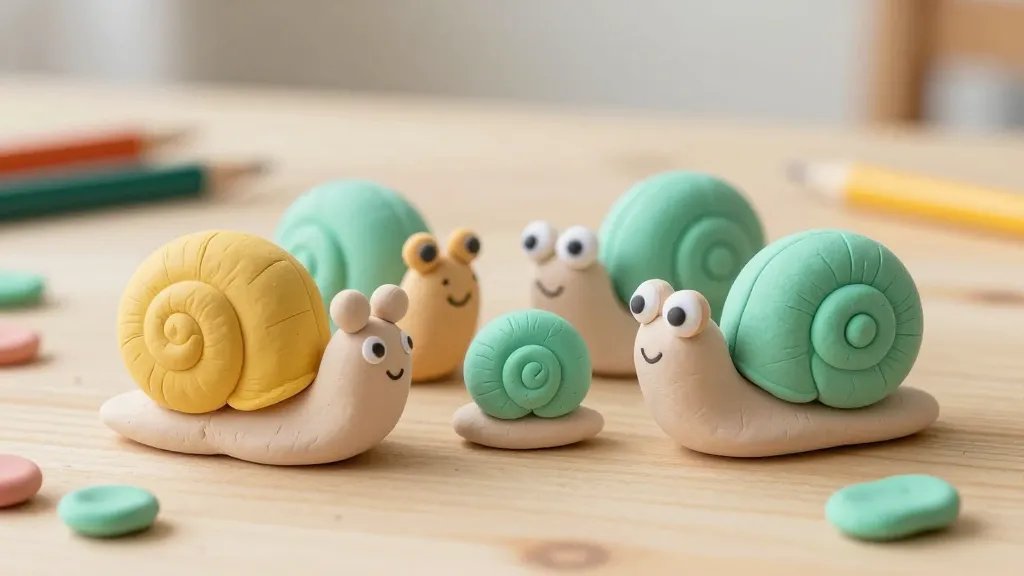
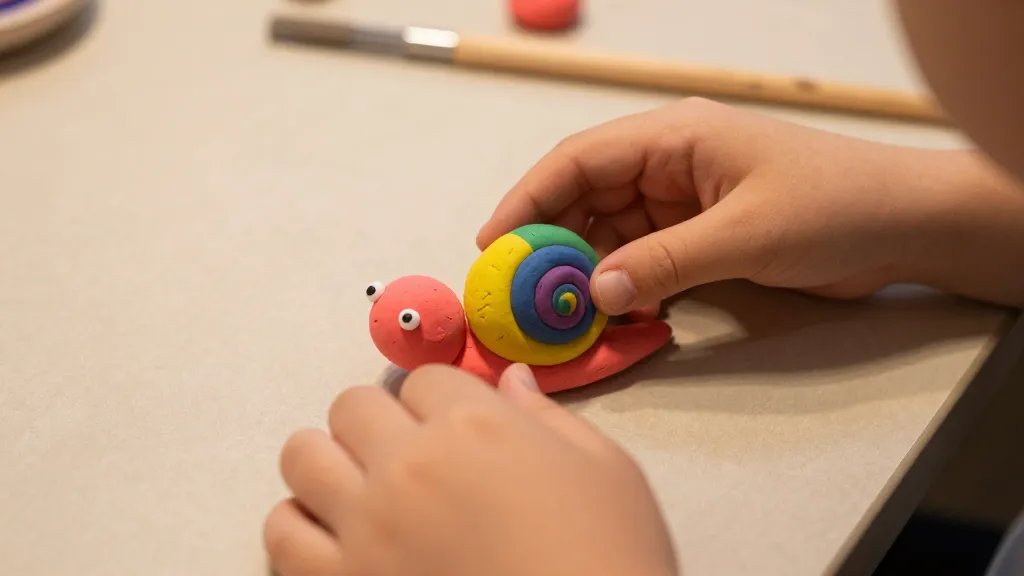
1. Playful Snail family
– Roll a small ball for the body.
– Add a larger shell with a spiral pattern.
– Attach tiny eye beads and a smiley mouth.
– Optional: give each snail a colorful shell stripe.
2. Smiling Cat Figurine
– Form a chunky body, a round head, and pointy ears.
– Glue on tiny triangle eyes and a curved smile.
– Shape a fluffy tail and plop on little paws.
– Let dry in a goofy pose for instant character.
Layered Techniques That Elevate Your Creations
As kids gain confidence, teach them techniques that add personality without slowing them down.
Texturing without Tears
– Use a plastic fork or toothpick to create fur, scales, or bark.
– Press patterns gently—the goal is tactile interest, not a perfect print.
– Experiment with sponge stamps for simple shapes.
Color Play
– Mix two small colors to create a new shade.
– Use a dab of white to lighten and black to shade for details.
– Don’t overwork the clay; keep it soft and pliable.
Animals You Can Make in a Mini Zoo
Grow your clay menagerie with these kid-friendly favorites.
- Wobbly tadpoles that become frogs
- Cheeky penguin buddies with tiny wings
- Fluffy bunnies with carrot-adorned bases
- Curious owls perched on twig-friendly stands
3. Polka-Dot Ladybug
– Model a small oval body and attach a round head.
– Paint or press tiny raised dots for spots.
– Add two short antennae and a tiny smile.
Tools and Materials: What You Really Need
Keep it simple to avoid chaos and chaos avoidance. The right basics make everything smoother.
- Air-dry clay or salt dough
- Plastic rollers or a clean bottle to flatten
- Plastic knife or old credit card for clean edges
- Safety googly eyes or tiny beads
- Sewing needles? No way—stick to kid-safe tools
Low-Muss, High-Fun Substitution List
– Sneak a little water to soften clay when it gets stiff.
– Use a water bottle cap as a rolling guide for even slabs.
– If tools disappear, buttons and coins work as mold bases.
Drying and Finishing: From Craft to Keepsake
Finish with care so your creatures survive a few toddler cameos and a lot of laps.
- Let air dry fully before handling to avoid smudges
- Seal with a kid-safe varnish or a thin gloss coat
- Attach magnets or stands for display glory
Storing Your Masterpieces
– Keep in a labeled bin for easy stacking.
– Place soft padding between pieces to prevent squish.
– Rotate displays to keep inspiration fresh and exciting.
Tips for Turning This Into a Mini-Crenched Activity
Turn crafting time into a mini-adventure instead of a chore.
- Set a five-piece limit per session to avoid fatigue
- Offer a themed story to spark ideas (underwater, forest, space)
- Make it a collaborative project—two clayers are better than one
Safety and Clean-Up: Keeping It Chill
Keep the vibes positive and the space tidy.
- Check clay ingredients for kid-safety and allergy considerations
- Keep a damp cloth handy to wipe slip-sliding fingers
- Use a dedicated craft mat to cut down on mess
From Hobby to Hobby-Possibilities: Show-and-Tell Ideas
Turn the activity into a tiny showcase. Kids love applause, even if it’s just you clapping them into a high-five.
- Host a mini gallery: display pieces with names and backstories
- Create a storybook featuring each clay creature
- Organize a swap ring with friends’ crafts for diverse critters
Bonus: Quick Gift Ideas
– Turn a clay animal into a keychain by adding a loop before drying.
– Mount a tiny animal on a painted wooden block for a bookmark buddy.
FAQ
What age is best for clay animal crafts?
Most kids aged 3 and up enjoy basic shapes and simple assembly. Younger kids benefit from larger pieces and simpler forms, while older kids can handle a bit more detail and creativity.
What if the clay cracks?
Don’t panic. Lightly moisten the cracks and press the edge around to smooth. If it’s dry, a tiny dab of air-dry clay can fill gaps before re-wetting and smoothing.
Can we use salt dough instead of air-dry clay?
Yes, salt dough works well for kids. It dries hard but is more fragile. Bake it carefully to cure, then seal for durability. FYI, the scent is distinctive, which kids usually find amusing.
What’s the best way to seal finished pieces?
A kid-safe sealant or a thin layer of clear craft varnish works. Let it dry fully before handling. If you’re unsure, a simple acrylic gloss can add shine and protection.
How do I prevent clay from sticking to the workspace?
Lightly oil the surface or place a parchment sheet down. Flour isn’t ideal for clay; it can rub off and stain. Use a silicone mat if you have one.
How can we make it a learning activity?
Tie each creature to a nature fact or story. Ask questions like, “What sound does a turtle make?” or “Why does a chameleon change color?” It turns crafting into a quick science chat that feels natural.
Conclusion
Clay animal crafts are a breezy, joyful way to spark imagination and fine motor skills without turning your living room into a craft factory. Start small, celebrate tiny victories, and let the kid-led chaos guide the session. IMO, the best projects are the ones that feel like a playful adventure rather than a checklist. So grab some clay, pick a critter, and start building a tiny, adorable zoo with the people you love.


