An everyday bite takes on cute with a playful twist. Let’s turn toast into tiny, giggle-worthy characters that spark joy at breakfast and beyond. FYI, you’ll want to bake a little extra because these cuties disappear fast.
Why Kawaii Toast? The Charm of Tiny, Happy Faces
Kawaii is all about charm, simplicity, and a wink to the ridiculous. Toast already sits at the crossroads of breakfast and creativity, but add a face, a hat, or a cheeky accessory, and suddenly your morning feels like a party. Do you really need fancy tools? Nope—just a few everyday goodies and a big imagination. IMO, the best part is the joy these tiny characters bring to kids and adults alike.
Tools and Ingredients You Already Have
- Sturdy bread (white, whole wheat, or sourdough—your call)
- Butter or cream cheese for glue
- Natural food coloring or edible markers
- Fruit shapes or small cookie cutters (optional but cute)
- Thin slices of fruit, chocolate chips, sesame seeds, and seaweed sheets for tiny details
Simple, right? You don’t need a craft closet full of supplies to nail this. FYI, a little patience goes a long way when you’re piping tiny smiles.
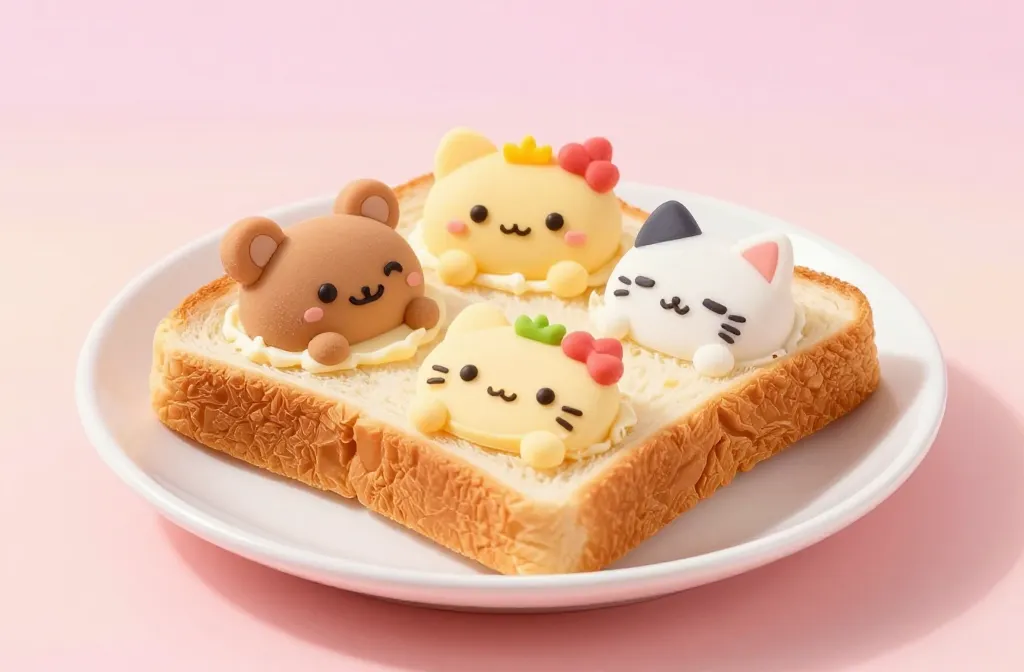
Character Concepts to Start With
Kick off with a few friendly faces. You can mix and match features for endless combos. Here are some starter ideas:
- Smiley Bear: round face, tiny ears, cheerful grin
- Sleepy Kitten: closed eyes, whiskers, a little pink nose
- Shy Panda: half-face mask, dot eyes, shy smile
- Eggplant Mascot: purple toast with a leaf hat, adorable blush
Mix colors like a painter and keep shapes simple—tiny is everything in kawaii land. Want more ideas? IMO, experiment with seasonal outfits or goofy sunglasses for a quick upgrade.
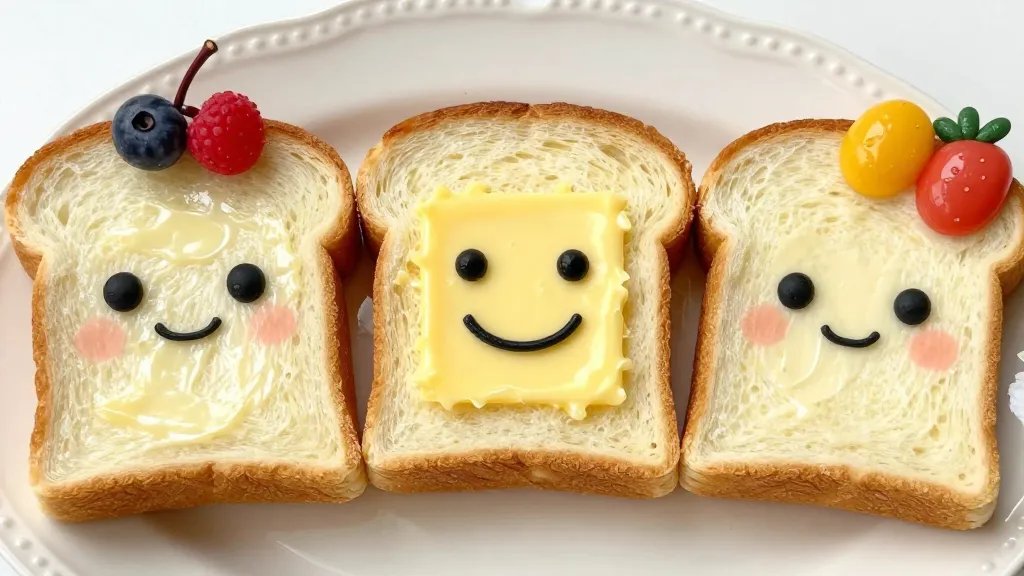
Step-by-Step: Building Your First Toast Character
- Toast your bread to a light golden color for a sturdy base.
- Spread a thin layer of butter or cream cheese. This acts like glue for the edible decorations.
- Create the face using edible markers or tiny dollops of colored frosting.
- Add features: ears, eyes, mouth, and little accessories with fruit slices or seeds.
- Finish with a glossy top coat of melted fruit jelly if you want shine.
Ready to go full-on adorable? Remember: symmetry is cute but not mandatory. If one eye is closer to the mouth, that’s character, not chaos. FYI, small deviations make each piece unique!
Useful Techniques for Clean Details
Edible Markers vs. Piping
Edible markers are perfect for quick lines and tiny features. Piping with a tiny icing bag gives you crisp edges for brows or whiskers. Pick your poison—or blend both for maximum cuteness.
Sculpting Tiny Ears and Accessories
Use small rounds of bread or cheese slices for ears, then attach with a dab of butter. For hats or bows, cut thin strips of fruit leather or seaweed sheets. A little pinch here and there creates big personality.
Seasonal Variations to Try
Why stop at plain faces? Tie your toast kits to holidays and moods. Here are a few ideas:
- Spring Bunny: carrot nose, long ears made from cheese strips
- Summer Sun: yellow toast, rays of fruit ribbons, sunglasses
- Autumn Fox: orange toast, pointy ears, leaf scarf
- Winter Snowflake: white bread with powdered sugar snowflakes
Seasonal twists keep things fresh and give you a reason to wake up earlier than your alarm. FYI, the microwave-safe markers clean up easily, so no panic if you overdo the jelly shadows.
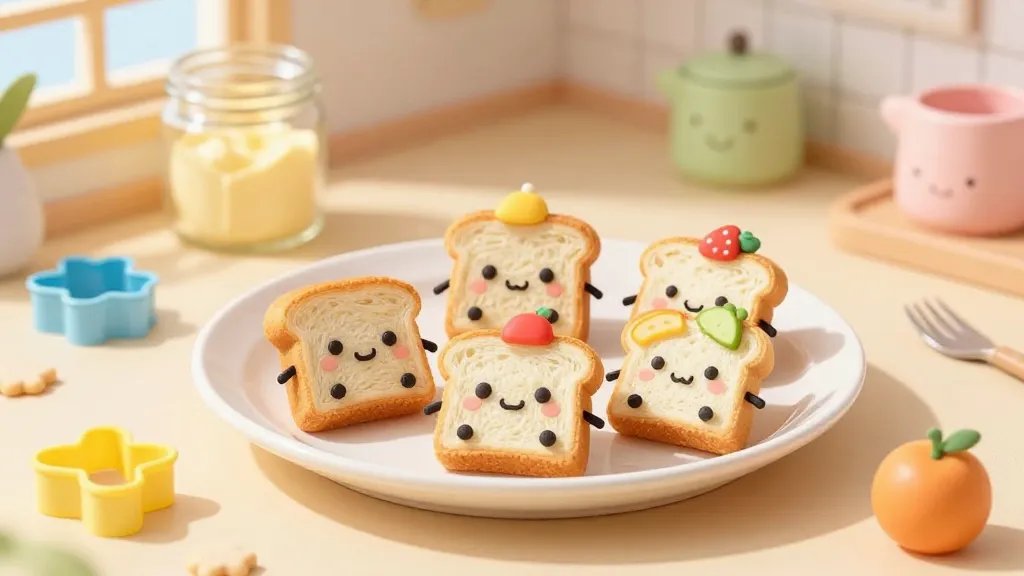
Creative Displays: Plating Like a Tiny Café
Presentation matters when you’re chasing the virality vibe. Plate your characters on a mini breakfast board with a splash of berry sauce as a backdrop. You can even arrange a little scene—a morning meadow complete with fruit flowers and a syrup sun. The more whimsical, the better.
Storage and Freshness
Toast dries out fast, so assemble just before eating. If you want to prep ahead, keep the base pieces in separate containers and decorate in the morning. A quick toast-to-face reunion keeps it fresh and fun.
Common Pitfalls and How to Avoid Them
- Overcrowding the toast—let each character breathe.
- Using too much color—bold accents work best when restrained.
- Skipping the glue step—without it, features slide away.
Stay light-handed and playful. If a feature falls off, treat it as a comic gag rather than a failure. LOL, nothing says “character evolution” like a removable ear.
Inspiration from the Community
Browse social posts of fellow crafters who turn breakfast into tiny celebrations. You’ll spot recurring motifs—a smiling sun, a sleepy cat, and goofy hats. The best ideas often come from people sharing their happy accidents and experiments. IMO, you’ll learn just as much from the misfires as from the masterpieces.
How to Collaborate with Friends
Turn your kitchen into a mini studio by inviting a friend to design a character with you. Split duties: one person handles eyes, the other the mouth and blush. You’ll laugh, you’ll snack, and you’ll create a tiny gallery on your plate.
FAQs
What is the easiest character to start with?
The Smiley Bear is hard to mess up. Round face, simple eyes, a big grin, and tiny ears. Beginners love this one because it reads clearly even from across the table.
Can adults enjoy kawaii toast, too?
Absolutely. Kawaii toast is basically edible therapy, and adults deserve cute food too. It doubles as a nostalgic reminder to slow down and savor a playful moment.
What if I have food allergies?
Use safe substitutes you’re comfortable with. Dairy-free spreads, fruit-based decorations, and allergen-safe toppings let everyone join the cute party without worry.
How long does it take to decorate a batch?
Plan on about 5–15 minutes per character, depending on complexity. If you’re making a bunch for a party, set up a little decorating station to speed things up. FYI, playlist or podcast helps the time fly by.
Any tips for kids who want to help?
Keep decorating tasks tiny and safe—let them place edible eyes or sprinkle tiny seeds. It’s less about perfection and more about creativity. The mess becomes part of the charm, not a failure.
Conclusion: Your First Cute-Toaster Gallery
Kawaii toast isn’t just breakfast; it’s a tiny, edible performance you can share with friends, family, and even enthusiastic online lurkers. You’ll get better with every character, and soon you’ll have a whole gallery of miniature toasty personalities. So grab your fruit leather, fire up the toaster, and start building a breakfast you actually look forward to. If you try a new character tomorrow, you’ll wake up with a smile on your face—trust me, it’s contagious.


