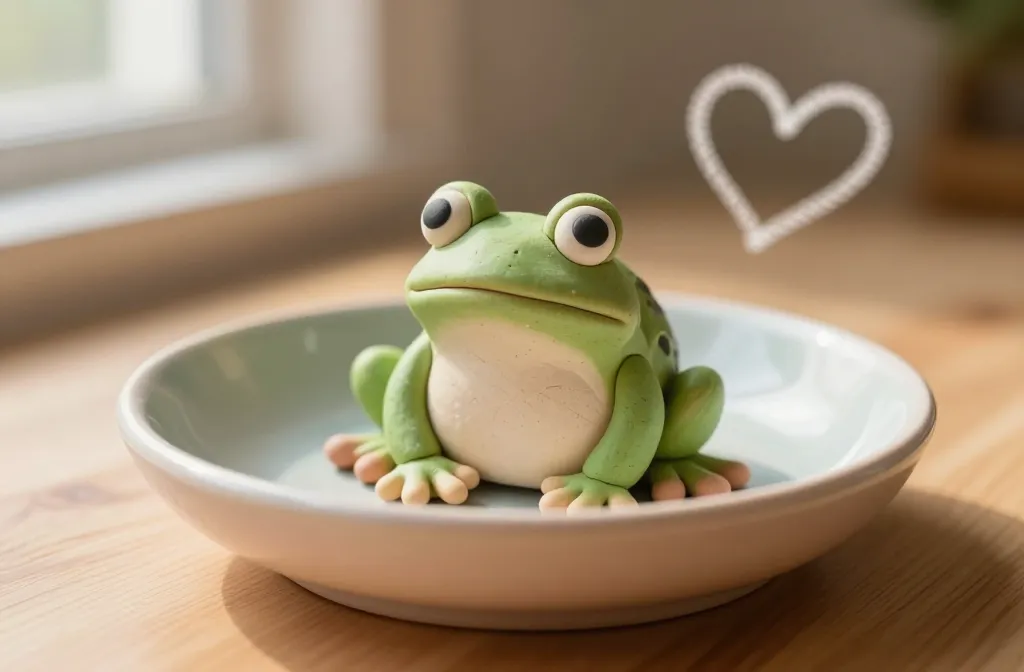
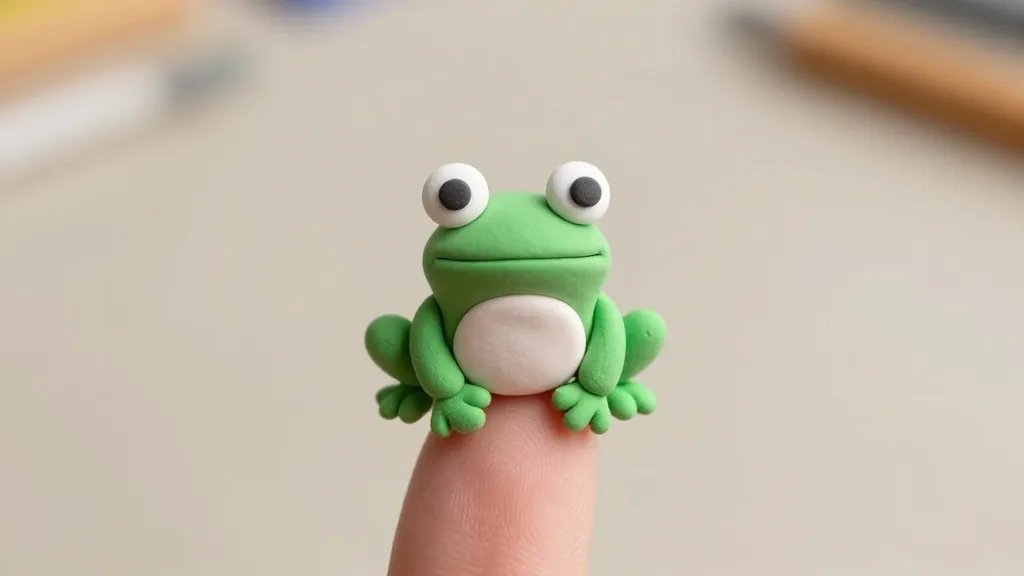
An instant mood booster in a tiny package. If you’ve ever wanted a cute project you can finish in under an hour, this one’s for you. Grab some clay, a little patience, and a goofy grin—we’re making a frog that fits on your finger and your heart.
Why a Tiny Clay Frog? The Joy of Miniature Crafting
Tiny crafts can spark big smiles. A small clay frog is approachable, satisfying, and oddly therapeutic. It’s not about perfection; it’s about the wobble in the eyes and the tiny toes that wriggle with personality. FYI, starting small lowers the pressure and raises your success rate.
What you’ll love about this project: quick results, zero special tools, and a perfect excuse to flatten your day into something playful. Ready to dive in? Let’s hop to it.
What You Need (No Overkill Required)
- Air-dry clay or polymer clay (your call—polymer requires a bake, air-dry just air dries)
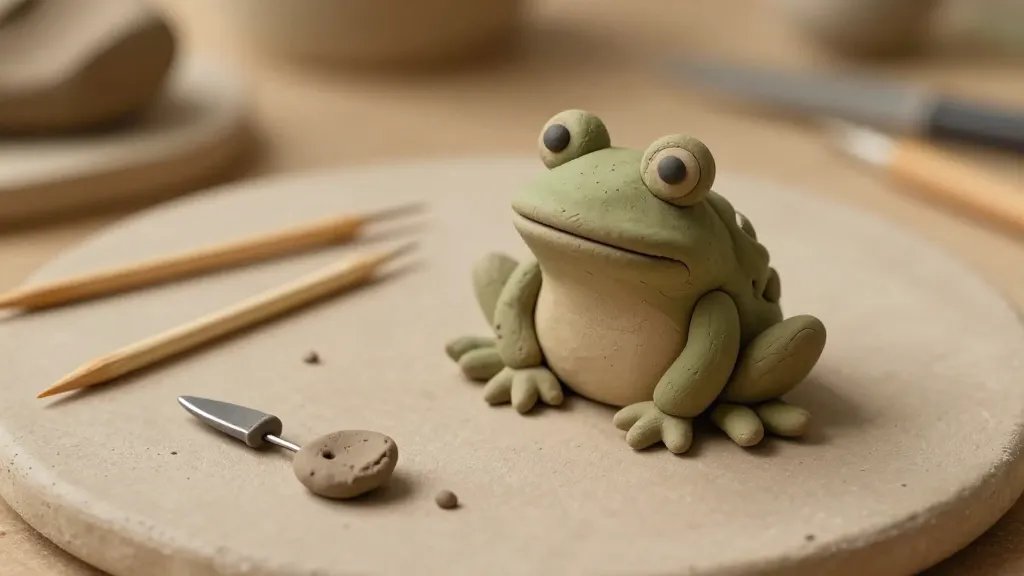
- Clay tools or simple household items: a toothpick, a needle, a small knife
- Sealant or gloss varnish (optional but fancy)
- Paint or sharpies for tiny details
- Fine brush and a tiny bit of water
- Flat work surface and a little patience
Step-by-Step: Crafting Your Tiny Clay Frog
Let’s keep this breezy. We’ll shape, sculpt, and save the wobbly charm for the end.
Step 1: Shape the Body
- Roll a small oval for the body. Think of the frog as a little potato with legs—cute and simple.
- Make a flat bottom so it can stand (or balance on a fingertip) without tipping over. If it tips, don’t stress—tiny wobbles are personality.
Step 2: Add the Head and Eye Spots
- Roll a smaller oval for the head and attach it to the body with a gentle score-and-press technique.
- Push two tiny dots for eyes. If you want real character, give each eye a little dot of white to simulate a gleam.
Step 3: The Front Legs and Back Legs
- Shape four small leg pieces. For a cute stance, position the front legs a touch forward and the back legs slightly bent.
- Attach them securely and smooth the seams for a clean look. You’re almost there!
Step 4: Texture, Color, and Personality
- Add a subtle texture by scoring tiny lines along the back. Don’t overdo it—less is more here.
- Color with a light wash or paint. Greens work, but feel free to go teal, lime, or classic frog green. IMO, a splash of yellow on the belly is adorable.
Step 5: Drying and Finishing
- Let it dry completely if you’re using air-dry clay. If you’re polymer clay, bake per the package instructions.
- Seal with gloss to give a wet-eyed frog look, or matte for a more rustic vibe. Your call, rockstar crafter.
Deeper Dives: Quick Fixes for Common Tiny-Turtle-Things
Submerged-Wing Tip: Avoid Sticky Surfaces
If your clay sticks to the table, dust the work surface with a tiny bit of cornstarch or use a nonstick mat. A clean, light touch prevents gooey glue moments.
Subtle Details That Make It Pop
A tiny white dot on each eye, a dab of pink on the mouth, or a tiny belly highlight can transform “cute” into “stunning in a heartbeat.”
Creative Variations: Make It Your Own
- Color combos: Try a spotted frog, a stripey frog, or even a metallic shimmer frog for a fantasy vibe.
- Mini accessories: A little leaf hat, a rock throne, or a tiny pond scene around your frog.
- Expressions: Swap the mouth shape to create a smirk, a surprised look, or a cheeky grin.
Glow-In-The-Dark Variant
Push the limits with glow-in-the-dark paint for a night-friendly frog. It’s goofy, practical, and perfect for desk buddies at night.
Photography and Posting: Show Off Your Tiny Masterpiece
Take a photo close up with natural light. Use a simple background that makes the frog pop. Share a quick caption like, “Tiny frog, big vibes.”—people will eat it up. FYI, a tiny prop like a leaf or a coin can create a fun sense of scale.
Preservation and Care: How to Keep Your Frog Fresh
- Air-dry clay should stay out of direct sun to avoid cracking.
- Polymer clay needs proper baking to prevent brittleness; follow the package directions exactly.
- Store in a small box or display case to prevent accidental squishing. No dramatic close calls required.
FAQ: Tiny Frog Edition
How long does it take to make a tiny clay frog?
Most people finish in under an hour, especially if you keep the design simple. If you want extra details, budget a bit more time. FYI, don’t rush the drying step—it’s the boss of the project.
What kind of clay should I use for beginners?
Air-dry clay is forgiving and doesn’t require baking, which makes it ideal for beginners. Polymer clay is fun if you want a super polished finish and you’re comfortable with baking.
Can I make a frog stand on its own?
Yes! Give the body a slightly wider base or add a tiny flat pad of clay on the bottom to stabilize it. A standing frog looks extra confident, like it’s posing for a photo.
How can I add personality without messing up the shape?
Build up tiny features gradually. Use a fine tool to add eyes and a mouth after the base drys a bit. Small strokes, big impact.
What if my frog cracks while drying?
Cracks are common with clay that’s too dry or stressed during molding. Lightly dampen the area and smooth it with your fingertip, then let it dry again slowly. Don’t panic—creativity loves a good comeback story.
Is there a way to make a tiny frog gift-ready?
Yes! Bake or dry, then place the frog in a clear mini case or tuck it into a tiny gift box with a short note. Add a tiny leaf or flower as a cute prop, and you’ve got a charming present.
Conclusion: Tiny Frog, Big Fun
If you’re feeling the itch to be crafty but don’t want a big project, this tiny clay frog is your perfect side quest. It’s fast, adorable, and surprisingly satisfying. IMO, the best part is how a small creature can spark a big grin and kick off a longer crafting session—or just stay proudly on your desk as a daily mood booster. So grab some clay, embrace the wobble, and let your inner frog whisper, “ribbit, you got this.”


