Clay crafting is a vibe, not a chore. You don’t need a dozen fancy gadgets to make something amazing, but a few well-chosen tools can save you time, frustration, and a lot of clay scraps. Let’s break down the must-haves, the nice-to-haves, and the gotchas so you can get creative without breaking the bank.
Core Tools: The Must-Haves for Every Studio
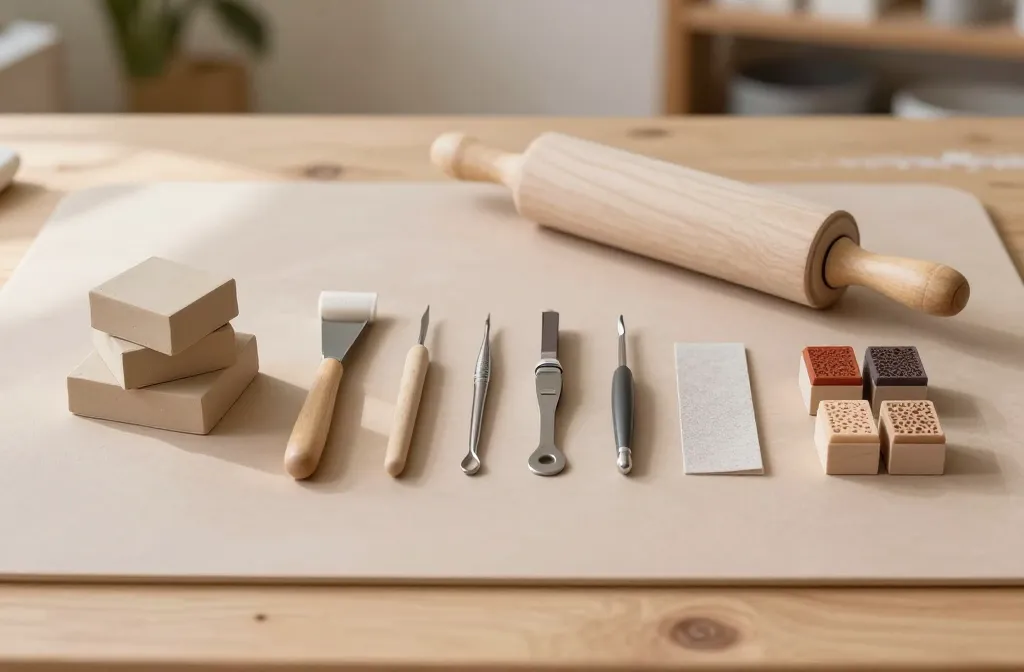
If you’re starting from scratch, these basics set you up for success. They’re reliable, affordable, and endlessly useful.
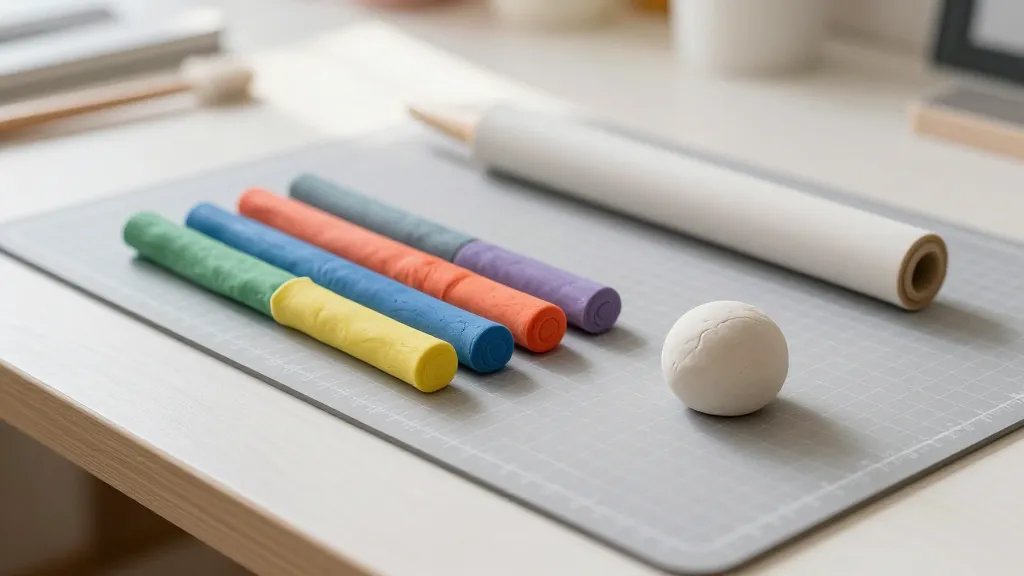
- Quality polymer clay or air-dry clay: Pick a brand you like and stick with it for consistency. I’m a fan of a clay that softens with a little kneading and bakes evenly without scorch marks. FYI, consistency matters for color blending and texture.
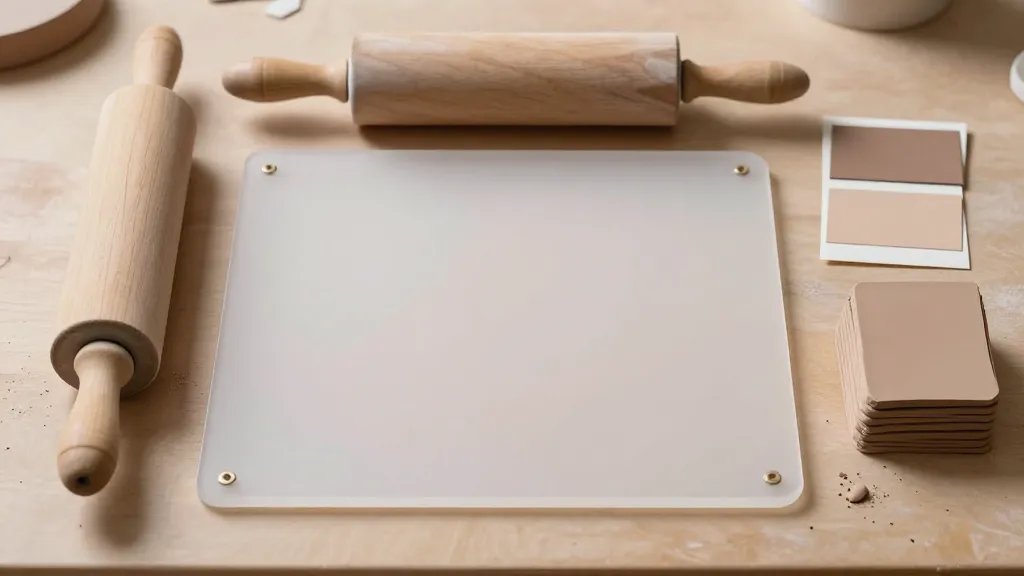
- Work surface: A smooth mat or acrylic sheet helps you roll, cut, and shape without sticking. A dedicated cutting mat doubles as a clean, flat workspace.
- Rolling tool or Brayer: For even thickness, a rolling pin or brayer makes life so much easier. Thin sheets reveal detail and prevent air bubbles in the bake.
- Clay cutting tools: A basic set of sharp blades, detail chisels, and a needle tool for piercing and scoring. You’ll reach for these more than you think.
- Sandpaper and polishing cloth: For smoothing rough edges and bringing out a subtle shine without overdoing it.
- Texture tools: Everyday objects—toothbrushes, fabric, stamps, or texture plates—add character without costing a fortune.
- Oil or clay lubricants: A tiny dab of oil or cornstarch helps with slipping textures and prevents sticking during shaping.
- Ivory or wooden shapers: For gentle shaping and petal-like curves without gouging the clay.
- Oven thermometer or heat gun: If you’re using polymer clay, an accurate oven thermometer ensures even baking temperatures.
Color and Contour: Getting the Look You Want
Clay is a playground for color and form, but chaos can strike if you don’t organize properly.
- Color mixing palette: Small cups or palettes keep your shades consistent. Label colors so you don’t end up with muddy greens at 2 a.m.
- Soft pastels and metallics: A few metallics or pearlescent powders can transform a plain piece into something festival-ready. Use sparingly—shine is earned.
- Clay coiling and bead tools: Great for beads, tiny charms, and delicate vines. Don’t force a square peg into a round hole; pick the tool that fits the job.
Techniques Toolkit: Tools That Make Techniques Possible
Certain techniques demand specific tools, so you can execute your idea without fighting the clay.
Shaping and Smoothing
- Ball stylus for hollowing and smoothing concave surfaces.
- Soft brushes for delicate smoothing and dust removal without marring edges.
- Fimo skin or conditioning machine optional but magical for uniform conditioning of large batches.
Sculpting Details
- Needle files and precision knives for fine lines and intricate textures.
- Loop and ribbon tools for sculpting, trimming, and carving deeper details.
Finishing and Preservation: Keeping Your Work Safe
Your piece should survive the shelf life of your curiosity, not crumble in a week.
- Sealants: A gloss or satin sealant can protect polymer clay pieces. Test on a scrap first to see how it interacts with your colors.
- Varnish for air-dry clay if you want a durable finish that resists fingerprints and moisture.
- Storage tins and organizers: Small, labeled containers keep colors and tools tidy, so you actually finish projects instead of hunting for the red clay in a black hole of scraps.
Workspace Hacks: Make Life Easier
A comfy, efficient space saves you from getting discouraged after the first failed roll.
- Non-stick surfaces keep clay from grabbing onto surfaces and sticking where it shouldn’t.
- Dedicated power strip for tools like e-wheaters or compact lights so you’re not chasing outlets mid-project.
- Good lighting: A daylight-balanced lamp makes colors pop and reduces eye strain during long sessions.
Organization Deep Dive
- Color-blocked organizers keep color families together and prevent accidental mixing of dyes.
- Cloth bags or zip pouches to store rolled clay for quick access and preserved softness.
Safety and Maintenance: Keep It Fun, Not Frustrating
Clay crafting should feel creative, not risky. Take these simple precautions.
- Ventilation if you use polymer clays in ovens; follow product guidelines to avoid fumes.
- Clean hands and tools between color changes to prevent color bleed and mud alike.
- Regular tool checks replace dull blades to prevent slips and injuries.
Projects That Spark Inspiration: Quick Ideas to Try
Want something doable this weekend to test your setup?
- Miniature food charms with textured surfaces using everyday texture tools.
- Beaded jewelry with polymer clay beads and metallic accents.
- Hollow hummingbird pendants by learning simple hollowing techniques.
FAQ
Do I really need all these tools right away?
Start with the essentials: good clay, a rolling tool, basic blades, a smooth mat, and some sandpaper. You’ll quickly discover what you reach for most and can add tools gradually.
Is polymer clay better than air-dry clay for beginners?
Polymer clay offers bake-hard durability and a wide color range, but air-dry clay is forgiving and mess-free. If you want something sturdy that won’t require an oven, air-dry is a solid starting point. IMO, try a couple of different clays to see which vibe you prefer.
What’s the best way to store clay so it stays usable?
Keep clay wrapped or in airtight containers to prevent it from drying out. For multiple colors, color-block containers reduce color bleed. FYI, sealed is key.
How do I prevent air bubbles in polymer clay?
Knead well to condition, roll evenly, and gently press out air before baking. If bubbles form, poke them with a fine needle and re-bake briefly if needed.
Are texture tools worth buying or should I DIY?
DIY textures are fantastic for experimentation and cost-saving. Tools save time and give you consistent results, but you can absolutely start with household items to explore styles.
What’s the best finish for polymer clay pieces?
A light sealant or glaze keeps colors vibrant and protects your work. Test on scraps to see how it affects color depth and finish before finishing a big piece.
Conclusion
Clay crafting thrives on a thoughtful toolkit and a curious, playful mindset. Start with the basics, build your favorites, and let your projects guide what you add next. FYI, you don’t need a showroom of gear to create something meaningful—just enough to keep your hands busy and your imagination loud. Happy shaping, friend!


