An absolute DIY joyride kicks off here. If you’ve ever admired those tiny animal clay charms and thought, “I could totally pull that off,” you’re in the right place. Grab polymer clay, a little elbow grease, and a big dash of whimsy—we’re making adorable keychains you’ll actually want to show off.
Why DIY clay keychains are secretly therapeutic
Polymer clay is basically adult-coloring book vibes with tiny sculpting power. You squeeze, you shape, you snap a goofy grin on a fox or a fluffy cat, and boom—stress receipts vanish. FYI, the process is satisfyingly low-stakes: mistakes just get squashed and reimagined. And yes, the cute factor is scientifically proven to boost mood… probably.
Getting started: what you’ll actually need
Before you dive into the adorable chaos, assemble a simple kit:
- Polymer clay in a few colors
- Clay tools or simple household substitutes (toothpicks, a pin, a small knife)
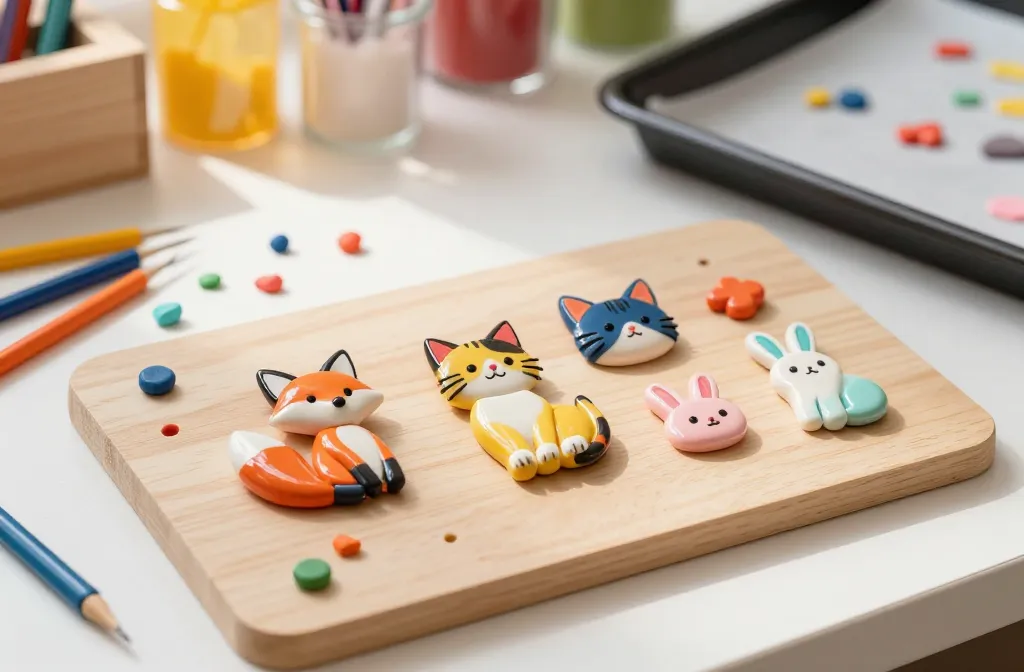
- Sculpting display board or a baking tray lined with parchment
- Wire keychain parts or keyring loops
- Oven or toaster oven for baking (follow the clay’s instructions)
- Glaze or sealant for extra shine
- Thin felt or fabric scraps for tiny accessories
Not sure about the colors? Start with a base animal shade and add tiny contrasting accents. Pro tip: bake in small test shapes first so you don’t melt your masterpiece.
Character ideas that practically design themselves

The magic of clay is how quickly a character comes to life when you start with a simple silhouette. Here are some crowd-pleasers you can whip up in a weekend:
- Playful panda with a lil’ bamboo snack
- Smiling corgi with perky ears
- Sleepy sloth hanging from a branch
- Whimsical fox with a fluffy tail
- Chirpy owl wearing oversized glasses
If you want to push your skills, try teeth-grit mouth lines, tiny paws, or little accessories like hats, scarves, or glasses. The cuteness is unlimited—use it as your creative compass.
Step-by-step: transforming clay into charming keychains
Here’s a simple, reliable path you can follow:
- Condition your clay to make it pliable. Knead until soft and smooth.
- Shape the base animal form with your hands. Keep it small—keychains shine when they’re compact.
- Add details with a sharp tool or needle: eyes, nose, fur texture, and tiny paws.
- Seal with a light glaze if you want extra gloss. Let it dry a bit before moving on.
- Attach the wire loop and the key ring. Make sure it’s secure but not bulky.
- Bake according to the clay’s directions. Start with a low temp and short time, then test a small piece.
- Finish with a clear sealant for durability. Optional: apply a tiny dot of gloss for lifelike eyes.
Common mistakes to avoid (and how to fix them)
- Too thin limbs that snap—keep proportions sturdy and bake gently.
- Excess moisture—don’t over-handle after baking; moisture can cause cracking.
- Sticky surface—dust and sealants fix a lot, but give it time to cure completely.
Finishing touches that take your keychains from cute to iconic
You’re almost there, so add personality with these simple flourishes:
- Mini accessories: scarves, hats, or tiny backpacks made from scrap felt
- Glossy eyes with a dab of white paint or enamel for a lively stare
- Two-tone shading on the fur to give depth without getting too messy
- Seasonal themes: a bunny with spring flowers or a penguin wearing a scarf
Storage, care, and how to prevent breakage

If you want your creations to last, think care and storage:
- Keep them away from direct sunlight to prevent color fading
- Avoid bending the wire loops; test balance by gently tugging before gifting
- Store in a soft box or wrap individually to prevent chipping
- Wipe with a dry microfiber cloth if dust bunnies appear
If you’re worried about breakage, consider adding a backing plate behind the animal for extra sturdiness. FYI, small changes here pay off in the long run.
Sharing and gifting: turning hobbies into little joy-spreaders
DIY keychains make fantastic gifts for friends, teachers, or coworkers who deserve tiny smiles. People love receiving a handmade trinket that carries a personal touch. Want extra bragging rights? Create a mini “starter kit” with a few different animals so friends can pick their vibe.
FAQ
Are polymer clays safe for kids to use?
Polymer clay is generally safe when used with adult supervision. Some brands require baking at specific temperatures; ensure kids understand the safety steps and keep sharp tools out of reach. Always read the packaging for any age recommendations.
Can I bake multiple animals at once?
Yes. Space them out on the baking tray so they don’t touch. If you’re baking several colors, keep each color in its own section to avoid color transfer.
How do I fix cracked or misshapen pieces?
If a piece cracks, you can buttress it with fresh clay and re-bake. For misshapen shapes, rework while the clay is still pliable or start over with a clean sheet and reshape.
What finishes look best on animal keychains?
A light glaze provides a gentle shine and helps with durability. For a cuter look, add a dab of matte sealant to keep the fur texture visible. If you want gleam, a clear gloss delivers that pop.
What’s the best way to attach a keyring without breaking the piece?
Make sure you create a small hole or indent near the top before baking to anchor the ring. Use a sturdy jump ring or a small rivet to secure it, and avoid forcing it after baking.
Can I repaint or reassemble after drying?
Yes, you can repaint after baking once the piece has cooled. Use acrylic paints for details and seal again to protect the finish. Reassembly works best with tiny amounts of fresh clay to attach any new features.
Conclusion
DIY clay keychains with cute animals are a delightful, hands-on way to unleash creativity and make something so charming you’ll want to carry it everywhere. Start with a simple panda or fox, then slowly layer in personality with tiny accessories and careful detailing. IMO, the best part is showing off your finished pieces to friends and seeing the delighted reactions. So grab your clay, pick a critter, and start sculpting—your future mini art gallery is waiting.


