An introduction for this guide: if you’ve ever wanted a tiny, adorable project you can actually finish before lunch, clay hamsters are your new obsession. Spoiler: they’re easier than you think, and they look unbelievably cute when you’re done. FYI, this is the kind of crafty hobby that sticks around long after you’ve given your first mini wheel a spin.
Why Clay Hamsters? What’s the Big Appeal?
Clay hamsters are basically portable happiness. You can sculpt them in minutes, pose them in goofy ways, and customize them to your heart’s content. They’re inexpensive, crash surprisingly well with your existing decor, and the tiny squeaks in your brain when you finish one are priceless. Want a tiny buddy on your desk? This is your move.
- Low barrier to entry: simple shapes, forgiving clay, quick results.
- Endless customization: colors, outfits, accessories, you name it.
- Therapeutic vibes: focusing on tiny details can be oddly calming.
The Basic Tools You Actually Need
You don’t need a full art studio to start. Here’s a lean, friendly toolkit to get rolling.
- Polymer clay in a few colors (tan, brown, white, black are a good start).
- A small sharp blade or craft knife for clean lines.
- Needle tool or toothpick for details.
- Soft clay conditioning surface like a silicone mat.
- Clay conditioner or a hairdryer for a quick bake if your clay needs it.
- Optional: a tiny baking tray and parchment paper.
Tip: Start with air-dry clay if you’re not into baking yet—no oven required, and you can fix mistakes with a bit of water.
First Baby Steps: Building Your Tiny Hamster
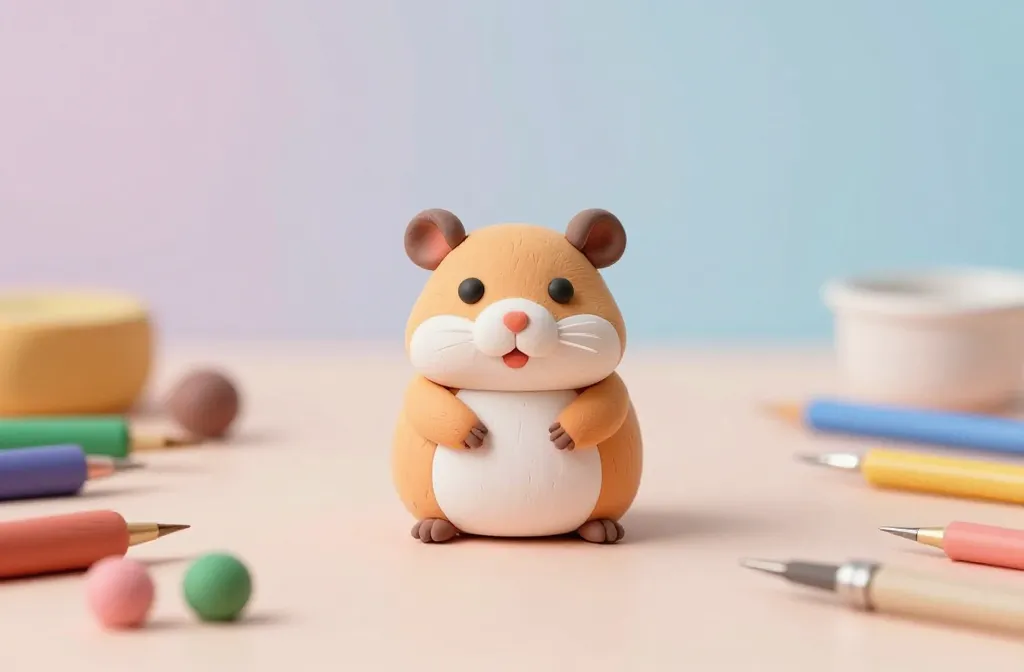
Begin with the classic hamster shape—a chunky body, a round head, and tiny ears. Don’t overthink it; you’ll adjust as you go.
Body and Head Proportions
Shape a plump oval for the body, then roll a smaller ball for the head. Attach with a pinch of its own clay or a dab of water if you’re using air-dry clay. Keep the neck area a touch wider so the head sits comfortably.
Ears, Eyes, and Nose
Roll two tiny ear shapes and flatten them a bit to give a natural look. Place two small black dots for eyes and a little pink or brown dot for the nose. If you want extra cuteness, add a tiny white dot in each eye to simulate a twinkle.
Feet and Tail
Create four little foot shapes and tuck them under the body. A stubby tail is basically a tiny teardrop attached to the back—super cute and super tiny.
Color, Texture, and Personality
Color choices can transform your clay hamster from “meh” to “OMG adorable.” Think warm browns, creamy whites, or playful grays.
- Dry-brushing tiny fur texture with a dry brush or the edge of a toothpick adds realism.
- Two-tone fur looks adorable—lighter belly, darker back.
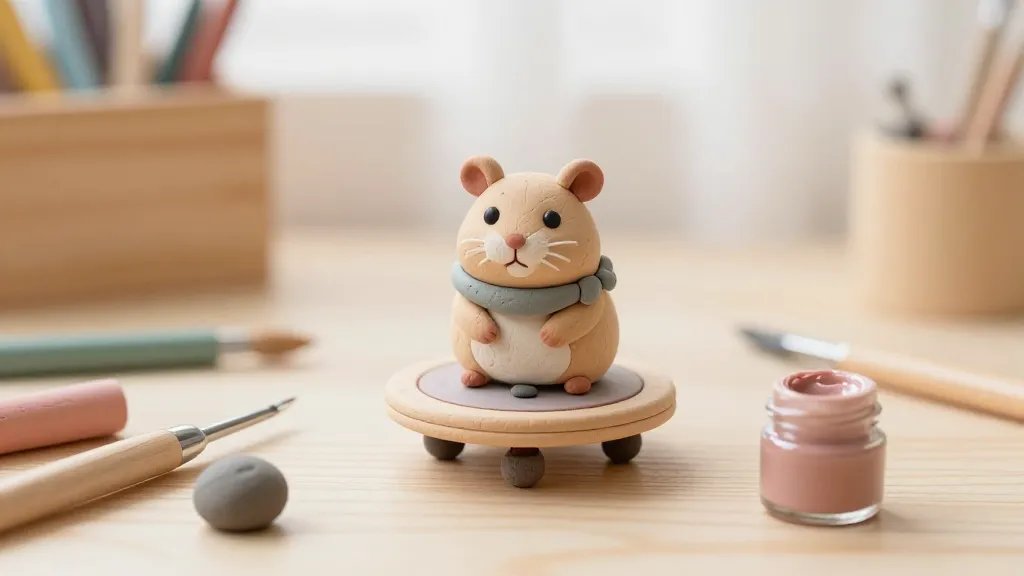
- Accessorize with a little scarf, bow, or tiny wheel to highlight personality.
Making Fur Texture without a Fur Grinder
Gently drag a fine-tipped tool along the body to simulate short fur. Don’t press too hard or you’ll flatten your sculpture. The goal is subtle texture, not a gravity-defying fur avalanche.
Practice Makes Pretty: Common Mistakes to Avoid
We all mess up; the key is learning fast and laughing about it.
- Overworking the clay: you’ll lose the smoothness. Stop when you like what you see.
- Too much water with air-dry clay: it can become sticky. Blink, then dry it a bit before reworking.
- Forgetting to seal or bake correctly: read your clay’s directions and follow them closely.
Display Ideas: Cute Ways to Show Off Your Hamster
Your finished hamsters deserve a stage. Here are fun, low-effort display ideas.
- Mini shelf trio: line up a few different outfits or expressions.
- Desk buddy setup: place a tiny wheel or a pretend carrot for a scene.
- Color block backdrop: a solid, soft board makes your hamsters pop in photos.
Photography Tips for Your Tiny Masterpieces
Natural light is your best friend. Shoot from a slightly above angle, and use a plain background to avoid distractions. FYI, a simple phone camera works perfectly here.
Advanced Fun: Quick Customization Tricks
If you’re getting hooked, here are some easy upgrades to try.
- Patterns: add stripes or spots with a fine tool for extra charm.
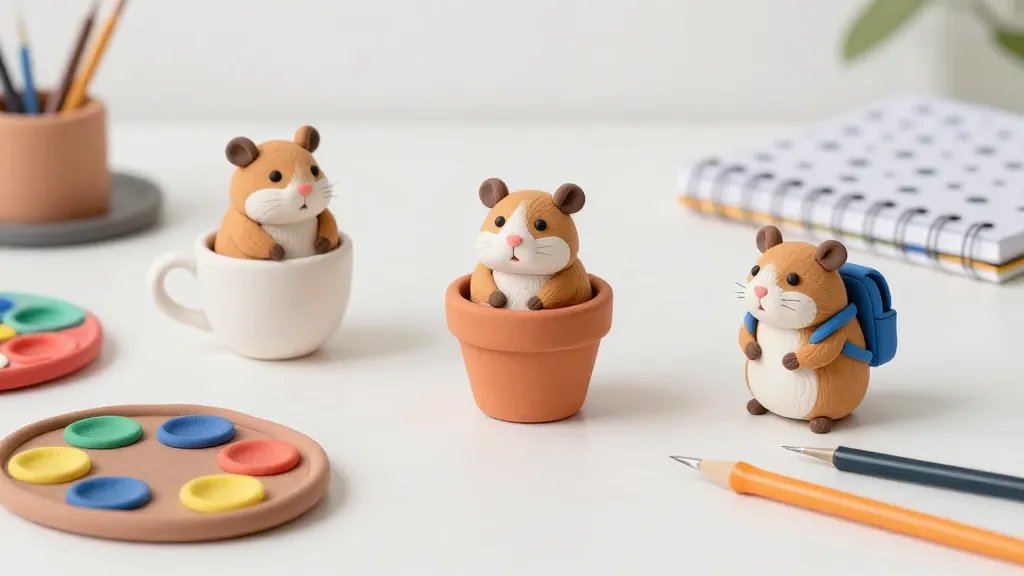
- Mini clothes and accessories: make a tiny scarf, hat, or backpack.
- Seasonal variants: Halloween pumpkin cheeks or Christmas hats—tiny holiday vibes!
Miniature Wheels and Carrot Accessories
A tiny wheel is surprisingly satisfying to craft. Use a circular shape with a thin outer ring and a small inner disc. Attach to the base with a gentle press. Carrot props can be made from orange clay with a green top—super cute when perched in a paw.
Maintenance and Longevity: Keeping Your Clay Hamsters Fresh
If you bake, air-dry, or display them near sunlight, some care helps them stay cute longer.
- Avoid direct sun to prevent fading.
- Store in a dust-free container when not on display.
- Clean gently with a soft brush if needed—no harsh chemicals on clay.
FAQ
What clay should a beginner start with?
Air-dry clay is the easiest option for beginners. It doesn’t require an oven and you can fix mistakes with water. If you prefer baking, polymer clay is a great choice—just follow the package instructions and bake at the recommended temperature.
Do I need special tools to make my first hamster?
Not at all. Start with basic items: a small craft knife, a toothpick or needle tool, a silicone mat, and some clay colors. You’ll likely discover tiny tools you love, but you can absolutely begin with the bare minimum.
How long does it take to finish a cute clay hamster?
Most beginners finish a simple hamster in under an hour, including a few dries and fixes. If you’re detailing fur or adding accessories, set aside a couple of extra sessions. Patience pays off with extra cute results.
How can I fix mistakes without starting over?
Gently smooth the area with a damp finger or tool, or roll fresh clay and blend it in. If you’re using air-dry clay, a light mist of water helps rework. Don’t be afraid to adjust shapes—practice makes perfect.
What’s a fun first project beyond the basic hamster?
Try a hamster squad: two or three little hamsters in a tiny wheel scene. Switch up colors and accessories for a mini diorama. It’s incredibly satisfying to display a little plot twist that’s all your own.
Conclusion: Your Cute Clay Hamster Journey Starts Here
So you’ve got the basics, a few pro tips, and a handful of creative ideas to try. The real magic is in starting small and letting your imagination run wild. FYI, you’ll surprise yourself with how quickly practice turns into a charming collection of mini hamsters that light up your desk, your photos, and your feed. Get sculpting, share your progress, and most of all—have fun with it.


