An earful of clay, a splash of personality, and suddenly your faces stop being blobs and start telling stories. If you’ve ever looked at a sculpture and thought, “I could do better,” you’re in the right place. Let’s make clay faces that feel alive, not lifeless mugs.
Why Expressiveness Matters in Clay Faces
Clay is a storytelling medium. A raised eyebrow, a crooked smile, or a tired gaze can broadcast a whole mood without a single word. Expressive faces grab attention, invite interpretation, and keep viewers curious. FYI, the best faces aren’t perfect—they’re honest, a little quirky, and undeniably human.
Materials and Tools You’ll Actually Enjoy
– Fresh polymer clay or air-dry clay: choose your vibe (colorful or natural).
– Basic sculpting tools: loop, needle, and a chopstick can work wonders.
– Armature: some aluminum foil and a wire for sturdy heads.
– A smooth workspace and some spray bottle mist for hydration.
– Optional: acrylic paints, varnish, and a tiny brush set.
Here’s a quick pro tip: keep a tiny damp sponge nearby to smooth seams without overworking the clay. It’s the difference between “eh” and “wow.”
Starting with a Playful Plan, Not a Perfect One
Starting with a vague idea is fine—in fact, it’s ideal. Sketch a quick idea or snap a photo of a face you love and translate it into clay. Don’t chase realism at first; chase personality.
How to build a solid base
– Create a simple head form with a light armature. It doesn’t need to be fancy; a foam ball wrapped in foil works.
– Attach a neck and shoulders with a pinch of clay to keep the head anchored.
– Add a basic spine pose if you want the character leaning or turning.
– Keep the proportions slightly exaggerated: bigger eyes can read more expressive; a pronounced brow elevate emotion.
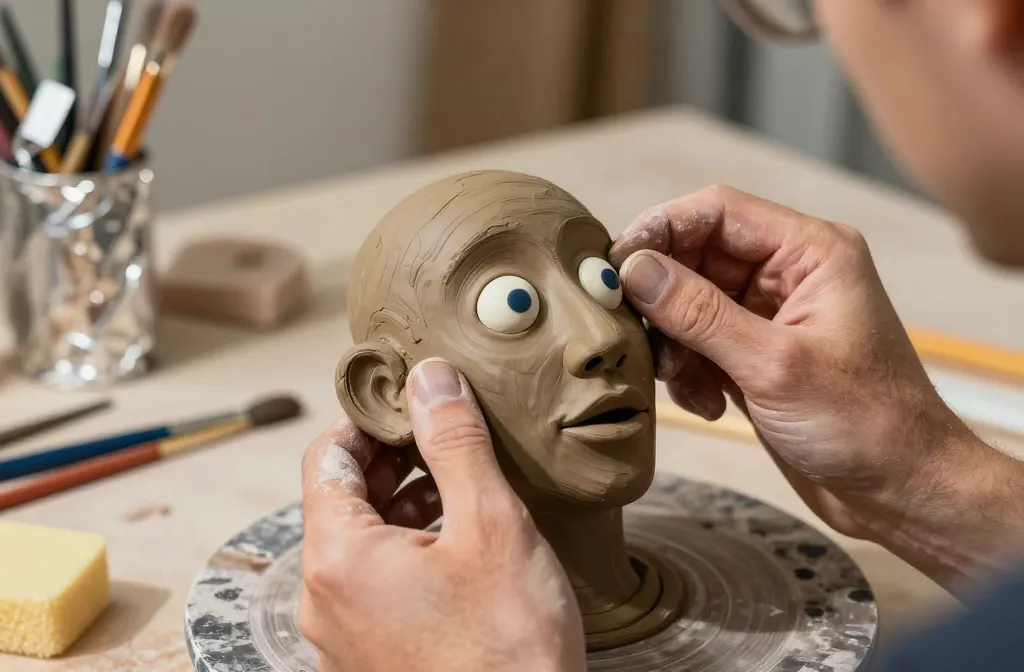
Eyes: The Windows to the Clay-iverse
Eyes are everything. They convey happiness, mischief, fear, or mischief about fear. It’s hard to fake genuine emotion if the eyes don’t land.
Making expressive eyes that don’t freak out the塑
– Start with two shallow sockets, then press a round eye shape into each.
– For life, add a tiny highlight “dot” of white paint or clay to catch light.
– Slightly tilt one eye higher than the other for a sly or surprised look.
– Consider a subtle upper eyelid crease to soften or sharpen the gaze.
If you’re feeling brave, experiment with asymmetry. Humans aren’t perfectly symmetric, and that’s what makes a face feel real.
Brows and Mouth: The Dynamic Duo
Brows frame emotion; a mouth communicates intent. Together, they’re the face’s punctuation marks.
Brow behavior
– Thick, straight brows create intensity.
– Curved, arched brows suggest curiosity or mischief.
– A single raised brow reads as “I know something you don’t.”
Mouth talking without words
– A tiny upturned corner reads as a smile; a downturned mouth signals sorrow.
– Add a smidge of lip line or a subtle chin dimple to suggest age or personality.
– Open mouths convey surprise or talkativeness. Use a small gap rather than a big scream—subtlety wins drama.
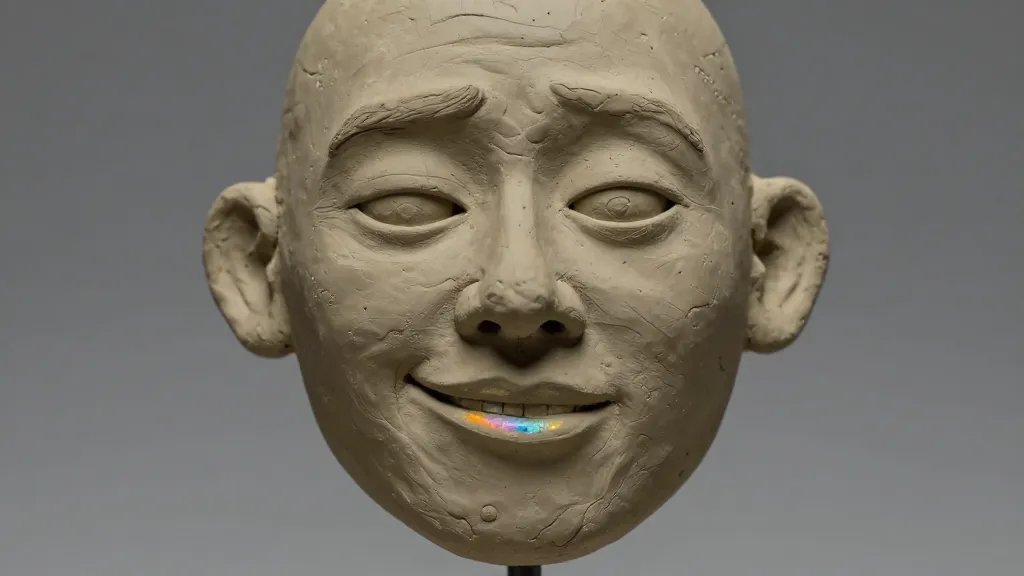
Texture and Character: Skin, Scars, and Story Clues
Texture makes a face feel lived-in. Smooth is clean, but texture adds history. Scars, freckles, acne, or wrinkles—these details tell a story.
– Use a dry brush technique with a soft bristle to add gentle texture.
– For scars, imprint a thin line with a needle or fine tool, then dampen and blend.
– Add a tiny amount of contrasting color in the crevices to suggest shade.
Don’t go overboard—just enough to give the skin a personality without turning the sculpture into a map of the moon.
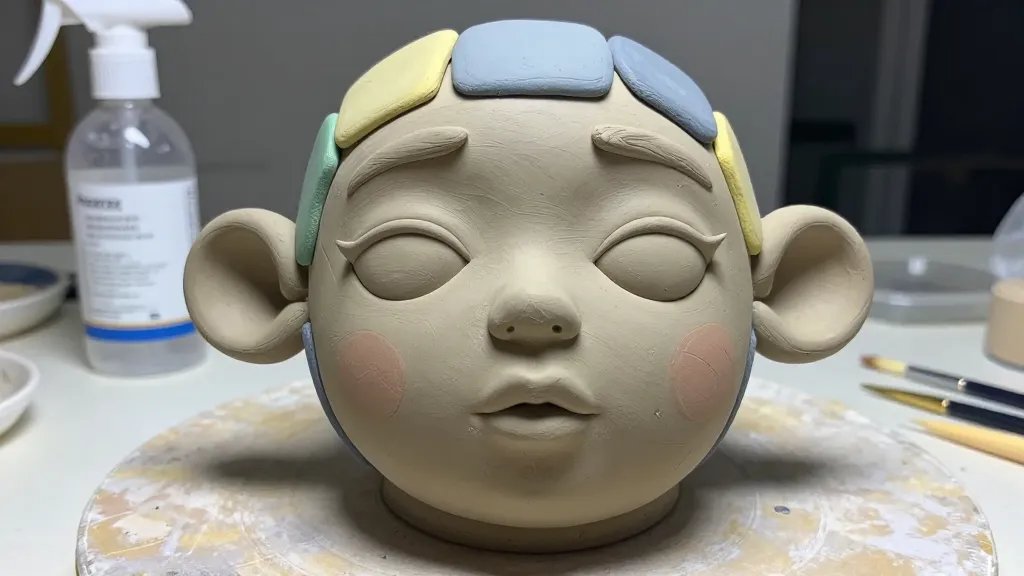
Hair, Hats, and Accessories: The Finishing Touches
Hair is a mood booster. It frames the face and nudges the vibe toward playful or serious.
– Soft curls, spiky bits, or a sleek bob can dramatically change expression.
– Attach a hat or hood to alter context instantly—pirate, librarian, or rockstar, you choose.
– Keep edges and seams clean where hair meets skin for a polished look.
Painting: Bringing Color Without Drowning the Expression
Paint breathes life into the clay, but too much can mute the emotion you built with form.
– Start with a base skin tone and build shadows with a couple of midtones.
– Use a fine brush for eyelids, lips, and subtle lines around the eyes.
– Seal with a matte varnish to avoid that plastic shine that kills personality.
If you’re hesitant, remember: less is more. A touch of color around the eyes can be more expressive than a fully shaded mug.
Dealing with Common Pitfalls
– Over-smoothing: You’ll lose character if you erase every line. Embrace the quirks.
– Flat expressions: If the face feels dead, adjust the brow and mouth into a small, telling tilt.
– Uneven aging: Don’t chase realism—decide on a story (elder statesperson, fearless teen, bumbling adventurer) and keep the features consistent.
Practice Routines That Speed Up Your Progress
– Daily quick sketches: 5-minute clay faces to train your eye for expression.
– Copy a look you love, then morph it: change the eyelid shape, tilt the mouth, see what changes.
– Keep a small “face library” of poses you can reference next time.
FAQ
What materials are best for beginner expressive faces?
Newcomers do well with air-dry clay or polymer clay plus a cheap set of sculpting tools. Start simple, then upgrade tools as you get the hang of shaping and smoothing.
How can I avoid my faces looking plastic or dead?
Focus on expression in the eyes and mouth first. Don’t over-smooth every line. A few deliberate creases and a little texture beat a blank, glossy finish every time.
How do I attach hair or accessories without breaking the sculpture?
Use a small amount of slip (wet clay) to bind pieces. Let it cure a bit before moving the sculpture to avoid cracking. If you’re using polymer clay, bake in stages if your piece has heavy attachments.
Can I paint on top of dry clay, or should I seal first?
You can paint on dry clay, but a light primer or base coat helps colors sit evenly. Finish with a matte sealant to keep the expression readable.
What’s the quickest way to get a good expression on a first face?
Aim for a slight eyebrow lift and a small curved mouth. Add a tiny tilt to one eye and a raised lid to convey a moment of thought or mischief. Then step back and smile at the result.
Conclusion
Expressive clay faces aren’t about perfection; they’re about storytelling. Every line, bend, and texture is a sentence in your character’s mini biography. The more you practice, the more your sculptures will speak—loudly, clearly, and with just the right amount of whimsy. So grab your clay, turn up the music, and start sculpting faces that won’t bore you or anyone else.


