An earthy hobby becomes ultra-sugary with clay characters that vibe like kawaii mascots from Tokyo toy stores. If you adore tiny, glossy faces and chonky bodies, you’re in for a treat. Let’s dive into how to craft these adorable little creatures without turning your workspace into a glitter explosion.
What Makes Kawaii Clay So Irresistible
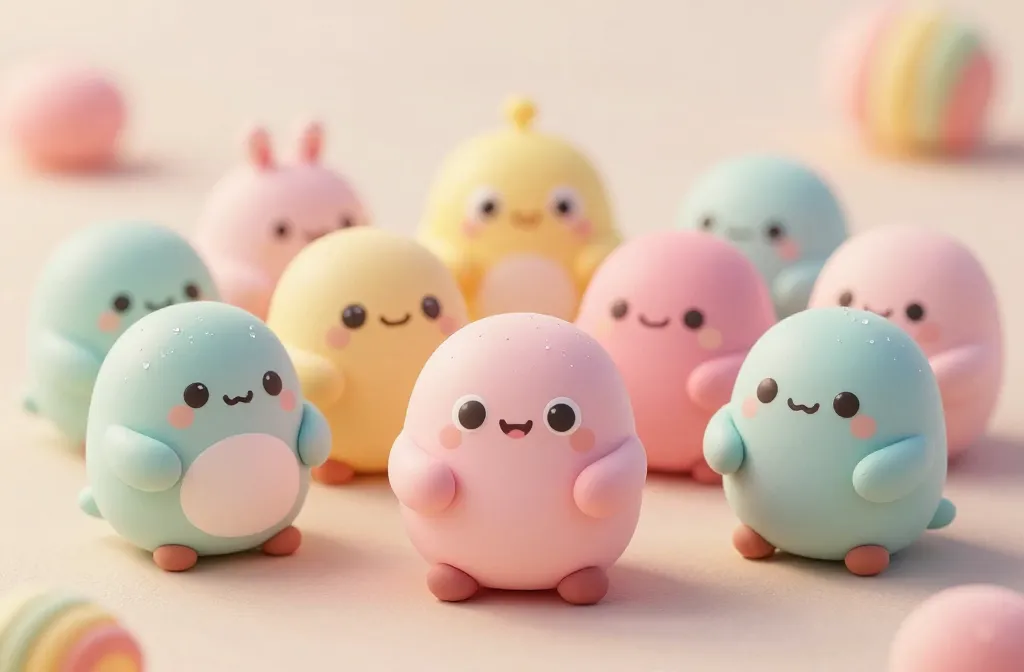
- Soft shapes, big eyes, and tiny mouths create instant warmth.
- Bright pastels and glossy finishes mimic that candy-coated charm.
- Simple, expressive poses tell stories without saying a word.
Have you ever seen a piece and thought, “I could stare at this all day”? That’s the magic of kawaii-inspired clay. It’s not just a look; it’s a mood that invites friendly vibes and playground-level joy. FYI, you don’t need a mega setup to start—just a lamp, a stack of clay, and a dash of whimsy.
Choosing the Right Clay and Tools
- Air-dry clay for quick, mess-free projects.
- Polymer clay for durable pieces that bake at home.
- Gloss glaze to get that glassy kawaii shine.
- Basic sculpting tools: needle, blade, smoothing sponge.
Do you want the soft, squishy feel or a bit more firmness? IMO, starting with air-dry clay is the easiest path to fast wins, then graduate to polymer clay for longevity. FYI, always knead a bit before shaping to avoid cracks. Pro tip: store unused clay in airtight bags to keep it fresh and pliable.
Character Concepts That Nail the Aesthetic
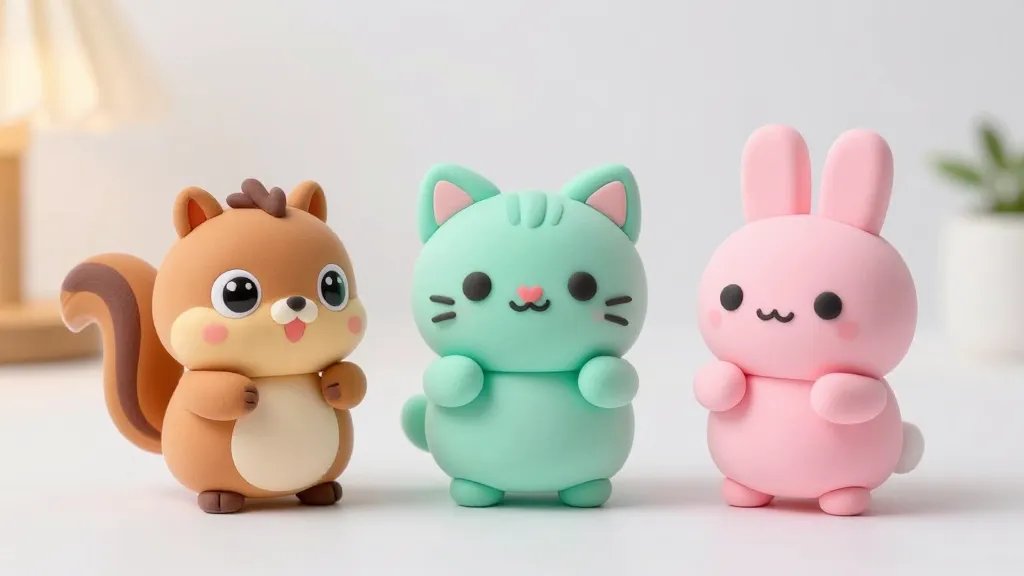
Chibi Animals With Giant Butts Of Cuteness
Tiny foxes, chubby cats, and pudgy bears steal hearts with oversized heads and petite bodies. Keep the proportions playful and exaggerate facial features to maximize charm.
Food-Themed Buddies
Cupcake cats, donut dogs, and ramen ramen-chan style characters are not only adorable but endlessly memeable. Think glossy frosting, little sprinkles, and mischievous expressions.
Fantasy Friends With Soft Edges
Unicorns, tiny dragons, and cloud sprites look perfect when you blur the edges and add a soft halo. A pot of tea in a cloud-shaped cup? Yes, please.
Painting and Finishing for a True Kawaii Glow
- Use pastel acrylics for smooth, even color blocks.
- Apply a thin layer of gloss varnish to mimic glassy eyes and shiny cheeks.
- Dot highlights on eyes and mouths to keep the gaze lively.
A good finish makes all the difference. It’s the difference between “cute” and “omg I want to hug it.” If you’re not into high gloss, satin finishes still read kawaii, just with a more understated vibe. Remember to let each layer dry fully before the next to avoid smudges.
Expression Is Everything: Crafting Emotion in miniature
The eyes do most of the talking here. Enlarge the irises, add tiny white spots for sparkle, and give the mouth a tiny upturned curve for that permanent “happiness in a teacup” vibe. If you’re feeling cheeky, swap the mouth for a tiny “smirk” to add personality.
FYI, facial expressions guide viewers’ emotions even when the character is silent. A single tilt of the head and a wink can turn a plain figure into a story.
Making Accessories That Spark Joy
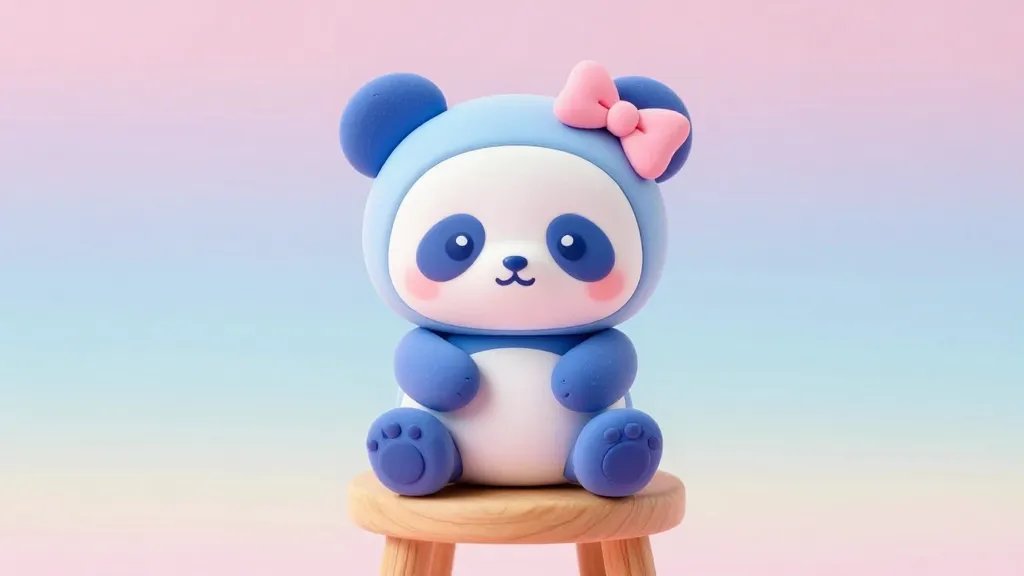
- Mini hats, bows, and tiny scarves frame the character’s personality.
- Simple props like a teacup, cloud pillow, or bone-shaped dish add context.
- Textured outfits via tiny patterns create depth without complicating the design.
Accessories should feel like a cherry on top, not a burden. Bold, cute designs read well at small scales, so keep details crisp and not overstuffed. If you’re lazy like me, a single adorable accessory can define the whole piece.
Displaying and Photographing Your Cute Creations
- Use a soft, solid background to let the figure pop.
- Natural light helps eyes look glassy and alive.
- Capture close-ups of the eyes and texture to showcase your technique.
Presentation matters. A tiny easel or a flat, pastel-colored surface can transform your post from “meh” to “wow.” When you shoot, avoid harsh shadows and aim for a gentle glow that mirrors that kawaii softness from the studio lights.
Subtle Lighting Tricks
Try a lightbox or white foam board with a warm LED. Angle the light to bounce off glossy eyes and cheeks for that signature sparkle. If shooting at night, a small ring light works wonders without washing out colors.
Community, Challenges, and Growth
Kawaii clay isn’t just a hobby—it’s a tiny, joyful community. Sharing WIPs (works in progress), asking for feedback, and joining monthly challenges can push your skills in fun directions. IMO, you’ll learn faster by comparing notes with others who obsess over the perfect glossy eye as much as you do.
Join local meetups or online groups; you’ll find trick trades, swap resources, and maybe even a buddy to trade critter selfies with. FYI, a kind comment goes a long way. Positive energy fuels creativity.
FAQ
What is the easiest kawaii clay project to start with?
Begin with a simple chibi animal or a tiny cupcake character. Keep the shapes round, eyes large, and the mouth smiling. It’s a satisfying first win that builds confidence for more complex pieces.
What clay types are best for beginners?
Air-dry clay is the most forgiving for beginners, and polymer clay is great once you want durability. You can mix and match—start with air-dry for practice, then graduate to polymer for pieces you want to keep for a long time.
How do I get that glassy look on eyes and cheeks?
Gloss glaze or a clear gloss varnish applied in thin layers gives you that wet, glassy finish. Let each layer dry fully and apply sparingly to avoid drips. Pro tip: use a fine brush for tiny highlights.
How should I photograph kawaii clay to look professional?
Use soft, natural light, a neutral background, and a steady hand or tripod. Focus on the eyes first, then the whole figure. A tiny reflector or white card helps bounce light to minimize shadows and boost that cute factor.
Can I mix kawaii clay with other crafting media?
Absolutely. Combine with felt, mini fabric patches, or paint-on details. Just ensure you seal edges properly and aren’t overworking the surface with tools that can scratch or crack the clay.
Conclusion
Clay characters bursting with kawaii energy prove that big smiles can come from tiny, glossy creatures. Start with simple shapes, play with eyes, and finish with a sprinkle of gloss that says “archive-worthy cute.” FYI, the best part is sharing your little friends with the world—your feed deserves a daily dose of happy.


