An easy DIY that totally elevates a birthday cake. Clay toppers are playful, affordable, and surprisingly sturdy for a party vibe that lasts beyond one photo. Let’s dive into how to crush it with clay toppers that look professional without any scary sculpting skills.
Why Clay Toppers Are The Real MVPs
Clay toppers bring personality to your cake without breaking the bank. They’re versatile, reusable, and can be tailored to any theme—whether it’s a caffeine-fueled birthday for your friend or a fairy-tantasy party for a kiddo. FYI, you can mix and match colors like a champ and still keep things cohesive.
Choosing The Right Clay: Air-Dry vs. Bakeable
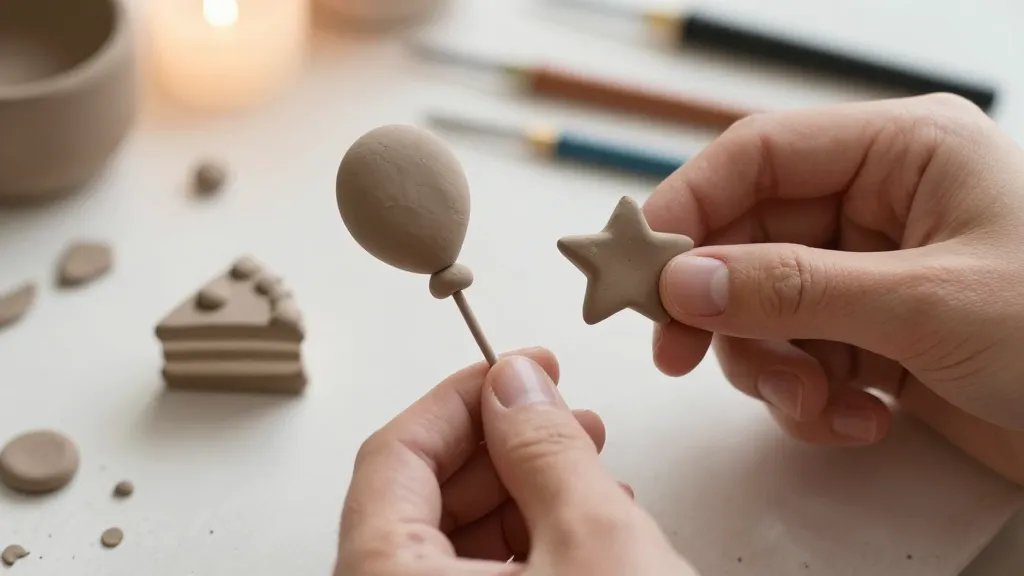
- Air-dry clay is perfect for quick projects. It hardens on its own in 24 hours, no oven needed. Great for last-minute genius ideas.
- Polymer clay (bakeable) stays sturdy and feels premium. You’ll need an oven, but the result is a professional finish that pops on camera.
- Consider weight and surface finish. Lighter clays work well for single-tier cakes; heavier toppers scream “I’m here to party.”
Design Ideas That Don’t Require a Master’s Degree
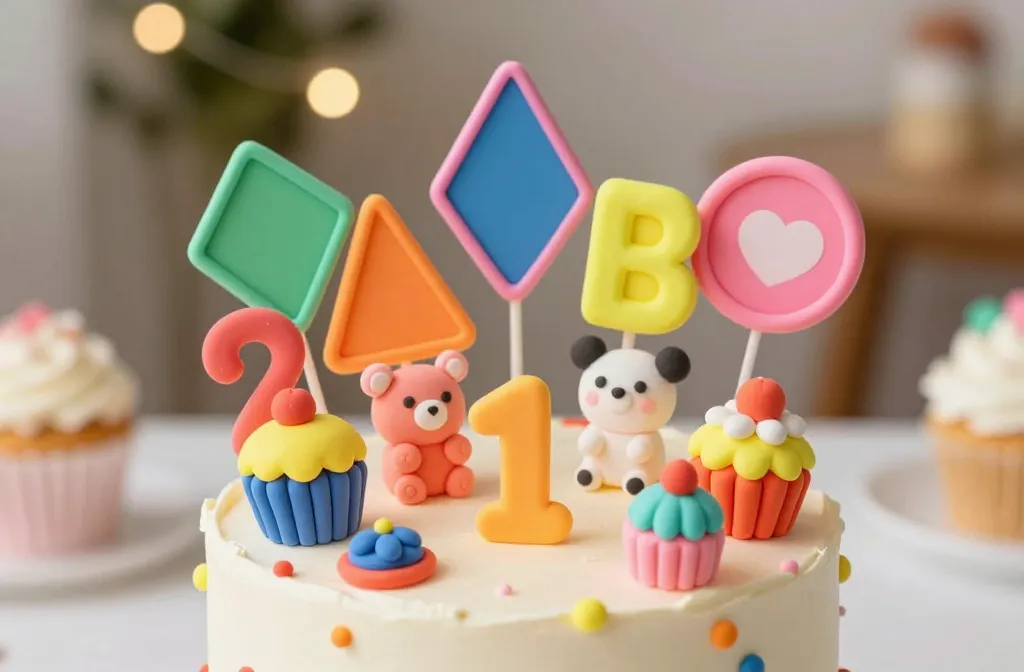
- Classic initials with a splash of color
- Miniature animals or adorable emojis
- Geometric shapes in bold neon tones
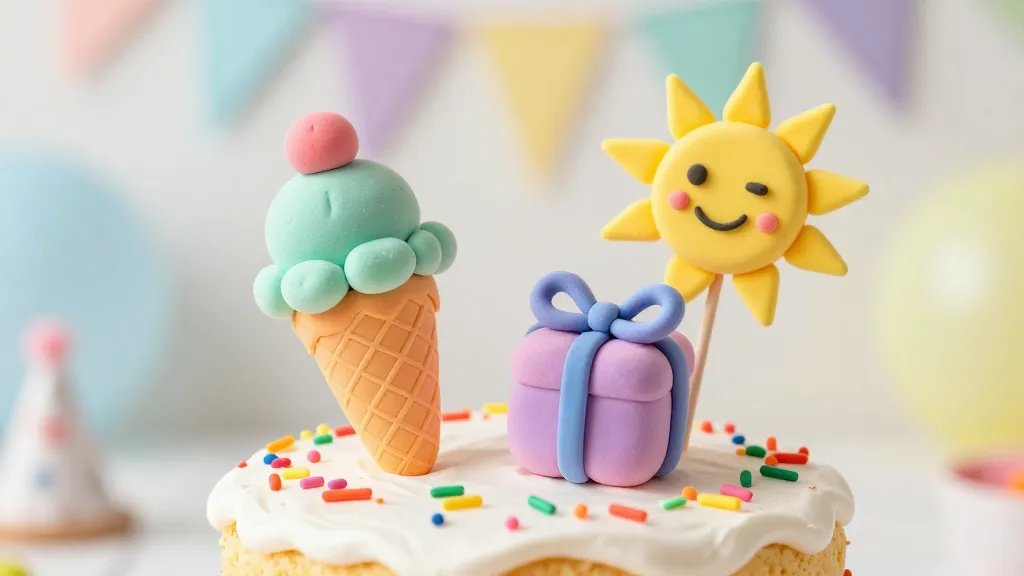
- Mini birthday objects: candles, balloons, cupcakes
- Theme mashups: cosmic swords with donut planets, anyone?
How to Plan Your Design Before You Start
1) Sketch quickly on paper or in yourNotes app. 2) Pick a color palette with 2-3 main hues and a couple of accent shades. 3) Decide on a centerpiece piece (a cake topper that draws the eye). 4) Think about size relative to your cake—too tiny and it gets swallowed; too big and it competes. 5) Make a quick test run with scrap clay to gauge stiffness and drying time.
Getting The Toppers Right: Shape, Size, and Stability
Stability matters more than you’d think. A toppers’ base needs to be sturdy enough to stand on a frosting surface without tipping. For heavier pieces, add a flat backing or wire support so the topper stays rooted.
Ways To Attach Without Mess
- Use a mini skewer or cake stake inserted into the base for extra grip.
- Apply a dab of edible glue or royal icing to the base for extra sticking power.
- Let the topper cure fully before placing it on the cake to avoid smudges.
Finishing Touches: Texture, Color, and Clear Coats
Texture adds personality—think faux frosting ridges, tiny dot textures, or smooth marble swirls. Bold color palettes pop on camera, but don’t go full neon unless the party vibe calls for it. If you want sheen, a light coat of sealant will help; else, a matte finish feels chic and modern.
When To Gloss And When To Matte
– Glossy looks read as candy-bright and playful.
– Matte gives a sophisticated, timeless vibe.
– FYI: A matte sealant can dull bright colors slightly, so plan your shade choices accordingly.
Safety First: Food-Safe Materials And Handling
Most polymer clays aren’t edible, even if baked. Treat toppers as décor, not snacks. If you’re planning to reuse the topper, store it away from heat and moisture. For kids’ birthday parties, pick non-toxic air-dry clays and avoid small detachable pieces that could pose a choking risk.
Cleaning And Storage Hacks
– Store toppers in a sealed container away from sunlight.
– If you’ve used acrylic paints, keep them dry and dust-free for longer life.
– For reuse, gently wipe with a damp cloth and let dry completely.
Budget-Friendly Ways To Make It Personal
You don’t need to break the bank to craft unforgettable toppers. Use acrylic paints, jewelry-making beads, and bits of fabric to give texture. You can also repurpose old clay shapes you’ve saved from previous crafts—consider them a “craft hoard” treasure chest.
Inspo From Real-Life Creations
People post wild ideas: a mini vacation postcard for a travel lover, a tiny vinyl record for music fans, or a mini sports trophy with a tiny ribbon. These tiny details can transform a simple cake into a story you’ll tell at least three times during the party.
How To Photograph Your Clay Toppers For Social Media
Placement matters. Center the topper, use a shallow depth of field, and shoot in natural light for that warm glow. A sprinkle of confetti dust or a fresh flower nearby can jazz up the frame. If you’re aiming for viral vibes, a before-and-after shot with the cake uncovered is pure gold.
Tips To Make It Pop Online
– Bold, bright colors read best on feeds.
– Add a short, witty caption with a shout-out to DIY fans.
– Use a couple of trending hashtags, but keep it authentic.
FAQ
Can I reuse clay toppers for another birthday?
Yes, but make sure they’re fully cured and cleaned. Store them safely so they don’t get bent or cracked. A quick refresh with paint or a glaze can make them feel new again.
What clay is best for beginners?
Air-dry clay is the easiest entry point. It dries fast and doesn’t require baking. Polymer clay is great once you want a sturdier finish and longer life, but it takes a bit more care with heat and curing.
Are clay toppers edible?
Nope. Most clays aren’t edible, and even edible-looking decorations should be kept away from the cake surface unless you’re certain they’re specifically food-safe.
How long does it take to make a custom topper?
Depends on complexity. Quick initials or shapes can take under an hour. More intricate designs with fine textures may take several sessions and drying time.
What’s the best way to attach toppers to a cake?
Use a small skewer or cake stake for stability, and consider a dab of edible glue or royal icing to secure the base. Let everything set before moving the cake to avoid disasters.
Conclusion
Clay cake toppers transform a standard birthday cake into a personal centerpiece without turning your kitchen into a sculpture studio. They’re affordable, customizable, and surprisingly durable with the right materials. So go ahead—grab some clay, channel your inner designer, and craft toppers that scream “birthday vibes achieved.” If you want my take, start simple: a bold initial, a color-block palette, and one cheeky mini figure. You’ll be hooked after the first bake and the first glowing compliment.


