Want a cute, totally Instagrammable project you can actually finish without crying over clay? Let’s dive into a clay boba tea charm tutorial that’s easy, fun, and surprisingly satisfying. Grab your polymer clay, a tiny bottle brush, and your favorite playlists—we’re sculpting tiny everything.
What You’ll Need Before You Start
Prep makes perfection. Gather supplies, set up a comfy workspace, and you’ll breeze through this like a pro. FYI, you don’t need fancy gear to get cute results.
- Polymer clay in browns, creams, pinks, and greens
- Black and white polymer clay for eyes and highlights
- Metallic paints or gel pens for shine
- Small rolling pin, needle tool, and a toothpick
- Gloss glaze or resin for sealing
- Jump rings and a thin chain or keyring attachment
Choosing Your Boba Tea Charm Style
Do you want a classic cup, a whimsical cup with a face, or a tiny foam art topping? The direction sets the vibe. Start with one idea and let it grow as you sculpt. IMO, simpler is sweeter for beginners.
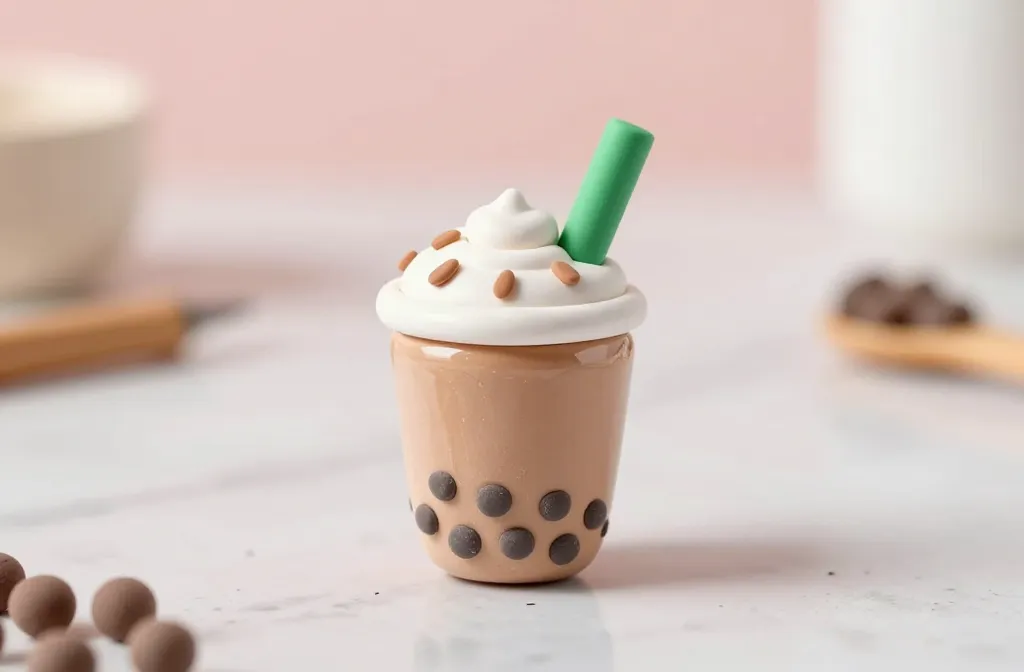
Classic Cup with Bursting Tapioca
This is the proven crowd-pleaser. A little cup, a cute straw, and perfect-pearl boba. You’ll nail the proportions in no time.
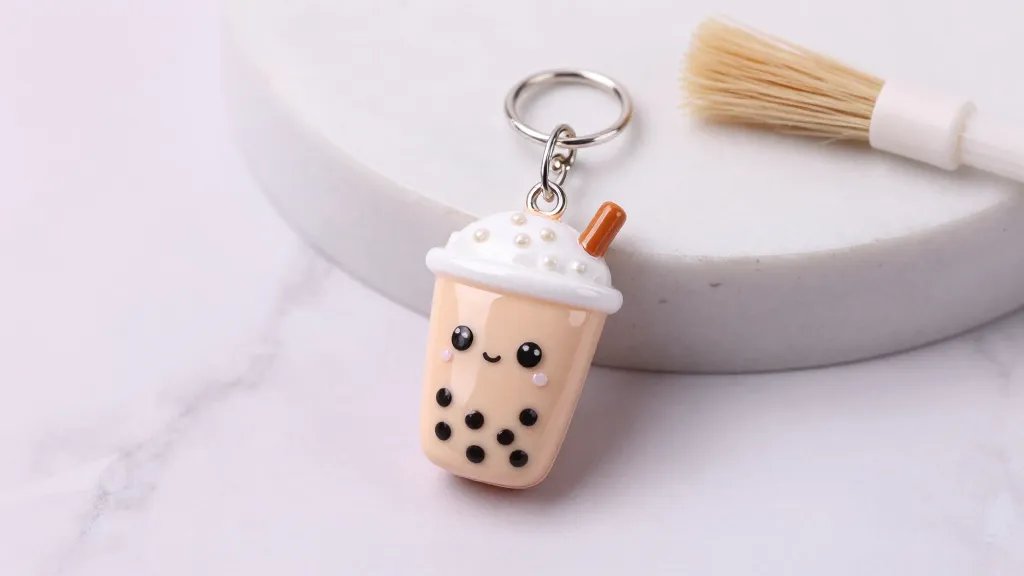
Adorable Face Cup
Give your charm a personality. A tiny smile or surprised eyes can make it pop on a chain, and it feels delightfully personalized.
Step-By-Step: Sculpting the Cup

Let’s break the cup down into tiny, friendly steps. You’ve got this.
- Shape a cylinder for the cup body. Slight taper at the base reads as a proper cup.
- Roll a flat oval for the saucer and attach gently.
- Make a thin curved wedge for the sleeve or drink label—optional but cute.
- Roll a small ball for the ice/foam foam and blend with a soft touch.
- Punch a tiny straw using a needle tool; insert into the cup top.
Creating the Boba Pearls
The pearls are the star. They need to look glossy and slightly random to look legit. Here’s the cheat code: tiny spheres, then press with a dot of glaze to mimic shine.
Pearl Placement Tricks
Stack pearls into the drink with a light hand. Don’t cluster them perfectly—humans love imperfect charm bubbles.
Assembling the Charm: Attaching the Findings
You’re almost done. The secret to a durable charm is how you attach the findings. Get sturdy with a simple loop and a secure jump ring.
- Roll a thin coil at the top edge of the cup for a convenient loop anchor.
- Insert a jump ring once the clay cools a bit, then gently twist to lock.
- Leave a little slack so the charm moves naturally on a bracelet or keyring.
Finishing Touches: Color, Shine, and Details
Add a glossy glaze to the cup and pearls. The shine makes the boba look real enough to sip. FYI, apply glaze in thin layers to avoid drips.
Drying, Curing, and Sealing Your Work
Patience pays off here. Read the clay’s label for curing times. We want a strong, durable charm that survives a bag tumble and daily wear.
Safety and Handling Tips
Work in a well-ventilated area if you’re using strong glazes. Let pieces cure fully before assembling into a finished piece. Don’t rush the bake—undercooked clay can be brittle.
Painting and Personalizing Your Charm
Paint adds personality. A tiny face, cute blush, or a sprinkle of sparkles can transform a plain cup into a story you want to tell.
Ink and Marker Tricks
Use archival markers or fine-tipped gel pens for crisp details. Always seal with a light coat of glaze to protect the lines.
Display Ideas and How to Use Your Charm
So you’ve created a tiny boba masterpiece—now what? Turn it into a keychain, add it to a charm bracelet, or gift it to a friend who loves cute crafts. The possibilities are basically limitless.
How to Make a Charms-In-A-Jar Gift
Drop several tiny charms into a glass jar with a handwritten note. People love tiny mysteries with a personal touch. FYI, a sprinkle of confetti never hurts either.
Chain and Bracelet Pairings
Choose a simple silver or brass chain so the charm stands out. A longer chain makes a bold statement, while a delicate one keeps it cute and subtle.
Common Mistakes and How to Avoid Them
Learn from the cringe-worthy moments so your next charm shines. Here are the big ones I see—so you don’t fall into the trap.
- Overworking the clay; it loses smooth texture. Stop before your hands beg for mercy.
- Not letting the glaze cure properly. Rushing means fingerprints and smudges forever.
- Using the wrong clay for the jewelry piece. Some clays aren’t built for wear—check the bake temperature.
FAQ
Can I use air-dry clay for boba tea charms?
Air-dry clay can work, but it’s not as durable as polymer clay. If you’re new, start with polymer clay and save air-dry for quick miniatures later. FYI, seal with a varnish if you want extra protection.
What glue should I use to attach the findings?
Super glue or E6000 works well if you’re attaching jump rings after the clay is cured. Be careful with fumes and let it dry completely before handling the charm again.
How long does curing take?
Polymer clay typically cures at about 265-275°F (129-135°C) for 15-30 minutes per thickness, but always follow your brand’s instructions. Don’t rush it—overheating causes brittleness and cracks.
How do I make sure the pearls stay shiny?
Gloss glaze or resin works great. Apply in thin layers, allow to cure fully, and store away from humidity to prevent clouding.
Any tips for scaling this up for a collection?
Work in batches and keep a color palette handy. Having a system speeds up production and keeps your style cohesive. IMO, a mini line of flavors—classic, matcha, strawberry—sounds adorable.
Conclusion
There you go—your very own clay boba tea charm tutorial, plus a handful of pro tips to keep things smooth and fun. You don’t need a fancy studio to make something that pops on social media and in real life. So go ahead, get messy, and show off those tiny pearls with pride. You’ll be amazed at how satisfying it is to create something so cute with your own two hands.


