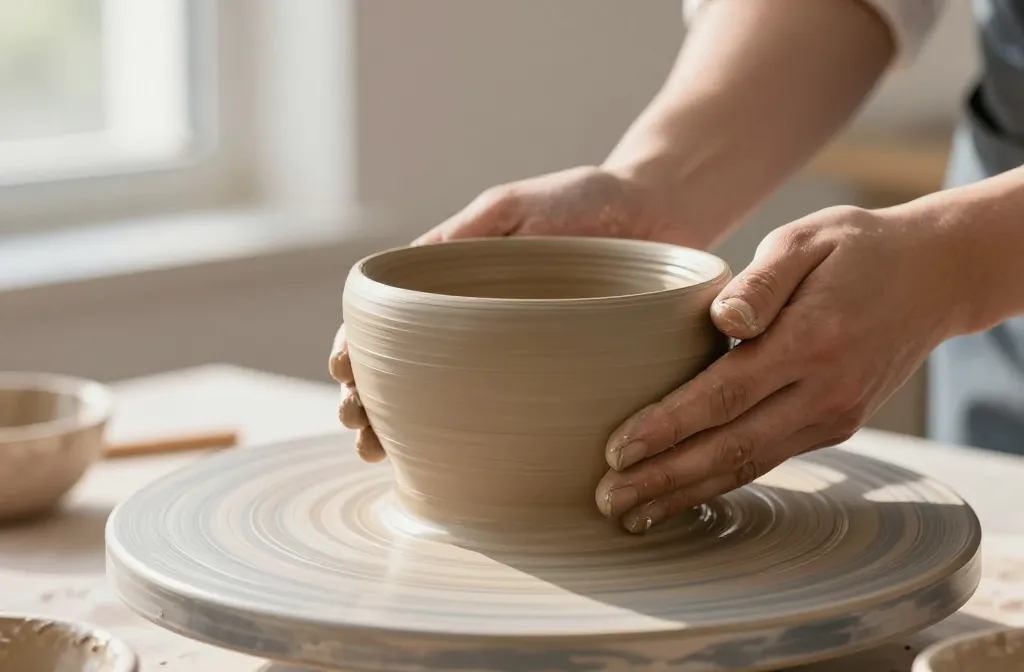
An oval of clay in your hands can be oddly thrilling. You don’t need fancy tools to start, just a bit of curiosity and a willingness to mess up a few times. Let’s dive into simple, satisfying projects that teach the basics and build your confidence fast.
1. The Classic Coil Pot: Simple, Stylish, Repeatable
Coiling is the backbone of many ceramics, and it’s perfect for beginners. Don’t worry about perfection—focus on even rolls and steady moisture. You’ll end up with something that looks intentionally handmade rather than born from a factory.
- Roll out several long snakes of clay.
- Coil them upward, pinching as you go to secure each layer.
- Smooth the rim and base with a damp finger or sponge.
Tip: Keep your clay at a workable dampness. If it cracks, wrap and rest a bit. FYI, your first pot might be a tad wobbly—that just adds character.
Variations to Try
- Make a low, wide bowl for catch-alls
- Add a striped pattern with a rubber rib while soft
- Experiment with a textured rim using a comb or fork
2. Pinch Pots: Tiny Wins, Big Glow-Ups
Pinch pots are the gateway drug to hand-building pottery. They’re fast, forgiving, and perfect for tiny experiments like jewelry dishes or succulent planters.
- Gently press your thumb into the center of a ball of clay.
- Rotate and pinch outward, thinning the walls as you go.
- Sculpt a lip or a small foot to stand on.
Pros: Instant gratification, minimal cleanup, and you can make a stack of them in under an hour. The only downside is you might get a little addicted to the soothing rhythm of pinching.
Ideas to Elevate
- Embed a small handle for a bud vase vibe
- Paint or glaze with bold colors once dry
3. Whimsical Earrings and Mini Dishes: Tiny Works of Art
If you’re in it for the cute factor, start with mini projects. Earrings and tiny dishes let you practice texture, glaze, and finishing touches without committing to a full piece.
- Roll tiny balls, flatten into discs, or shape teardrops
- Add texture with stamps, lace, or stamps for impressions
- Attach hooks or creates small pinch-free finding spots
FYI: Working in small scale teaches precision and control. It’s also a great way to figure out glaze behavior before you glaze something large.
Glaze Tricks for Small Projects
- Test glazes on a small tile before committing
- Keep glaze coats thin to avoid drips
4. Functional Dishes: From Desk to Dinner Table
People love to actually use their creations. Start with a spoon rest, a toothbrush holder, or a tiny tray. Functional pieces give you tangible feedback about how your clay behaves during and after firing.
- Shape shallow dishes with a slight ramp to hold items
- Keep bases flat so they don’t wobble
- Engrave initials or a simple pattern on the bottom for a personal touch
Remember: Functional pieces should be airtight only in the sense that you want them to avoid spilling. Make sure you seal any essential seams well to prevent cracks during drying or firing.
5. Texture Play: Impress and Impress Yourself
Texture is where beginners can really let creativity shine without worrying about symmetry. Use everyday objects to press patterns into the surface and build confidence in surface design.
- Press leaves, corrugated cardboard, or fabric into soft clay
- Experiment with slip trailing to create raised lines
- Combine textures on different sections of the same piece
Tip: Work with a few textures at once to see what reads best once glazed. IMO, contrasting textures—smooth base with a bold impression—look especially chic.
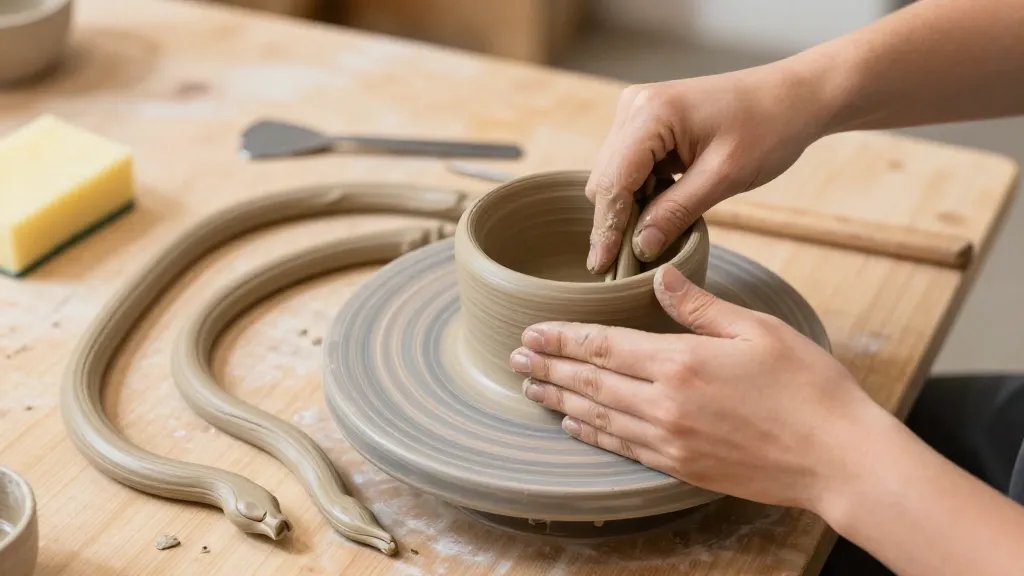
6. Tools for The Start: What You Actually Need
You don’t need a full studio to begin. Here’s a lean starter set that won’t break the bank.
- Basic clay (earthenware or stoneware, air-dry or kiln-fired depending on your setup)
- Acrylic modeling tools or old spoons for shaping
- A rolling pin or a smooth bottle for flattening
- A damp sponge and a bowl of moisture to keep clay workable
- Glazes or paint for a splash of color after drying
FYI: If you’re unsure about firing, start with air-dry clay for practice. It’s forgiving and won’t require a kiln—just a little patience while it hardens.
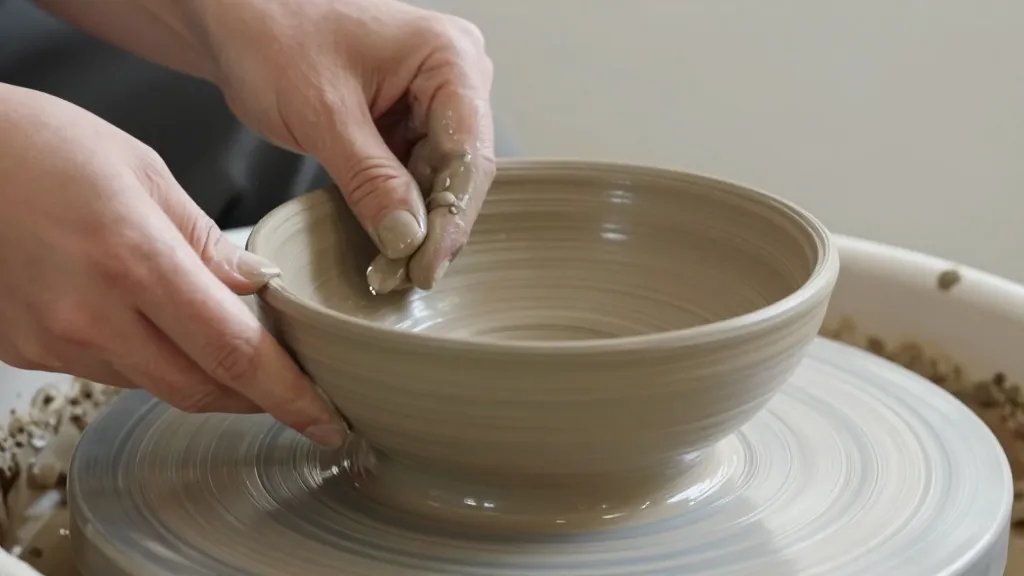
7. Finishing Touches: Drying, Firing, and Glazing (In Plain English)
Here’s a quick rundown so you don’t get tangled in the jargon.
- Drying: Let pieces dry slowly to avoid cracking. Cover loosely and check daily.
- Bisque firing: Seals the clay and makes it ready for glaze (skip if you’re using air-dry clay).
- Glazing: Apply thin coats; two light coats beat one heavy one every time.
- Glaze firing: Requires the right kiln and safety precautions—follow your studio’s guidelines.
Want a pro-level finish? Sand lightly between glaze coats and wipe with a clean rag to remove dust.
8. Safety and Clean-Up: Do-It-Right, Do-It-Smart
Clay is fun, but safety and cleanup matter more than you might think.
- Wear a dust mask when trimming dry clay or sanding
- Wash hands and work surfaces after sessions to prevent clay buildup
- Keep a dedicated bucket of water for cleaning tools
Short reminder: Always follow kiln safety rules and glaze instructions. FYI, uncured clay can stain fabrics, so keep projects away from your favorite tee until they’re fully set.
9. Growing Your Skills: How to Keep Momentum
Progress happens in small steps. Here are ways to stay motivated and improve fast.
- Set a weekly mini-project goal (like 2 pinch pots and one coaster)
- Document your progress with photos; you’ll be surprised at the improvement
- Join a local pottery club or online community for feedback
Question for you: What’s your first big clayer win going to be? IMO, a tiny dish that actually holds coins without tipping is a solid start.
FAQ
What clay is easiest for beginners?
Air-dry clay is the simplest for beginners because you don’t need a kiln. If you’re ready for real pottery, earthenware or stoneware with a kiln is the way to go, but expect glazing and firing steps to add to the journey.
Do I need a kiln to start?
No for beginners who start with air-dry clay. If you want functional, durable pieces, you’ll eventually want access to a kiln. Check local studios or community centers for class options.
How long does clay take to dry?
That depends on thickness and humidity. Pencil-thin edges dry in hours; larger pieces take days. Cover lightly to slow drying and prevent cracking.
Can I glaze on air-dry clay?
Some air-dry clays take acrylic paints or special sealants, but traditional glazes require kiln-fired clays. If you’re curious, try water-based acrylic paints for color and a sealant for protection on air-dry pieces.
How can I fix cracks in clay?
Moisten the crack with a little water, press the seam back together, and smooth with a tool. For larger cracks, you may need to rejoin fresh clay and blend the edge. Patience helps here; don’t rush the drying process.
Conclusion
Starting with clay is less about perfection and more about exploration. Each project teaches you something new, from how moisture changes texture to how glaze behaves. You’ll find your own rhythm as you try coil pots, pinch pots, mini dishes, and texture explorations. So grab a wad of clay, invite a friend over, and turn a quiet afternoon into a tiny, satisfying studio session. Happy shaping!


