
An expert-chef vibe meets arts-and-crafts bliss: a balloon dog sculpture you can actually keep, mold, and smile about. If you’ve ever watched a balloon animal float away, you’ll want this durable, wacky clay version on your shelf. Let’s dive into a playful, step-by-step journey to polymer-clay mastery.
Why Polymer Clay for a Balloon Dog?
Polymer clay gives you longevity without the squeaky balloon drama. It’s forgiving, easy to bake, and comes in an infinite color lineup. FYI, you can achieve a surprisingly convincing glossy finish with right baking and a quick gloss glaze. Are you sold yet or should I grab my oven mitts?
Choosing the Right Tools and Materials
- Polymer clay in colors you love (early planning saves color-messroutings).
- Basic sculpting tools: needle tool, blade, and a fine sandpaper sheet for smoothing.
- A sturdy worksurface and a baking tray lined with parchment.
- Optional: gloss glaze or sealant for that shiny balloon-dog finish.
Color Planning Tips
Pick a main color for the body, a different color for the nose and ears, and a few accent shades for shading. Pro-tip: mix tiny amounts of black or white to create believable shadows and highlights. It’ll look less “plastic toy” and more “museum-worthy mascot.”
Modeling Step by Step
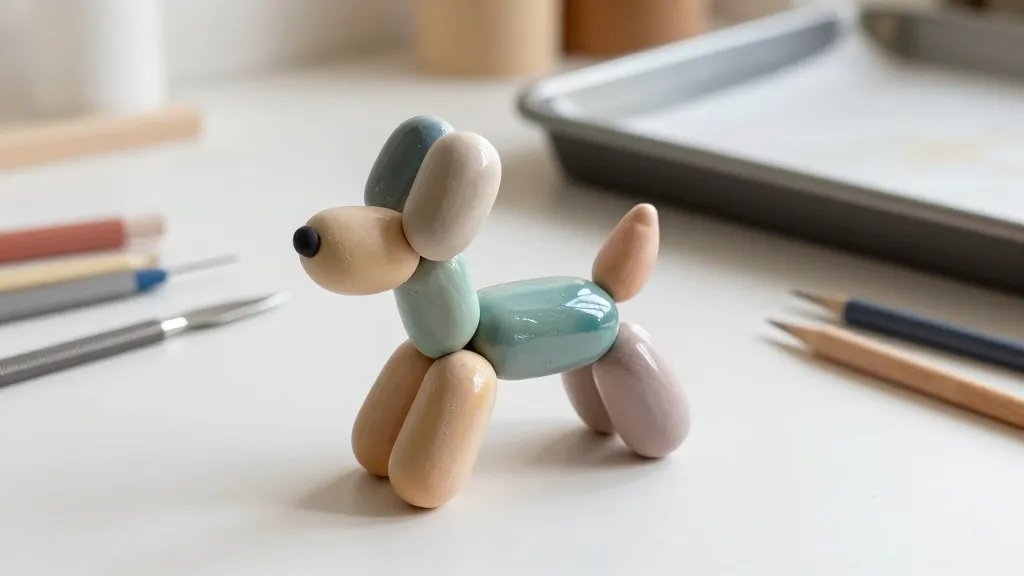
- Shape the torso: start with a rounded rectangle or oval as the body. Don’t worry about perfection—this is polymer clay, not a surgeon’s hand.
- Form the head and snout: a small sphere for the head, a tapered snout, and a tiny ball for the nose.
- Make four legs: small cylinders with rounded ends. Attach snugly to the body with a little kneaded slip (clay glue).
- Craft the ears: two elongated triangles. Attach near the top of the head; angle them for that goofy balloon vibe.
- Tail and pose: whip up a curved tail and position the legs so the sculpture sits naturally. Balance matters, friend.
Smoothing and Finishing Touches
Lightly rub with a soft tool or your finger to smooth seams. If you notice fingerprints, buff them away with a tiny amount of clay slip. FYI, don’t overwork the clay—this is a sculpture, not a wrestling match with a lump of dough.
Color and Shading Tricks
Strategically place highlight and shadow to give depth. Dab a lighter shade along the top of the body and a darker shade along the underside. This creates the illusion of roundness and volume. Wanna take it up a notch? A subtle wash of metallic or pearlescent glaze can give that “museum glow.”
Baking and Curing Basics
- Preheat according to your clay’s package—usually around 265-275°F (129-135°C).
- Bake on a parchment-lined tray. Position the sculpture so it’s supported and not sagging.
- Keep sessions short and gentle; you don’t want a sunburn on your sculpture.
- Cool completely before handling to prevent fingerprints or smudges.
Common Pitfalls and How to Avoid Them
Cracking? That’s usually underbaking or overly thick pieces. Sticky clay? Chill it for a few minutes or dust your hands with cornstarch. If the glaze looks tacky, give it a proper bake or switch to a compatible sealer. Simple, right?
Finishing Techniques for Realism
- Gloss glaze for a shiny balloon look—apply thin coats and bake if your glaze requires it.
- Satin or matte sealants for a more subdued, “art sculpture” vibe.
- Tiny white dots or a dab of lighter color for highlights on the nose and paws.
Optional: Safe Display Ideas
Display on a small pedestal, a wooden base, or inside a clear display dome. Add a tiny plaque with the name of your creation and the date—it sounds nerdy, and we love nerdy. It adds personality and makes for great IG captions.
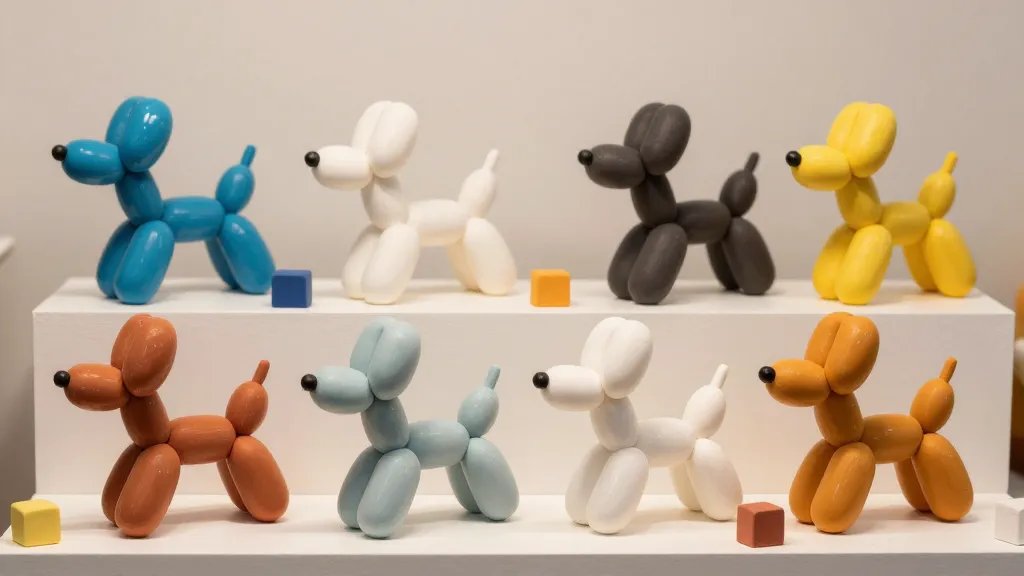
Inspiration and Variations
Balloon dogs aren’t limited to classic colors. Try a tri-color tortoiseshell effect, a marbled mix, or a metallic chrome finish. The more you experiment, the more you’ll realize polymer clay isn’t just for mini sculptures; it’s for bold, witty home decor too.
Care and Longevity
- Keep out of direct sunlight to prevent color fading.
- Avoid high heat and humidity that can soften clay over time.
- Dust gently with a soft brush—your balloon dog appreciates a tidy life too.
FAQ
Is polymer clay safe for everyday display?
Yes, once baked, polymer clay is generally safe to display. Just follow package instructions for curing and handle with normal care. If you’re gifting to kids, consider sealing with a non-toxic glaze and supervising play.
Do I need special tools to shape the ears and tail?
Not at all. Basic clay tools or even household items like toothpicks and a small knife work fine. The key is steady hands and a little patience. The more you practice, the less imperfect your balloon dog will look.
How long does a polymer clay balloon dog last?
With proper curing and sealing, your sculpture can last for years. Extreme heat, direct sunlight, and rough handling shorten the lifespan. That’s a good reason to display it somewhere safe and cool.
Can I repaint or remodel a finished piece?
Yes, you can sand lightly and repaint with compatible polymer clays or acrylic paints, then seal again. Just be gentle—the surface loves a soft touch as much as you do.
What’s the best glaze to use for a balloon-like shine?
Look for gloss polymer glaze or spray sealants compatible with your clay. Apply thin, even coats and bake if the product requires it. If you’re unsure, test on a scrap piece first—gotta respect the glaze process.
Conclusion
Balloon dog sculpture with polymer clay is the perfect fusion of whimsy and craft. It feels playful, but it’s actually a solid, display-ready piece you can be proud of. So grab your clay, pick a color combo that makes you grin, and start sculpting. IMO, you’ll be surprised at how satisfying a tiny statue can be.


