An ultra-simple guide to clay that’s actually fun to make. Ready to click, save, and show off to your crew? These ideas are quick, adorable, and totally doable—even if you’re not crafty. FYI, you don’t need a fancy studio to pull these off.
1) Mini Food Charms You Won’t Stop Staring At
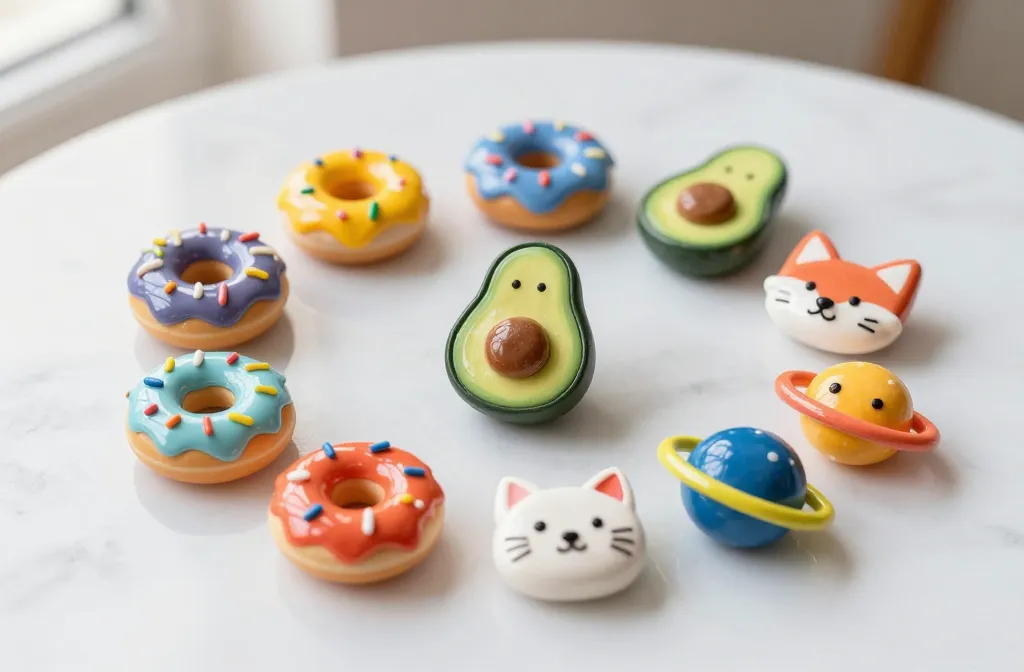
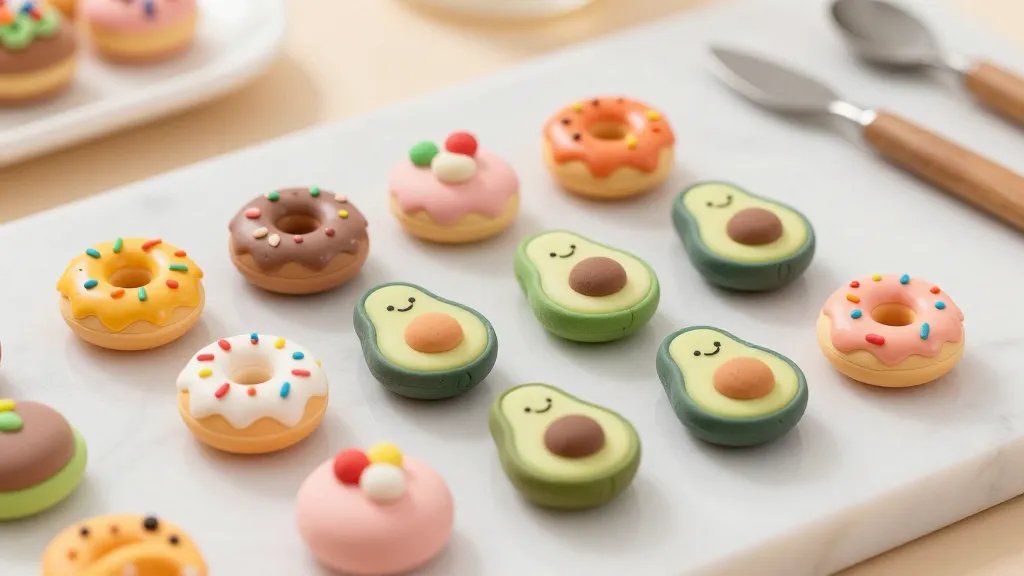
Who doesn’t love tiny food? These clay charms look delicious without being edible—perfect for keychains, bracelets, or zipper pulls. Make a mini donut with a sprinkle crown, or a tiny avocado slice with a cheeky smile. The trick is to roll evenly and bake at a gentle temperature so nothing pops off.
Quick tip: gloss glaze adds a delicious, shiny finish that makes colors pop. Want extra cuteness? Add a teeny seed bead for a pit or a micro leaf.
2) Whimsical Animals On a Dingly Dangling Pendant
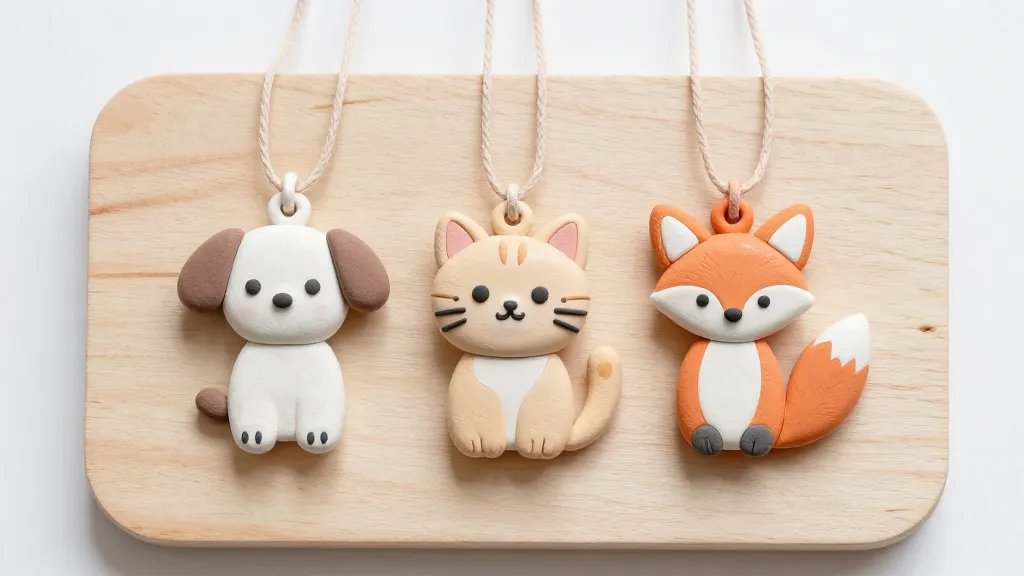
If you find animal faces absolutely irresistible, you’ll love shaping a puppy, cat, or fox head with playful ears. Keep features simple: two round eyes, a tiny nose, and a friendly grin. Add a jump ring and turn your clay critter into a charm or earrings.
Subsection: Simple Face Details
– Use a toothpick to etch a small mouth and whisker dots.
– Emboss tiny cheeks by softening a circle of clay and pressing lightly.
– Bake in small batches to avoid fingerprints from your own fingers.
3) Easy-Groovy Planets for a Cosmic Kitchen Decor
Planets are cute, colorful, and surprisingly forgiving. Roll out small spheres, add contrasting rings, and paint or paint-like markers to create stripes. They’re great as fridge magnets, wall hangings, or desk decor.
Subsection: Cosmos Color Palette
– Stick to 3–4 bold hues to keep everything cohesive.
– Use metallic accents for an instant space-vibe upgrade.
– Seal with a clear glaze to preserve the shine.
4) Tiny Polymer Clay Planters (Miniature, Not Real Plants)
Mini planters are charming and surprisingly practical as desk decor. Create a small pot, a little succulent or cactus, and a tiny abstract plant label. These are perfect for holding pins, jewelry, or tiny trinkets.
Pro move: paint tiny faux soil textures on the inside so your clay plant looks real from the outside. No watering required—just a lot of cute.
5) Adventurous Emoji Clips for Your Backpack or Bag
Emoji icons are timeless. Craft a sassy smile, a winking face, or a grumpy little thumbs-up. Attach a clip or a ring and you’ve got a mood-forward accessory that’s guaranteed to spark a smile.
Subsection: Getting the Expressions Right
– Use a dot of black for eyes and a tiny curved line for the mouth.
– Lean into bright, flat colors for a bold pop.
– Smooth edges with a fingertip dipped in a touch of lotion to avoid rough seams.
6) Charming Weather Charm Set: Sun, Cloud, and Raindrop
A little weather-inspired trio is perfect for a necklace or charm. The sun gets a cheerful face; the cloud is fluffy with a gentle smile; the raindrop glistens with a glossy finish. It’s cute, educational, and soothing to look at.
FYI: super-thin rain drops catch fingerprints easily, so handle with care and seal well.
7) Miniature Kitchenware That Feels Real (But Not Too Real)
Tiny forks, spoons, and cups are absolutely adorable. Make a whole micro-set to display on a shelf or use as a quirky jewelry dish. A few simple shapes—cylinder for cup, curved line for spoon—are all you need.
Subsection: Finishing Touches
– Paint the handles a contrasting color for definition.
– Add a tiny glaze coat to mimic glass or ceramic shine.
– Pair with a tiny clay plate or mat for a complete look.
8) Cute Critter Birthday Crowns for Party Fun
Create a batch of mini crowns in different colors and decorate with stars, dots, or hearts. Perfect for a birthday party favor, cake topper, or pretend-play accessory. They’re quick to assemble and endlessly customizable.
Subsection: Accessorize to the Max
– String a piece of cord through a top loop to turn into a necklace or bracelet charm.
– Add tiny beads for extra sparkle.
– Try a mix of matte and glossy finishes to contrast textures.
9) Playful Pet Portraits You Can Wear
Turn your pet’s face into a tiny wearable piece. It’s surprisingly doable: a few layered shapes for ears, eyes, nose, and a mouth. Finish with a protective glaze and you’ve got a conversation starter.
Tip: start with a flat, simple silhouette of your pet; add features in small, controlled amounts.
10) Sunset Silhouette Orbs for Calm Vibes
Tiny spheres painted in sunset gradients with a silhouette cutout are oddly soothing. Use a thin sheet to create a globe effect, then cut a small shape to reveal the sunset scene inside. Display on a shelf, or gift to a friend who needs some zen.
FAQ
What clay works best for beginners?
Start with polymer clay for its versatility and bake-then-cool ease. It’s forgiving, comes in a rainbow of colors, and you can seal your finished pieces for extra durability. If you’re worried about fumes, work in a well-ventilated space and follow the package instructions.
Do I need special tools to start crafting clay?
Not really. A few basics do wonders: a small roller, a sharp blade or hobby knife, a needle tool for details, and a baking tray. You can snag a starter clay toolkit for under $15. As you get more confident, you’ll naturally collect more tools.
How should I seal and finish my clay pieces?
Gloss glaze gives a shiny, polished look and protects your work. Matte sealers are great if you want a soft, velvety finish. Always bake according to your clay’s instructions, then apply the sealer in a well-ventilated area.
How long do clay creations last?
With proper curing and sealing, they’ll hold up for ages. They’re not indestructible, but gentle handling helps. If you plan to wear or gift them, consider a light glaze to keep colors vibrant.
Can I mix polymer clay with air-dry clay?
Sometimes, yes, but air-dry clay doesn’t bake to harden like polymer clay. For durable jewelry or charms, it’s safer to stick with one type per project. If you mix, test a small sample first.
Any quick ideas for gifting clay crafts?
Absolutely. Turn pieces into magnets, keychains, or mini planters as giftable keepsakes. Add a little ribbon and a handwritten note for a personal touch that’s both cute and thoughtful.
Conclusion
Clay is a friendly, forgiving playground for creativity. These 10 ideas prove you don’t need a big studio to make something irresistibly cute. Grab a few colors, roll out a slab, bake, and watch the compliments roll in. IMO, the best part is the tiny, joyful sense of accomplishment you get with every piece. So, which idea are you trying first—and will you share the results? FYI, I’m rooting for you to ace all of them.


