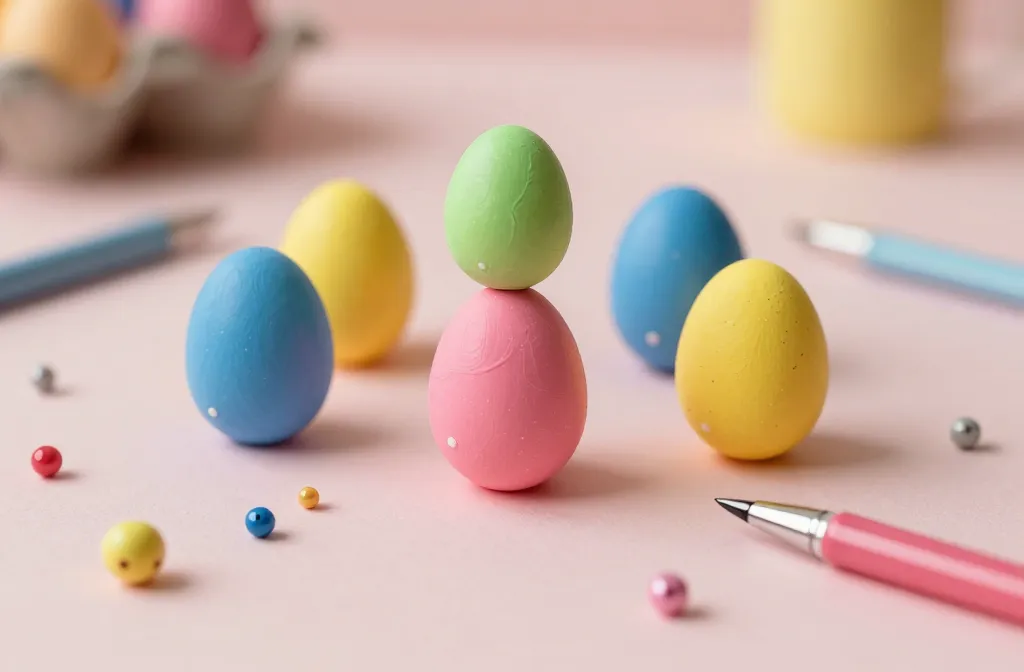
An easy, playful guide to crafting charming clay eggs you’ll actually want to display all season. Grab some polymer clay, a few beads, and a dash of whimsy—let’s make Easter egg decorating feel exciting again.
Why Clay Eggs Beat Painted Real Ones Every Time
Clay eggs are sturdy, reusable, and totally customizable. No fragile shells to crack, no messy dye bath disasters, just a little kneading and creativity. FYI, you can hollow them or keep them solid for different styles. Sounds like a win, right?
Materials You’ll Actually Need
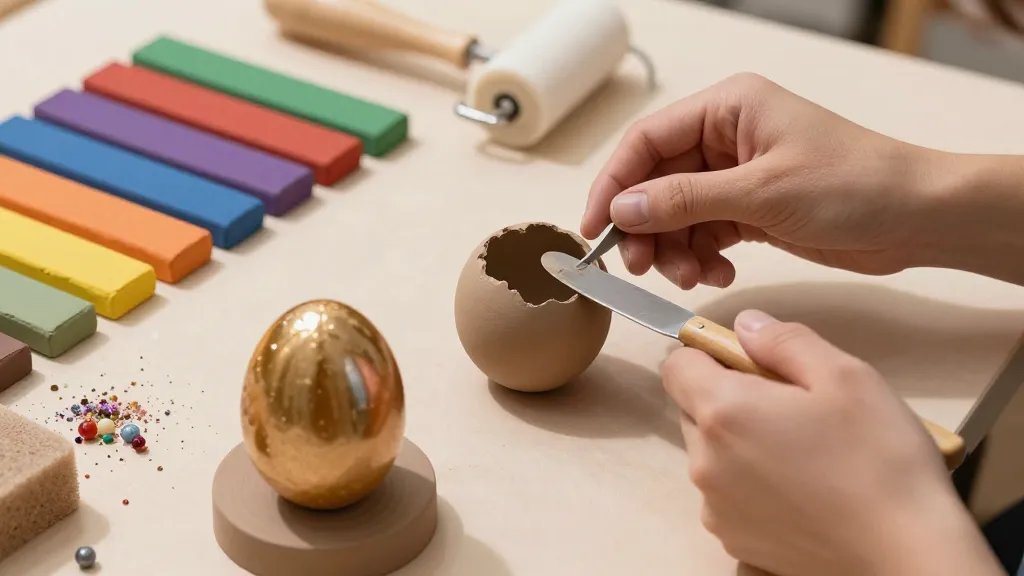
- Polymer clay in assorted colors
- Clay blades or sharp craft knife
- Rollers or a reusable brayer
- Fine sanding sponge (optional but satisfying)
- Small beads, glitter, and tiny decorations
- Toothpicks or thin pins for details
- Gloss glaze or acrylic sealant
- Optional: metallic paint pens for doodles
Yes, you can improvise with what you’ve got. No need to go on a scavenger hunt for the perfect toolkit. The fun starts with color and texture, not perfection.
Step-by-Step: The Basic Clay Egg Ornament

- Roll a ball of clay to your preferred egg shape. Don’t worry about symmetry—quirky eggs have character.
- Pinch and taper one end to form a pointed tip. Gently flatten the opposite end for stability.
- Bake according to your clay’s instructions. Pro tip: use a dedicated tray to avoid flavoring your cookies with clay for the next week.
- Cool completely, then sand lightly for a smooth surface. Dust off the crumbs—feels oddly satisfying.
- Paint, embellish, and seal. The glaze adds shine and longevity; you’ll thank yourself later.
Texture, Patterns, and Personal Flair
Texture brings clay eggs to life. Try a few simple ideas:
- Imprint a pattern with a textured stamp or a textured fabric piece.
- Slice tiny shapes and press them onto the egg for a collage look.
- Use a fine brush to paint delicate lines or polka dots.
- Wrap thin ribbons or twine around the egg for a cozy, handmade vibe.
Ask yourself: which vibe fits your space—romantic, rustic, or modern? IMO, mixing styles adds charm and keeps things visually interesting.
Color Combinations That Slap
Go beyond pastels with a little contrast:
- Soft mint and peach for a fresh springy palette
- Navy with gold accents for a chic, modern look
- Warm terracotta with dusty rose for a cozy, earthy feel
FYI, you don’t need to commit to one color family. Layering hues creates depth and personality that paint alone can’t replicate.
Details That Make a Difference
Small touches elevate your eggs from cute to wow:
- Fine metallic pens to sketch tiny patterns
- Gloss glaze for shine and protection
- Tiny beads or rhinestones for subtle sparkle
- A dab of glitter glue for festive flair
Don’t overdo it. Sometimes less is more, especially when you want your designs to actually pop from a distance.
H3 Subsection: DIY Embellishment Ideas
Hand-Painted Florals
Little daisy or dainty petals around the egg give a fresh vibe. Press a thin brush, make a few quick strokes, and you’re done. It’s surprisingly forgiving and totally Instagrammable.
Geometric Accents
Sharp lines? You got this. Use painter’s tape to section off areas, then fill with bold colors. Remove tape, and you’ll wow yourself with clean edges every time.
Nature-Inspired Motifs
Floral silhouettes, leaves, or tiny birds—nature always looks good on clay. Keep shapes simple for the best result, especially if you’re new to sculpting.
Storing and Displaying Your Clay Eggs
Keep them pristine with simple habits. Store in an air-tight container to prevent dust buildup. If you’re planning a display, create a mini scene with a branch or nest, and place your eggs among faux grass or moss. It’s niche, but it feels special.
Display Ideas That Sparks Joy
Try these quick setups:
- A vintage egg tray with a velvet lining for a nostalgic look
- A glass cloche with a few eggs and tiny flowers
- A vertical display using thin dowels and mini stands
Troubleshooting Common Issues
We’ve all had a clay-cracking moment or a design that refused to cooperate. Here’s how to handle it without sighing dramatically into your coffee:
- If the clay cracks during baking, knead the clay a bit more before shaping and ensure even thickness.
- If color looks muddy, apply a light primer layer first, then your chosen hues.
- If the glaze clumps, stir gently and use thin coats. Multiple light layers beat one heavy coat.
FAQ
Can I use regular air-dry clay instead of polymer clay?
Air-dry clay is workable, but it won’t be as durable as polymer clay once cured. If you’re decorating for display rather than play, it’s a fine option; just expect a softer, more fragile result.
How long do these clay Easter eggs last?
With a proper sealant, they’ll stay looking fresh for years. Avoid prolonged direct sunlight to prevent color fading, and store them in a cool, dry place when not on display.
Do I need a fancy kiln to bake these?
Nope. Most polymer clays cure in a regular home oven. Follow the clay’s bake temperature and time. FYI, keep the oven door closed to avoid temperature spikes that can warp your shapes.
What’s the easiest pattern for beginners?
Polka dots, simple stripes, and tiny flower clusters are forgiving and fast. Start with one pattern in a couple of colors, then level up as you gain confidence.
How can I make my eggs look glossy without smudging the paint?
Apply a thin glaze after the paint dries completely. A light coat gives a beautiful shine and protection against fingerprints. If you’re really pro, use a UV-protectant sealant for extra longevity.
Closing Thoughts
Clay Easter egg ornaments are a playful twist on traditional decorating. They’re durable, endlessly customizable, and surprisingly forgiving. IMO, the best part is you can switch up colors and motifs year after year without redoing the whole display. So why not give it a try and surprise yourself with how addictive a tiny egg can be?


