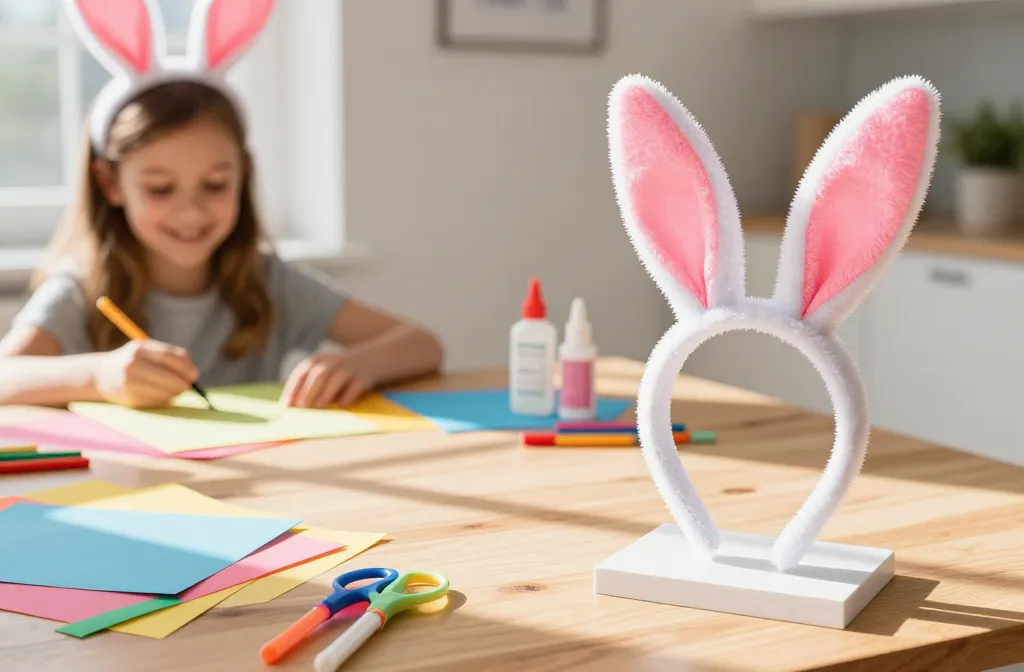
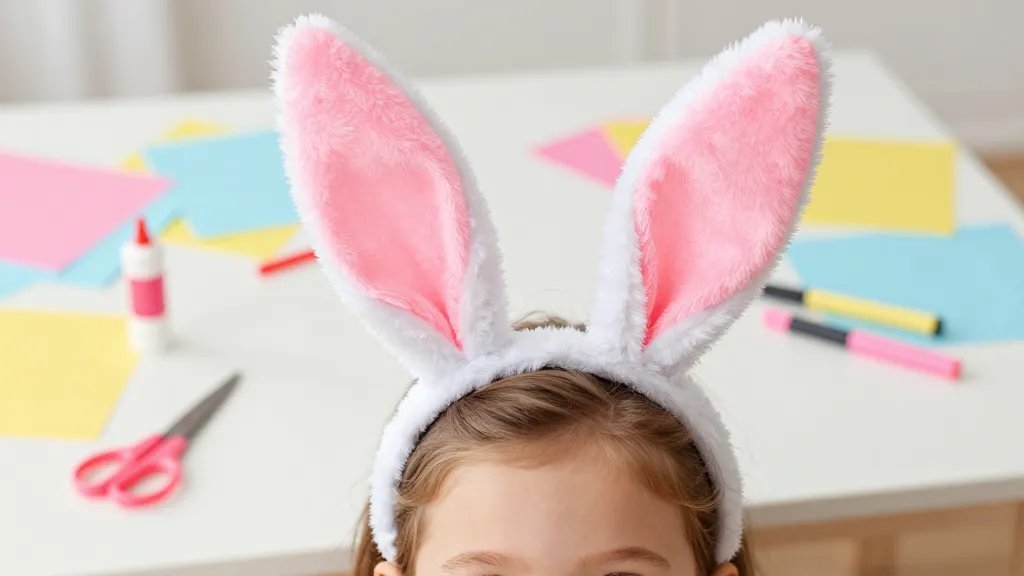
An unstoppable little craft idea is hopping into your weekend plans: Bunny Ear Headbands kids can make in minutes. They’re cute, silly, and surprisingly easy for little hands to master. Ready to whip up something that doubles as dress-up and party swag?
Why These Bunny Ears Are a Winner: Quick, Cute, and Kid-Approved
Bunny ears are the perfect kids’ craft because they hit a sweet spot: fast to finish, low mess, and instantly Instagram-worthy (if that’s your thing). No glitter avalanche required unless you want one. FYI, kids feel like the Easter Bunny’s prodigy when they see their own ears perched on their heads.
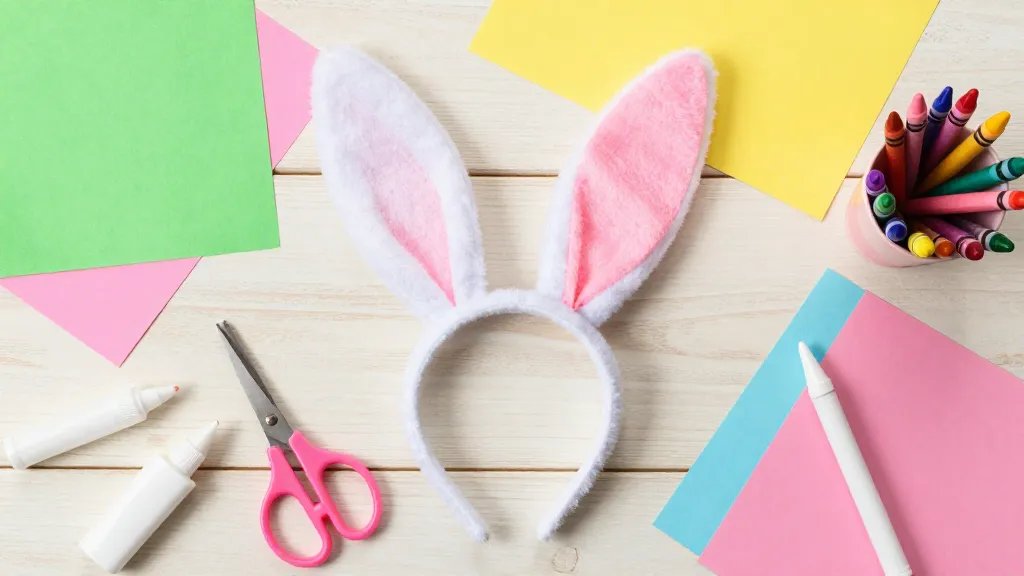
Materials You’ll Need (Very Little, Very Fun)
- Headbands (bendy or classic plastic works fine)
- Construction paper or felt (white, pink, or any color combo your kid loves)
- Scissors (child-safe for the little ones)
- Glue or a hot glue gun (adult supervision for heat)
- Markers, crayons, and a splash of imagination
- Optional: wiggle eyes, pom-poms, stickers for extra personality
Step-by-Step: How to Make Bunny Ear Headbands in 15 Minutes
- Cut two ear shapes from paper or felt. Pro tip: trace a simple oval, then refine to a rounded top for cute bunny vibes.
- Cut a matching inner ear shape in pink or a contrasting color. Glue it onto the outer ear for a pop.
- Attach ears to the headband with glue. For extra stability, tape the base of each ear to the headband first, then glue over it.
- Let dry for a few minutes, then decorate the ears (polka dots, stripes, little hearts).
- Pop on the headband and strike a pose. You’ve just unlocked instant dress-up mode.
Pro Tips for Perfect Ears Every Time
- Make the ears slightly curved rather than perfectly straight for a friendlier look.
- Use felt instead of paper if you want sturdier ears that don’t fold during play.
- Attach a small dab of hot glue at the base to keep ears from wiggling.
Creative Variations: Turn This Into a Full Party Look
- Color-Coordinated Sets: Match ear colors to party themes—pink and white for a princess vibe, gray and white for a woodland bunny.
- Printable Templates: Trace simple ear shapes from printables to speed up the process.
- Extra Flair: Add ribbons, bells, or a tiny bowtie to create a full bunny persona.
Bunny Ears for Different Ages
Little kids love the bright colors and soft textures, while older kids enjoy a bit more precision with cutting and decorating. If you’ve got a curious teen, challenge them to design ears with symmetrical shapes or add fabric textures for a chic twist. It’s all about meeting them where they’re at.
Mess and Mindfulness: Keeping It Calm During Craft Time
Yes, crafts can get a little chaotic. Here’s how to keep the vibe chill:
- Lay out a dedicated crafting zone with paper towels and a trash bin within reach.
- Pre-cut some of the shapes to save time and reduce frustration for younger kids.
- Use washable markers and non-toxic glue to minimize drama if accidents happen.
Creating an Easy Cleanup Routine
Put a tray under the work area, have a damp cloth handy, and let kids help with the cleanup. It’s a tiny winpoint that makes everyone feel like a crafts champion.
Educational Spin: Fine Motor Skills Meet Bunny Ears
Crafting isn’t just cute—it’s a quiet lesson in hand-eye coordination, color matching, and following simple steps. Kids practice cutting (under supervision), gluing, and decorating, which reinforces focus and patience in a fun, low-pressure way.
Incorporating a Quick Challenge
Turn it into a mini challenge: “Can you decorate both ears the same way?” or “Can you use at least three colors?” Friendly competition can spark creativity without stress.
Storytime Tie-In: Bunny Ears as a Character Accessory
Use the craft as a storytelling prop. Have your child invent a mini bunny character and give it a name. What adventures would this bunny have on a woodland picnic or at a spring party? For extra engagement, act out a short scene where the bunny uses the ears to signal friends.
Story Prompt: The Curious Bunny Who Found a Colorful Hat
Invite kids to narrate a tiny tale while decorating. This turns a simple craft into a literacy boost and a lot of giggles.
FAQ: Quick Answers to Your Bunny Ear Headband Questions
Are these headbands suitable for very young children?
Definitely. Choose larger ears and use kid-safe glue and felt. Let them focus on color, texture, and sticker decoration. Supervised crafting ensures safety and big smiles.
What if my child doesn’t want to cut shapes?
Pre-cut shapes are your friend. You can also provide pre-glued ear pieces or use foam stickers that require less cutting. The goal is participation and pride in their finished product.
How can I make the ears more durable?
Opt for felt or lightweight foam rather than thin paper. Glue the ears to a sturdier headband base and consider adding a small fabric band at the base for extra reinforcement. Your future Easter photo album will thank you.
Can we customize these for a themed party?
Yes! Swap colors to match a theme, add character-specific decorations, or pair with other headbands (ears plus a bow for a “fluffy duo” look). The possibilities are endless, and the results look adorable on kids and adults alike.
Any safety concerns I should watch for?
Watch for small decorations that could detach and pose a choking risk for younger kids. Use non-toxic materials, supervise glue usage, and avoid sharp edges on any cut pieces. If something seems risky, skip it and keep decorating with markers and stickers instead.
Conclusion: Wrap-Up for Quick, Cheerful Craft Fun
Bunny Ear Headbands are the teeny-tiny project that yields big smiles. They’re fast, forgiving, and endlessly customizable, which makes them perfect for a sunny afternoon, a birthday party, or a “just-because” craft session. IMO, these ears become more than a accessory; they become a tiny doorway into imagination. So grab supplies, call a kiddo over, and get ready for a burst of giggles and bunny-aura photos that’ll melt your heart.


