An easy twist can turn ordinary egg decorating into a conversation starter. Let’s dive into fabric-wrapped Easter eggs that are cute, practical, and a little fancy without needing a sewing degree. FYI, you’ll impress kids and co-workers alike without breaking the bank.
Why Fabric-Wrapped Eggs Are Worth Trying
So what’s the big deal about fabric wrapping? It’s texture, color, and personality all wrapped into one tiny package. The fabric adds a soft, tactile vibe that ordinary dye jobs can’t compete with. Plus, you can reuse the fabric for other crafts afterward, so nothing goes to waste. Ready to give your Easter display some serious swag?
Picking the Right Fabric
Choosing fabric is half the fun. Here’s a quick guide to help you pick without overthinking.
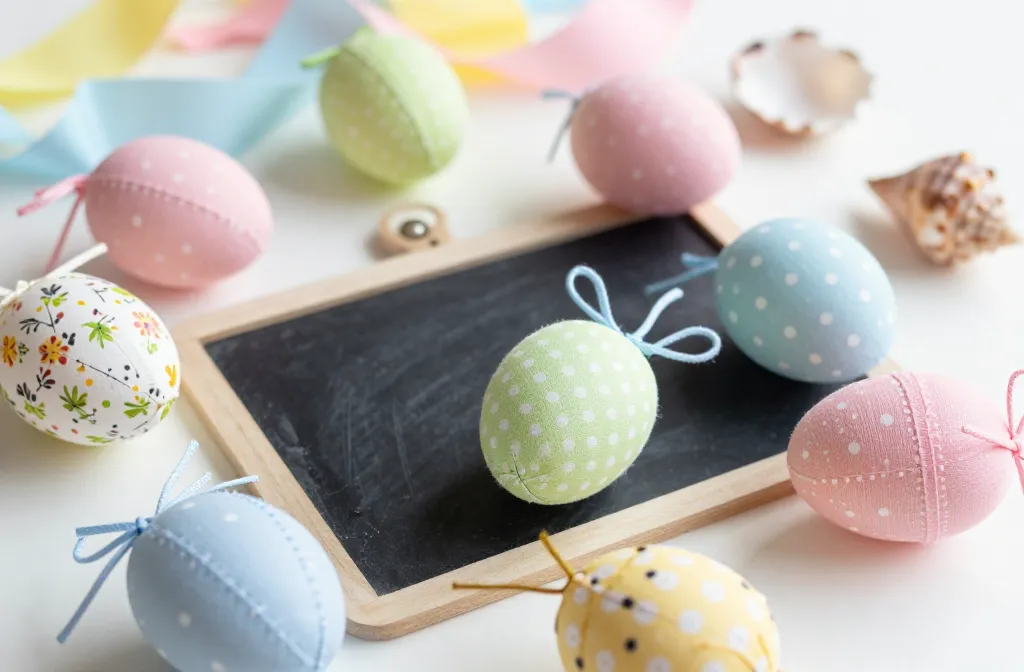
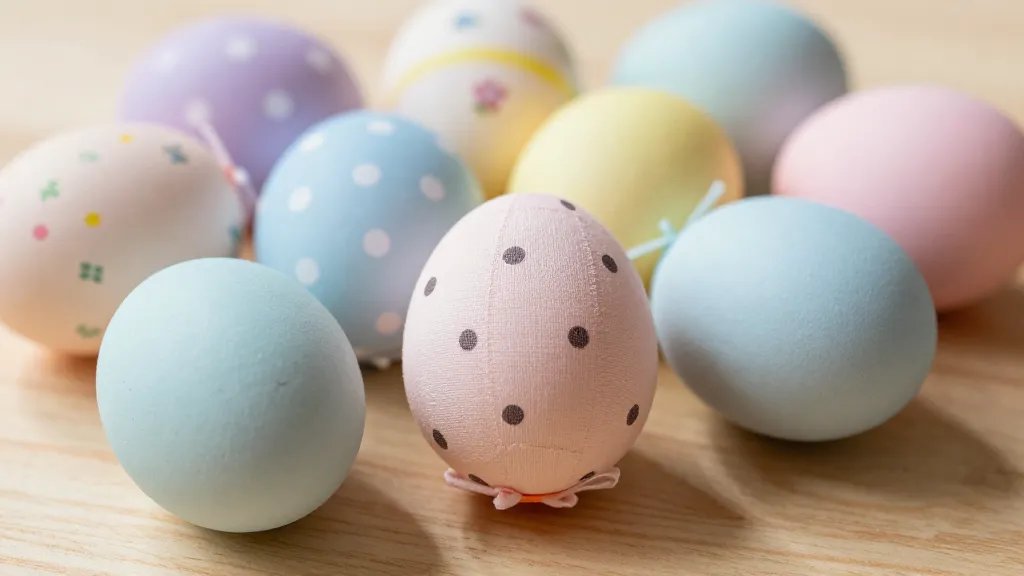
- Patterns work best in small doses. Think polka dots, tiny florals, or geometric prints.
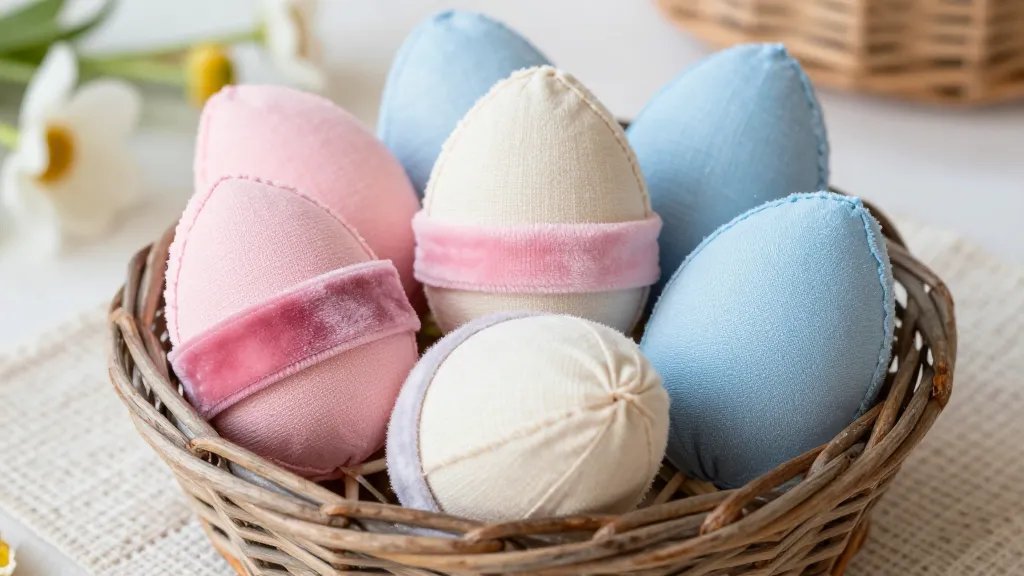
- Texture adds depth. Linen, cotton, and velvet bands look luxe on an egg shape.
- Color coordination matters. Pick three complementary colors or go bold with a single punchy hue.
- Washable fabrics save you from worrying about dye transfer or stains.
Tools You’ll Need
No fancy gear required. Here’s a lean, friendly setup.
- White eggs (hard-boiled or blown, your call)
- Sewing thread or twine
- Fabric scraps or pre-cut mini squares
- Non-toxic glue or mod podge
- Scissors, a pencil, and a small brush
- Optional: narrow ribbon, decorative beads
Step-by-Step: The Quick Method
This method gets you from fabric to fabulous in no time.
- Prepare eggs by cleaning and drying them completely.
- Cut fabric into small pieces or wrap around the egg in a way that showcases a pattern.
- Apply a thin layer of glue or mod podge on the egg surface.
- Wrap with fabric, smoothing as you go to avoid wrinkles. Let any excess hang loose for texture.
- Seal with another light coat of glue. Let it dry fully.
Tips for a Smooth Wrap
– Keep fabric taut but not stretched tight; you want a snug, even appearance.
– If a corner sticks up, dab a tiny dot of glue and press it down.
– For clean edges, trim fabric parallel to the egg’s long axis before gluing.
Alternative Methods: Quick Drape and Layer
If you’re not into full wrapping, try these lighter versions.
- Fabric Drape: Cut a long strip and wrap around the egg like a candy cane, securing with a dab of glue on one end.
- Patchwork Patch: Glue small fabric squares in a mosaic style for a playful look.
- Ribbon Accent: Use thin ribbon to create stripes or cross patterns on a plain egg.
How to Make It Really Pop
– Layer fabrics with contrasting textures, like cotton beneath velvet.
– Use metallic or glitter glue sparingly for a festive sparkle.
Comfortable Techniques for Beginners
Not into sewing or fuss? You don’t have to be. Try these low-commitment moves.
- Use pre-cut fabric circles that wrap around the egg with a tiny slit so you can tuck the edges in.
- Opt for fabric tape or bias tape to simplify wrapping and edges.
- Work in small batches to avoid fabric fraying or glue mess.
Storage and Longevity
– Store eggs in a cool, dry place to prevent fabric from staining or fading.
– If you want to reuse fabric, carefully peel off glue and save the scraps for future projects.
Display Ideas That Make You Look Like a Craft Pro
A great presentation elevates the eggs from cute to wow. Try these ideas.
- Cluster eggs in a vintage teacup or a white ceramic bowl for a minimalist cafe vibe.
- Line a wooden tray with shredded paper or moss to create a springy display.
- Pair with natural elements: sprigs of lavender, baby’s breath, or tiny wooden carts.
Interactive Twist
– Create a “fabric gallery”: let kids pick fabrics and wrap a few eggs themselves. It’s messy but memorable.
– Add mini notes under each egg with a playful riddle or Easter clue.
Eco-Friendly and Budget-Savvy Perks
Fabric-wrapped eggs aren’t just pretty; they’re practical.
- Reuse fabrics from old clothes or scrap rooms instead of buying new craft stuff.
- Non-toxic glues keep the vibe safe for kids and pets.
- Slow craft, fast smiles—no single-use dye waste, just a few scraps turned into magic.
FAQ
Do I need to know how to sew to wrap fabric around eggs?
You don’t have to sew a thing, though a quick stitch or two can help secure stubborn wraps. The simplest method uses glue and fabric strips or circles. If you want a more polished edge, you can stitch a seam and then glue it in place.
What kind of eggs should I use for fabric wrapping?
Hard-boiled eggs are traditional and sturdy, but blown eggs work nicely if you want to keep the shell intact longer. If you’re hosting a dye-free Easter, blown eggs give you the option to keep eggs for keepsakes after the celebration.
Can I use these eggs for decorating after Easter?
Absolutely. You can gently peel off the fabric and save the shells for future crafts, or reuse the fabric for gift wrapping, pouches, or small plush decorations. FYI, the fabric scraps make great bookmarks or sachets.
How do I prevent fabric from fraying?
Choose fabric with a tighter weave, use a small amount of glue at the edges, and consider a quick trim with pinking shears on raw edges. A light seal of mod podge also helps.
Are fabric-wrapped eggs safe for kids?
Yes, as long as you supervise glue usage and handle raw materials with care. Use non-toxic glue and washable fabrics to keep things kid-friendly.
What if I don’t have fabric scraps?
No problem—browse thrift stores or DIY shops for affordable fabric scraps. You can also use wrapping paper cut into fabric-like shapes if you’re in a time crunch.
Conclusion
Fabric-wrapped Easter eggs blend cozy texture with a dash of whimsy, and they’re surprisingly forgiving for beginners. You can go full couture with velvet bands or keep it simple with cotton scraps. The best part? You control the vibe, from rustic to glam, without spending a fortune. So grab a stack of fabric, a few eggs, and get wrapping—your Easter display will thank you, and so will your Instagram stories.


