An easy, breezy guide to crafting hanging Easter ornaments you’ll want to show off on every surface. No fluff, just simple steps, playful vibes, and a few clever twists you’ll actually use next year too. Let’s dive in and make your Easter decor glow.
Why Hanging Ornaments Make Easter Twice as Fun
– They catch light, shadow, and compliments all at once.
– You can customize them to match your color scheme or mood.
– They’re a perfect project for a cozy afternoon with coffee and a playlist.
Gather Your Supplies Without Losing Your Mind
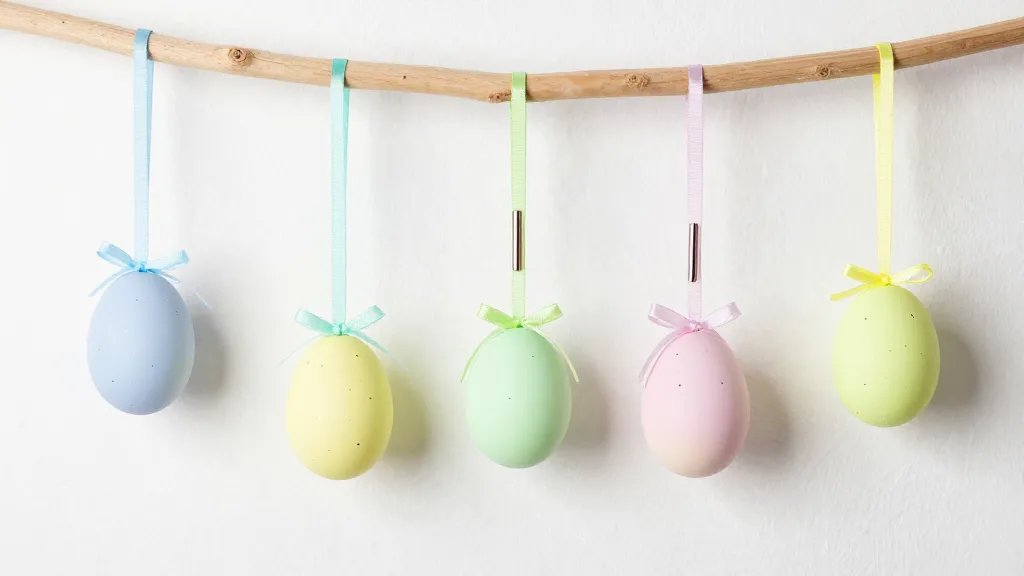
- Clear ornament baubles or plastic eggs
- Colored tissue paper, confetti, or tiny dried flowers
- Mod Podge or craft glue
- Fine ribbon, twine, or fishing line
- Scissors, a needle, and a needle threader (if you’re fancy)
- Optional: metallic pens, glitter, sequins
Choose a Theme That Sparks Joy

Do you want pastel bliss, bold neon vibes, or a rustic countryside look? Your theme guides colors, textures, and the kind of contents you’ll tuck inside the ornaments. FYI, mixing textures creates depth—think tissue paper with a hint of fern or dried petals with a splash of gold.
Step-By-Step: Easy Ornament Fill Ideas
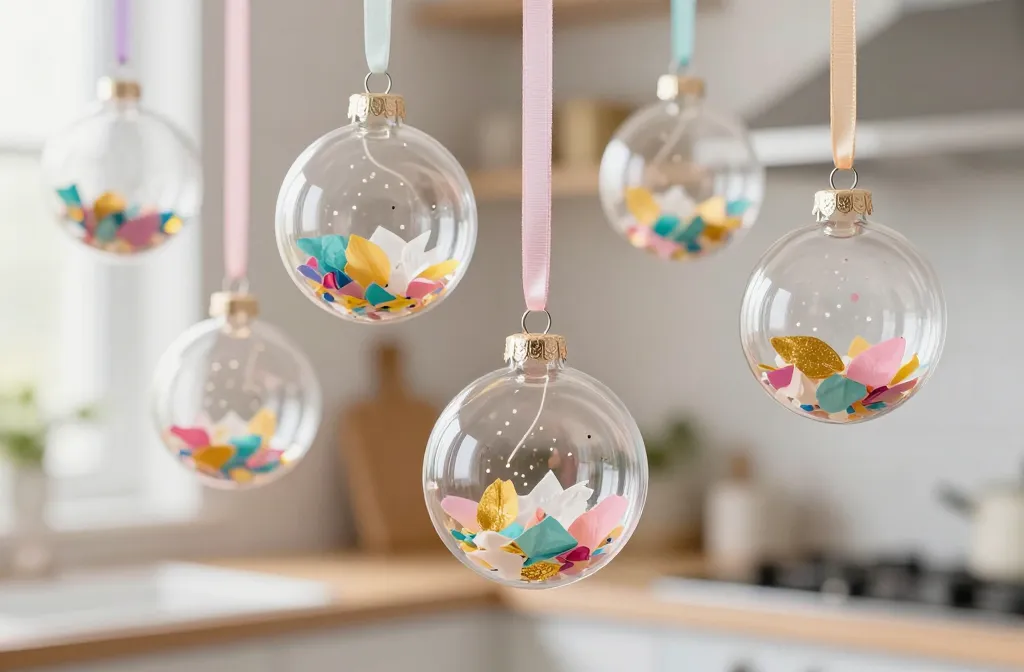
Classic Confetti Burst
- Cut tiny confetti shapes and a small scrap of tissue paper.
- Pour a pinch into the ornament, add a dab of glue to keep things from rattling.
- Finish with a ribbon and a quick seal of Mod Podge on the inside rim.
Floral Whisper
- Gently press dried flowers into the ornament.
- Coat with a thin layer of glue to keep petals in place.
- Roll the top with twine to create a rustic hanger.
Gold-Tipped Minimalism
- Slice a few metallic scraps or strip thin gold foil.
- Place along one side for a subtler, chic shimmer.
- Seal with a clear coat and hang with satin ribbon.
Sealing and Hanging: Make It Last
The key is a light seal to prevent contents from escaping, but you don’t want to dull the charm with heavy layers. Use a thin coat of Mod Podge inside, then let dry fully before sealing outside. Measure your hanger length with a quick test swing—nobody wants a mid-dinner ornament faceplant.
Hanging Tips That Actually Work
- Use clear fishing line for a floating look.
- Space out ornaments for a clean, gallery-like display.
- Consider a twig wreath or a branch grid to give them a stage.
Creative Presentation Ideas
Ornaments don’t have to be hung from a tree. Try a branch bouquet in a vase, a ceiling cascade above a dessert table, or a hanging centerpiece for your coffee nook. IMO, the more unexpected the placement, the bigger the smile when guests notice.
Tabletop Display Tricks
- Cluster at varying heights using empty candle jars as risers.
- Pair with pastel candles to reflect soft light.
- Swap in seasonal scents like lavender or citrus for a multi-sensory moment.
Personalize It: Custom Messages and Symbols
Get a little sentimental by adding mini tags with names, dates, or inside jokes. A tiny handwritten message tucked in each ornament makes them feel like tiny acts of memory you can carry around. FYI, you don’t need the perfect handwriting—character matters more than precision here.
How to Add Tiny Tags
- Cut small rectangular tags from cardstock.
- Write a short note (name, year, or a fun motto).
- Attach with a thin jump ring or thread through the top of the ornament.
Safety and Sustainability Hacks
Keep little hands safe and the planet happy. Use BPA-free ornaments, recycled ribbons, and non-toxic glues. If you break something, repurpose the pieces into a new ornament rather than tossing them. Reuse is chill—eco-friendly, and totally in style.
Green Alternatives
- Repurpose old ribbons from gift wrap scraps.
- Choose biodegradable glitters or skip glitter entirely.
- Opt for dried botanicals instead of plastic fillers.
Common Mistakes to Avoid (And How to Fix Them Fast)
- Overfilling: If you can’t close the ornament, you’ve gone too far. Remove a pinch and try again.
- Gluing the hanger shut: Leave a little room to thread the string through.
- Using heavy items: Lightweight fillers stay put and keep the ornament balanced.
FAQ
Can I use real dried flowers in plastic ornaments?
Yes, but make sure they’re fully dry and pressed so they don’t mold. Seal lightly to keep petals intact, and test with a small batch before committing to a full bunch.
What’s the best glue for glass ornaments?
Mod Podge or clear craft glue works well for inside filling. If you’re attaching fabric or ribbons on the outside, a strong craft glue or hot glue works too—just be mindful of the finish and temperature sensitivity.
How do I prevent ornaments from looking cheap?
Keep fills lightweight, use coordinated color palettes, and finish with a thin seal or clear topcoat. A little metallic trim or a tiny tag can elevate the look instantly.
How long does this project take?
Plan for 1–2 hours for a dozen ornaments, depending on complexity. If you’re a speed demon, you can finish in under 45 minutes with a basic set.
Are there kid-friendly versions?
Absolutely. Let kids handle safe, pre-made fillings and simple ribbons. Keep glue areas sealed and supervise for any sharp edges or small pieces. It’s a fun, crafty bonding moment—just supervise the sparkles.
Conclusion
Hanging Easter ornaments is a small project with big payoff. You get to play with color, texture, and tiny messages while creating something you’ll actually want to show off. FYI, the best part is how your space feels lighter, brighter, and uniquely you. So grab a few supplies, pick a theme, and start decorating like you mean it. Happy crafting!


