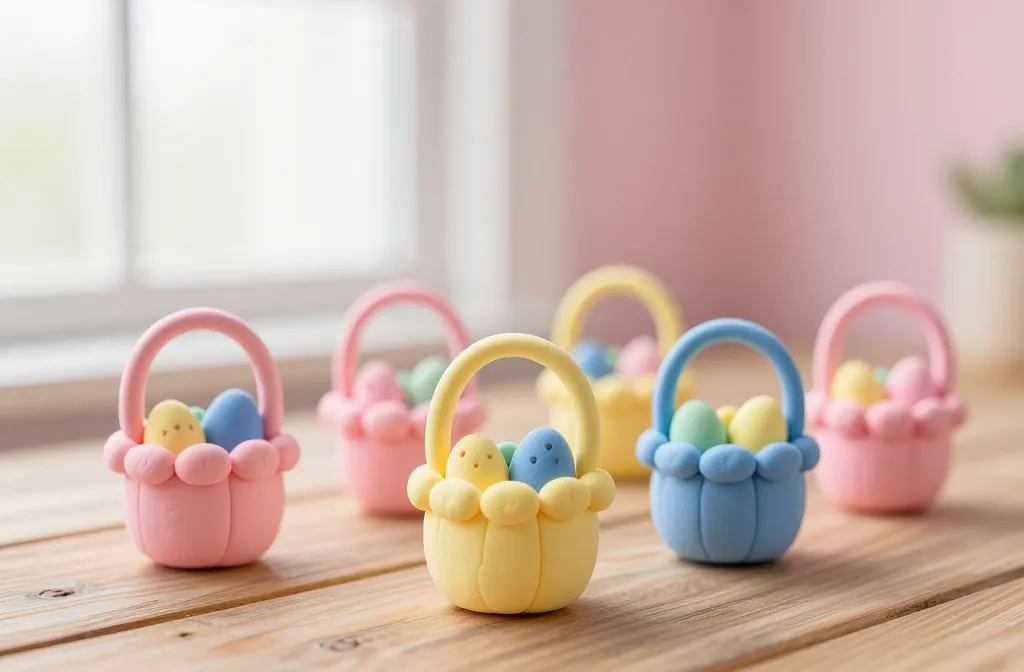
An idea that’s almost too cute to handle: tiny Easter basket clay crafts you can whip up in an afternoon. You’ll end up with a shelf full of pinchable, pastel-perfect mini baskets that double as quirky decor and totally adorable gifts. Ready to get your hands muddy in the cutest way possible? Let’s dive in.
Why Mini Easter Basket Clay Craft Is Worth Trying
You don’t need a big studio or fancy gear to make these. A few materials, a sprinkle of patience, and a dash of whimsy will do. These little baskets are satisfying to make, photogenic, and perfect for kids, teens, or adults who still secretly love tiny stuff. FYI, the best part is that you can customize them to fit any decor or vibe — shabby chic, modern pastel, or bold candy colors.
What You’ll Need (The Quick List)
- Air-dry clay or polymer clay (your call, just bake if polymer)
- A small rolling pin or a clean bottle to flatten clay
- Clay cutting tools or a simple knife
- Fine sandpaper or a nail file for smoothing
- Paints in pastel shades, plus a thin brush
- Glue (if you’re attaching handles or embellishments)
- Varnish or sealant for shine and durability
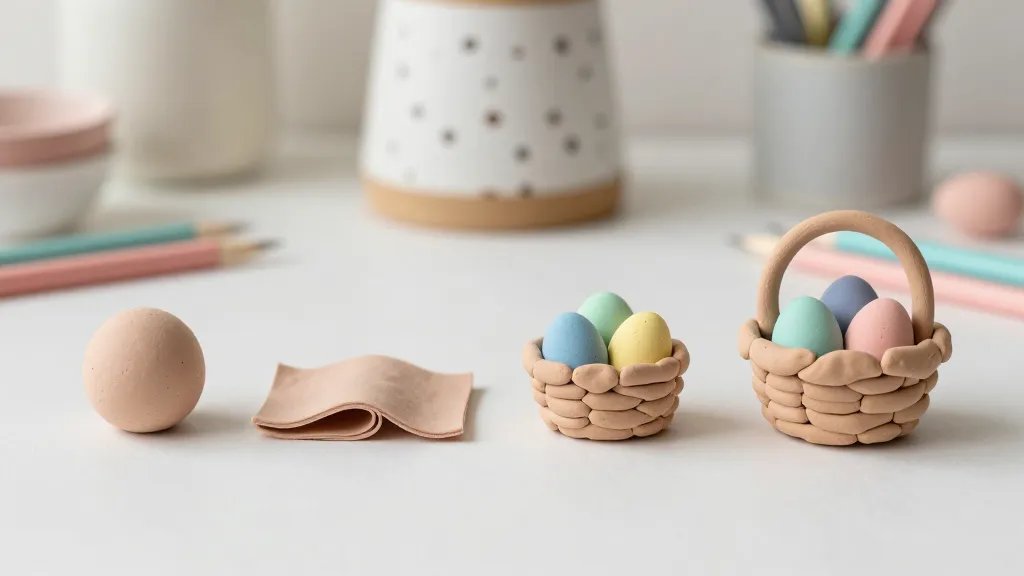
Step-by-Step: Crafting the Base Basket
- Roll a ball, then flatten into a shallow disk for the base. Aim for about 1/4 inch thick.
- Shape the sides by rolling a tubular strip and attaching it around the edge. Smooth the seam with your finger or a tool.
- Make sure the basket sits flat. Trim any wobble and let it dry a bit before moving to painting.
Twist 1: Create Delicate Handles
Handles give your mini basket character. Loop two thin clay ropes and attach them to opposite sides. If you’re worried they’ll pop off, add a dab of glue and let it dry completely. Pro tip: angle the handles slightly inward for a more whimsical look.
Subtle Variations for Different Vibes
Want a rustic vibe? Use a rougher texture on the exterior. Prefer a sleek modern look? Smooth the sides with sandpaper and paint with a single solid color. Fancy a candy shop aesthetic? Paint in alternating pastel stripes. The joy is in the small details.
Adding Color: Paint, Stain, and Gloss
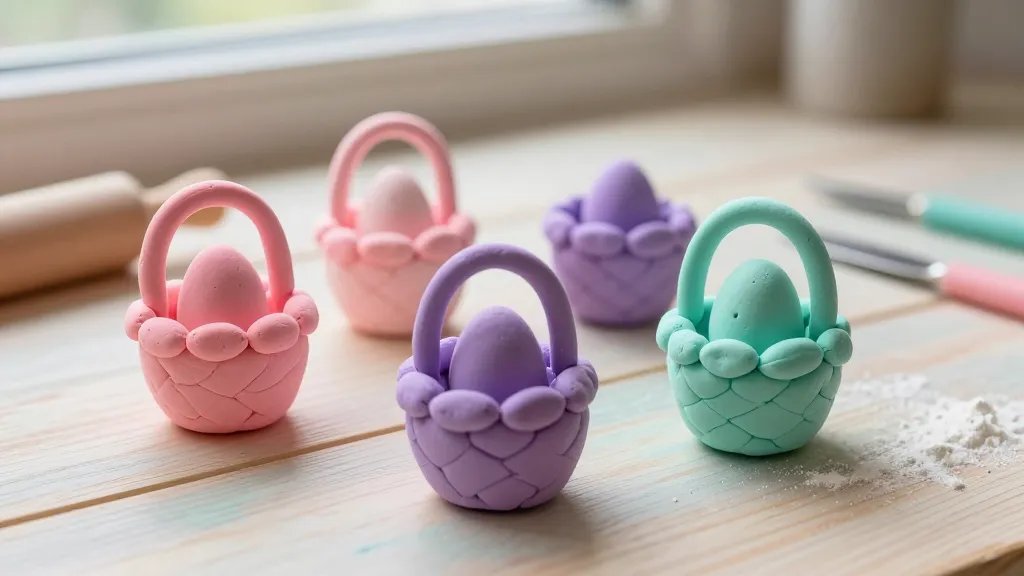
- Base coat: Choose a soft pastel like mint, blush, or lavender. Let it dry completely.
- Details: Use a fine-tipped brush for tiny patterns—dots, stripes, or tiny flowers work great.
- Seal: A clear sealant makes the color pop and protects your mini masterpiece from fingerprints.
DIY Color Tips
Mix a tiny amount of white with your chosen color to mute it for a vintage look. If you’re feeling bold, swap colors between baskets to create a coordinated mini collection. And yes, you can use acrylic paints for polymer clay if you bake after painting—check your clay kit’s guidance first.
Decoration Ideas That Spark Joy
- Mini carrots and eggs using polymer clay bits, then glaze with a pearly finish.
- Mini florals you roll and press into the basket rim for a springtime vibe.
- Ribbons, twine, or tiny fabric scraps glued along the rim for texture.
- Tiny faux moss or grass to fill the bottom for a realistic touch.
Personalize for Gifts
Write tiny messages on the underside of the base with a fine black marker, or tuck a folded note inside the basket. It’s the small, heartfelt details that make these perfect stocking stuffers, party favors, or teacher gifts.
Seasonal Spins: Easter Hunt-Ready Baskets
Create a set of mini baskets in different colors and fill each with a couple of tiny treats or sprinkles. Hide them around a room for a playful Easter scavenger hunt. FYI, kids and adults alike love a good treasure game, especially when the payoff is a hand-crafted charm.
Harvesting Compliments: Display and Photo Ideas
Line a shelf with a row of pastel baskets. Take a flat-lay photo for social, or set them on a cake stand for a cute centerpiece. Play with lighting—soft morning sun or warm fairy lights can make the colors pop.
Troubleshooting Common Roadblocks
- Cracking clay? Try thicker walls on your first attempt or add a bit of water to your clay to smooth seams squeaky clean.
- Handles won’t stick? Dry-fack glue works wonders, or bake polymer clay longer to cure fully.
- Paint peels after drying? Use a stronger sealant and ensure the base clay is completely dry before painting.
Frequently Asked Questions
What clay works best for beginners?
Air-dry clay is beginner-friendly and forgiving. Polymer clay is great if you want a bake-and-set option, but you’ll need a dedicated oven-safe workspace. IMO, start with air-dry to learn the shapes and seams, then explore polymer clay for more durable pieces.
Do I need special tools?
Not really. A basic set of clay tools, a rolling pin, a knife, and a smooth-surfaced workspace are enough to start. You can get fancy with texture stamps, but you’ll absolutely survive with what you have on hand.
How long do these baskets take to dry?
Air-dry clay typically dries in 24-48 hours, depending on thickness and humidity. If you’re impatient, you can speed things up with a hair dryer on a cool setting, but avoid overheating.
Can I make these with kids?
Absolutely. Kids love squishing clay and picking colors. Adult supervision helps with sharp tools and baking if you’re using polymer clay. Turn it into a mini workshop: everyone makes a basket, then you vote on the cutest one.
How should I finish and seal?
Sealant is optional but recommended. A matte sealant gives a soft look, while a gloss sealant makes colors punchier. Apply thin coats and let each coat dry fully for best results.
Conclusion
Mini Easter basket clay crafts are a tiny, joyful project that pays off in big smiles. They’re perfect for quick DIY sessions, charming decor, and thoughtful gifts. So grab your clay, pick a pastel palette, and start shaping little works of springtime whimsy. IMO, you’ll want to make a whole collection once you see how easy and rewarding these are.


