Ready to make Easter sparkle without turning your craft room into a glitter disaster? This beginner-friendly guide walks you through simple, eye-catching paper Easter decorations you can whip up in an afternoon. Let’s dive in and have fun with color, texture, and a little bit of whimsy.
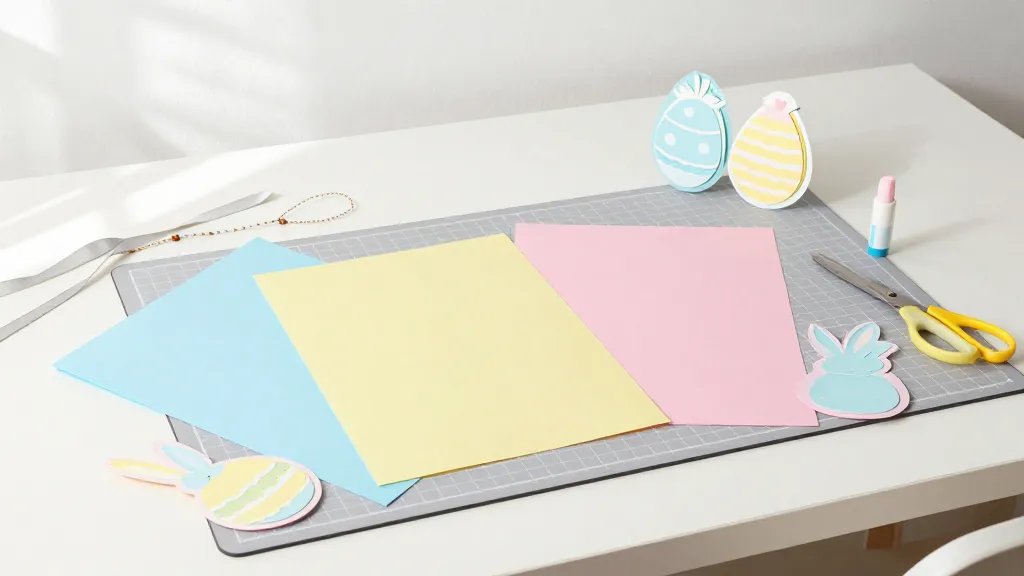
Getting Started: What You’ll Need
Before you grab scissors and coffee, here are the basics you’ll want on hand. The less fuss, the better—trust me, you don’t need a fancy studio to nail this.
- Colored paper and cardstock in a pastel palette
- Scissors, craft knife, and a cutting mat
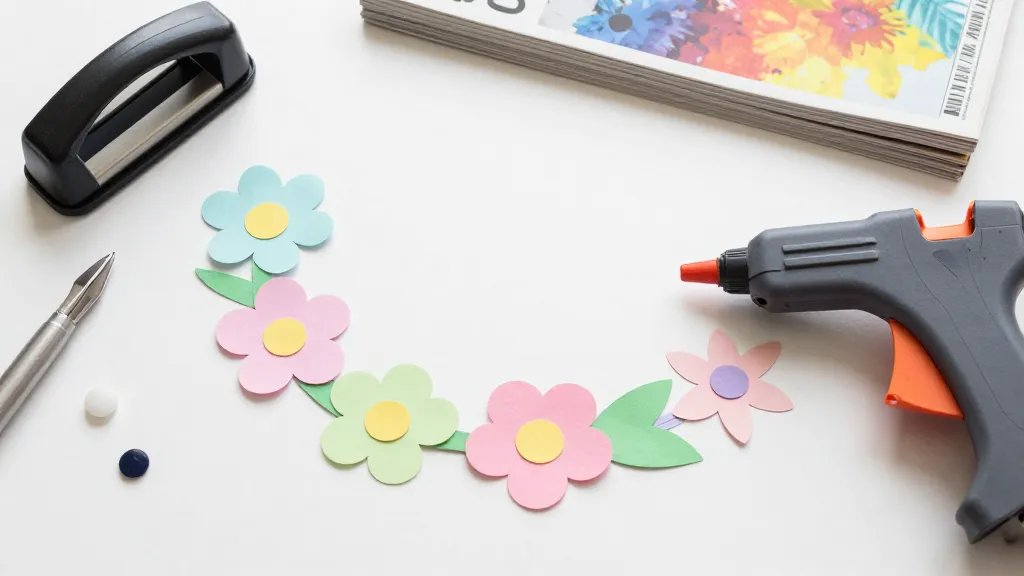
- Glue sticks, glue dots, or a hot glue gun (with caution)
- String, ribbon, or twine for hanging
- Optional: decorative perforator or punch tools for shapes
If you’ve got these in a dish on your desk, you’re halfway there. FYI, smart shopping tip: repurpose old magazines for vibrant color bursts without spending a ton.
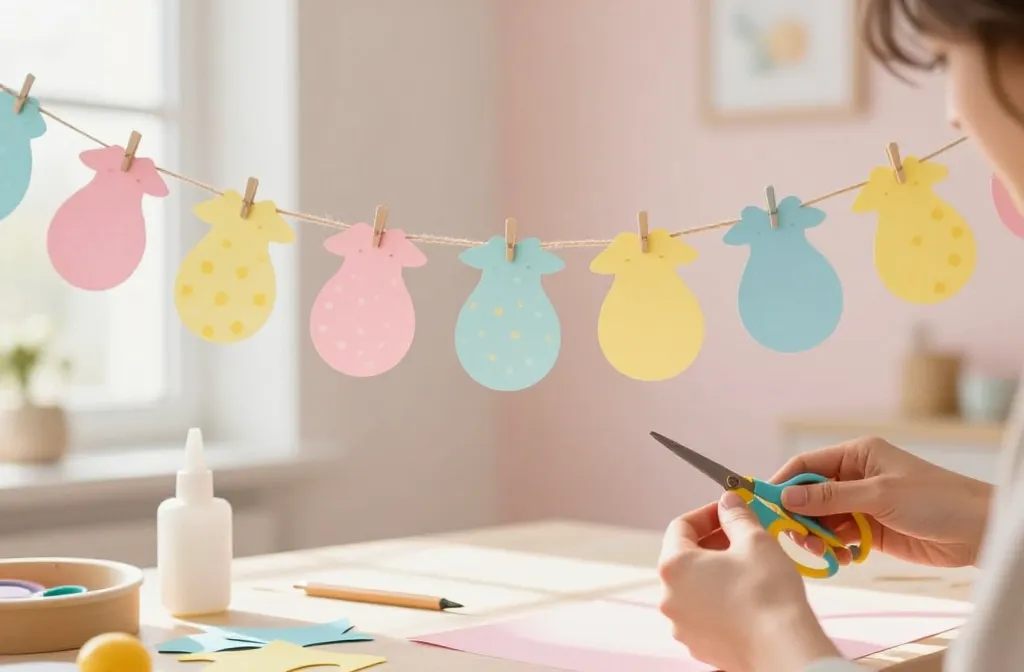
Paper Easter Garland: Easy, Colorful, and Cheerful
A garland instantly jazzes up walls, mantels, or windows. You’ll love how quick this one comes together.
Materials
- Colored paper or pre-cut confetti shapes
- String or twine
- Glue or double-sided tape
Steps
- Cut your shapes into a few sizes for visual interest.
- Glue shapes onto the string at regular intervals.
- Leave some space between clusters to keep it airy.
Pro tip: mix matte and metallic papers for a pop that photographs well. IMO, a little shimmer goes a long way without screaming Easter decor.
3D Paper Bunny Or Eggs: Cute, Quirky, and Surprisingly Easy
Three-dimensional shapes bring texture to your decor. Don’t panic—the process is simpler than it looks.
Materials
- Two-sided colored paper
- Scissors, a scoring tool or bone folder
- Glue or tape
Steps
- Fold paper into a simple 3D shape (a cube for eggs, a boat/house shape for bunnies works too).
- Cut decorative patterns on the layers before gluing to create a peek-through effect.
- Assemble and secure with a bit of glue at the corners.
Tip: punch a tiny hole at the top to thread a thread for hanging. FYI, these look adorable as mini garlands on a mantel or bookshelf.
Paper Pom-Poms: Puffy, Playful, And Perfect for Photos
Pom-poms are go-to decor that instantly softens a space. They’re basically featherweight party vibes made of paper.
Materials
- Colored tissue paper or thin scrapbook paper
- Scissors
- Floral wire or string
Steps
- Stack 8–12 sheets of tissue paper, fold like an accordion.
- Secure in the middle with a string or wire, then gently pull apart the layers to fluff.
- Trim into a round or pom shape and fluff again for symmetry.
Fancy version: use metallic paper for a chic twist. It’s a simple upgrade that still reads “festive.”
Whimsical Paper Bunnies: Silly, Sweet, and Shareable
Bunnies are a classic Easter symbol, and paper versions are endlessly charming. They work great as place cards or gift toppers.
Materials
- Colored cardstock
- Markers or fine-tip pens
- Double-sided tape or glue
Steps
- Cut a square for the body and a smaller rectangle for ears. Fold the ears and glue to the top.
- Draw a cute face, add whiskers, and keep the expression friendly.
- Attach to a stick or string to create little bunny toppers for gifts or arrangements.
These are the kind of decorations people snap pics of and share because they’re adorable and approachable. IMO, the simpler the better for beginners.
Decorative Paper Eggs: Classic Shapes with Modern Flair
Egg shapes never get old, but you can breathe new life into them with pattern and color play.
Materials
- Colorful paper or magazines for collage
- Glue sticks or mod podge
- Scissors
Steps
- Cut egg shapes from paper; for a collage, cut small shapes from colorful scraps.
- Layer pieces, then seal with a light coat of glue for durability.
- Optional: add a string loop for hanging or place on a decorative stand.
Keep it playful: mix bold patterns with softer pastels to create a balanced display. FYI, irregular collage edges can look intentionally artsy—embrace imperfection.
Craft Storage Hacks: Keeping It Simple and Stress-Free
Good storage means you actually finish projects and don’t lose your supplies every two days.
Tips
- Use a clear shoebox with dividers for papers, scissors, and glue.
- Label what’s in each bin so you’re not playing hide-and-seek with glitter again.
- Store in a cool, dry place to prevent warping of paper.
Pro move: reuse empty cereal boxes as mini storage for a desk or craft corner. It’s free, it’s green, it’s stylishly thrifty.
Tips for Making It Shine on Social Media
Let’s be real: you probably want to share your genius with the world. Here are simple hacks to boost engagement without extra effort.
Shareable Photo Tricks
- Natural light is your best friend. Set up near a window for soft, flattering light.
- Flat lay shots with a clean background make the details pop.
- Close-ups of textures (folded paper, glitter, glue lines) invite compliments.
Caption Ethics
- Keep captions friendly and short. Ask a question to invite comments.
- Use a couple of relatable hashtags, but don’t go hashtag-crazy—IMO a few well-chosen tags win.
FAQ: Quick Answers to Common Questions
1. Do I need fancy tools for these projects?
Not at all. Scissors, glue, and printer paper will carry you. If you want extra polish, a scoring tool or a paper punch can help, but they’re optional.
2. How long do these decorations last?
With decent glue and careful handling, you can enjoy them for the season. If you want to reuse, choose lightweight adhesives and store gently to avoid crumpling.
3. Can I involve kids without making a mess?
Absolutely. Pick pre-cut shapes, use non-toxic glue sticks, and set up a dedicated craft tray. It’s a win for creativity and cleanup is easier than you think.
4. What’s the best color palette for Easter paper crafts?
Pastels always work, but don’t be afraid to throw in a bold accent. A dash of metallic or neon can make things pop in photos. FYI, balance loud with soft to keep things cohesive.
5. Any quick ideas for last-minute decorations?
Grab a roll of colored paper, make a few quick bunny ears or egg shapes, and string them into a tiny garland. In 20 minutes you’ll have something cute and presentable.
Conclusion: You Got This—Now Go Create Something Cute
Decorating with paper eggs, bunnies, and garlands is a forgiving way to dip your toes into craft land. You’ll gain confidence as you experiment with color, shape, and texture. So grab your trusty scissors, pick a palette you love, and start folding, cutting, and gluing. You’ll be shocked at how fast a simple idea becomes an adorable display that friends and family can’t stop talking about. IMO, the best part is how easy it is to adapt these ideas for gifting or seasonal decor year-round.


