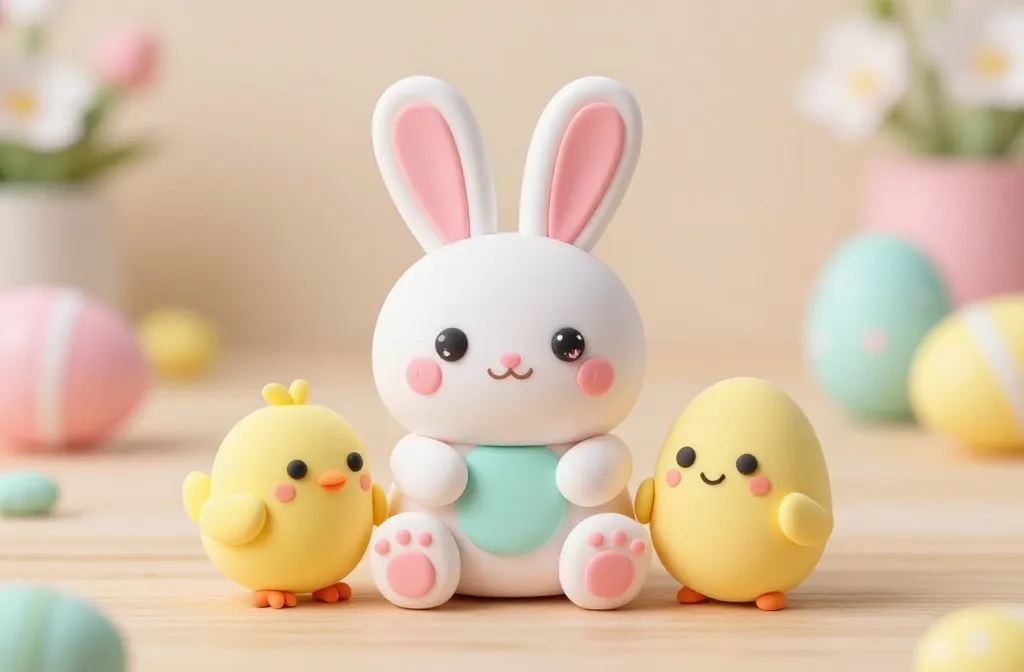
An adorable bunny or chick can brighten up any Easter display. If you’ve ever stared at a blank space and wished for instant cuteness, you’re in the right place. Let’s craft kawaii Easter characters that look amazing without hijacking your weekend.
Why Kawaii Easter Characters Beat Ordinary Decor
Kawaii just means “cute” with big eyes and tiny noses, right? When you hit the right balance, your characters feel friendly, shareable, and totally Instagrammable. FYI, you don’t need to be a pro crafter to pull this off. You just need a plan and a little patience.
First Things First: Choose Your Core Character
Think about the vibe you want. A fluffy bunny? A cheerful chick? A quirky egg with a smile? Pick one core character and build from there.
- Classic bunny: long ears, chubby cheeks, a tiny nose
- Sunny chick: big eyes, a pedestal of warmth
- Playful egg: sprightly expression, blush marks
How to decide quickly
Ask yourself: Do you want zen pastel vibes or bold color pops? Do you need something to sit on a shelf or something that fits in a basket? Your answers guide the rest.
Materials Checklist: What You’ll Need
Keep it simple. Gather basics so you can start quickly and upgrade later.
- Soft clay or polymer clay in pastel colors
- Googley eyes or black beads for pupils
- Acrylic paints in pink, white, yellow, and mint
- Fine-tipped brushes and a few broad brushes
- Clear sealant or mod podge for a glossy finish
- Zip ties or head pins if you’re wiring tiny limbs
Smart swaps if you’re on a budget
Use felt, fabric scraps, and embroidery floss to add texture without blowing your budget. FYI, crafting supplies go on sale around holidays, so grab extras when you see them.
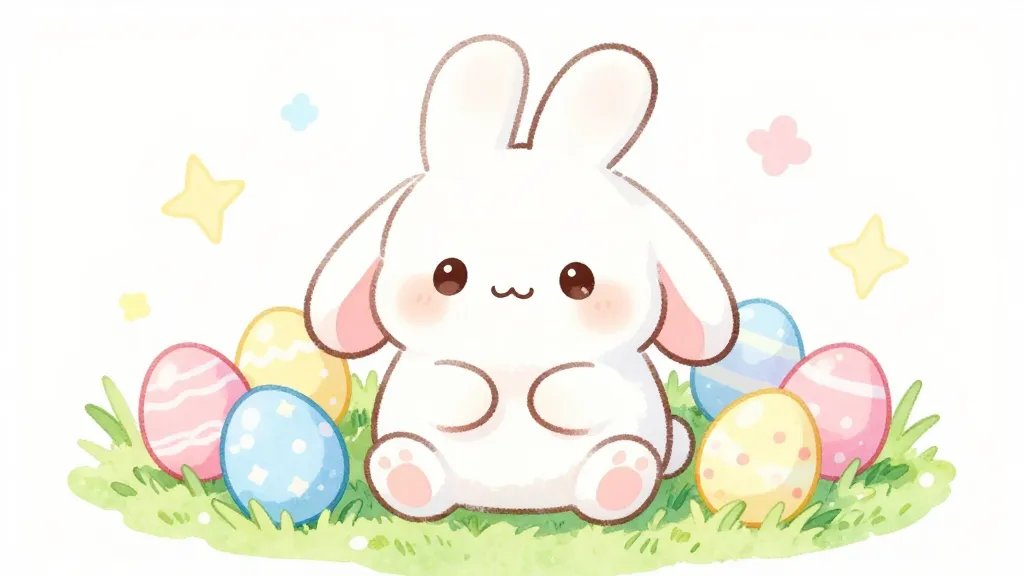
Step-by-Step: Crafting Your First Kawaii Easter Character
Let’s build a cute bunny as a template you can adapt.
- Shape the body: Make a plump oval for the body and a smaller one for the head.
- Attach ears: Create two long, floppy ears and blend them into the head so they feel connected.
- Face details: Add big round eyes, a tiny dot nose, and a smiling mouth. Keep cheeks rosy with a light pink wash.
- Finish with limbs: Tiny arms and stumpy feet finish the look. If you want extra cuteness, give the bunny a little bow or a carrot accessory.
- Seal and set: Let everything dry, then seal with a clear coat for durability.
Pro tip: Add personality with tiny accessories
A heart-shaped scarf, a mini flower crown, or a speckled egg hat can change the whole mood. Don’t overdo it—one or two accents are perfect.
Playing with Expressions: How to Make Them Extra Charming
The magic is in the face. Slight tweaks can convey happiness, curiosity, or shyness.
- Large eyes with a tiny sparkle imply curiosity.
- Blush marks under the cheeks scream “cute.”
- Angled eyebrows can shift emotion quickly—try a tiny arch for slyness or a gentle curve for innocence.
Mini face trials you can try
– Swap eye shapes between circles and ovals. – Change the mouth from a smile to a tiny “u” to switch moods. – Add a dot of white paint to imitate a gleam in the eye.
Textures and Surfaces: Make It Tactile and Tidy

Texture matters. It makes your characters feel tactile and premium.
- Matte vs. glossy: Matte clay reads cozy, while gloss adds a playful pop.
- Surface finishing: Smooth surfaces read sophisticated; subtle stippling gives a handmade vibe.
- Add fabric textures: Tiny knit scarves or felt wings can elevate the look.
Sealing for longevity
A clear sealant protects against smudges, especially if you plan to store or gift them. IMDb (Just kidding)—I meant DIY-safe sealant. FYI, test a small spot first to avoid yellowing.
Display Ideas: Where Your Kawaii Easter Characters Shine
Once your characters are ready, think about display.
- Table centerpieces: Group a trio on a pastel runner with faux grass.
- Basket inserts: Nestle a couple of characters among decorative eggs.
- Wall shelves: Create a mini diorama with tiny backdrop elements like paper flowers.
Creating a tiny scene
Add a felt carrot, a ribbon banner, and a few star confetti shapes to build a tiny, ready-to-share moment.
Scaling Up: From One Character to a Whole Cuteness Army
If one bunny is adorable, a crew is adorable-er. Plan a few variations to keep things interesting.
- Color family: Stick to pinks, blues, and mint for cohesion.
- Different poses: Sitting, standing, jumping—variety keeps your display lively.
- Character families: Bunny, chick, and egg buddy can tell a story together.
Managing your craft queue
Set a simple goal: finish one character per weekend. It’s doable, and you won’t burn out.
Common Mistakes and How to Avoid Them
Let’s skip the avoidable drama, shall we?
- Over-sculpting: Tiny features beat big ones in the kawaii game.
- Uneven drying: Patience pays—let pieces cure fully before painting.
- Too many accessories: One or two well-placed accents beat clutter.
Fixing hiccups on the fly
If your ears crack or a limb won’t stay, use a dab of glue and a pin to hold until set. Then rinse and adjust.
FAQ
What materials are best for beginners?
Start with air-dry clay or soft polymer clay. Pick a few pastel paints, simple brushes, and a clear sealant. You’ll get a solid result without needing a kiln or fancy tools.
Can I use recyclable materials?
Absolutely. Felt scraps, paper, and fabric scraps can become charming pieces. Get creative with what you have, and you’ll save money while still looking adorable.
How long does a typical character take to finish?
Depends on detail level. A simple bunny can be done in 1–2 hours, while more elaborate pieces with accessories might take a good afternoon.
How do I fix mistakes?
Most clay mistakes can be re-rolled or reshaped when the material is still soft. If paint goes wrong, a light sand and fresh coat usually solve it. FYI, patience helps more than you think.
Is sealing essential?
Not strictly, but it helps with durability and makes colors pop. If you gift them or display outdoors, sealing is highly recommended.
Any tips for photography and sharing?
Use natural light, a clean background, and a macro lens if you’ve got one. A simple white or pastel backdrop makes colors true. A tiny 1–2 second shot delay can reduce blur from light.
Conclusion
Kawaii Easter characters are a joyful, doable project that packs a big punch. Start with a single core character, keep the color palette gentle, and layer in personality with tiny details. If you’re feeling extra, display them in a little scene or a mini basket queue. Ready to make your Easter look this cute? IMO, you’ll be obsessed with how easy and satisfying these little characters are. Happy crafting, my friend!


