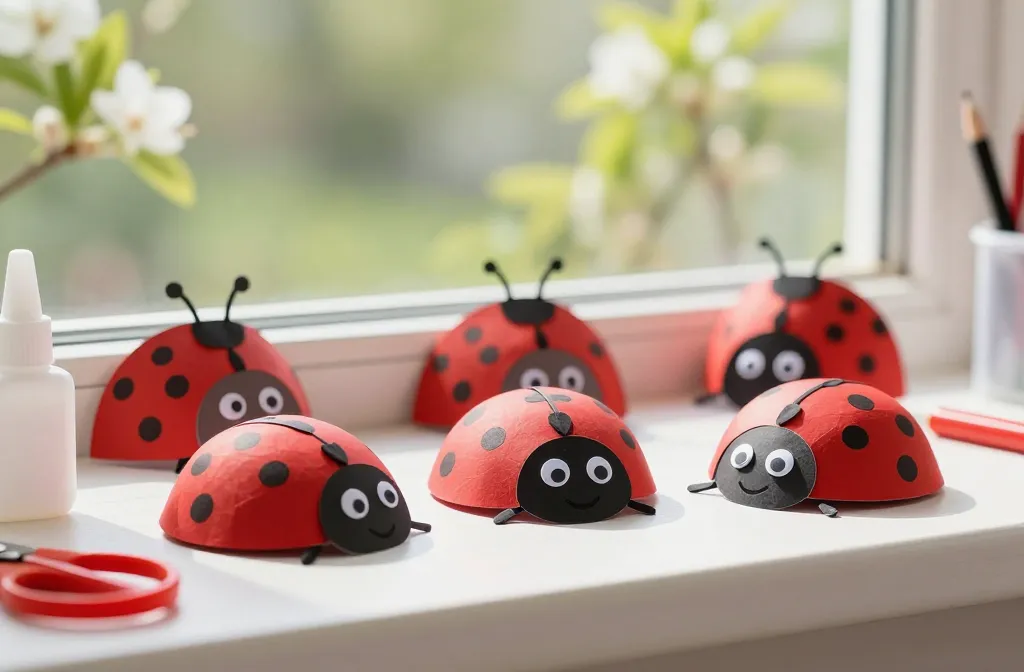
An easy, joyful craft that screams spring: ladybird crafts that brighten windowsills, desks, and kids’ afternoons. I’m here to walk you through a playful tutorial that doesn’t require wizard-level crafting skills. FYI, you’ll walk away with sunshiny beetle pals and a brag-worthy display.
Why Ladybirds Make the Best Spring Craft Buddies
Spring is basically ladybug season for creative projects. Their bright red wings and dotted shells are instantly cheerful, and they’re forgiving for beginners. If you’re chasing a quick win or a tiny decor win for a classroom or birthday party, ladybirds are your go-to. So, what exactly makes these little bugs so lovable in DIY form?
- Low materials bar: paper, glue, scissors, and a splash of paint or markers will do.
- Constant reinvention: swap colors, sizes, or patterns to match any theme.
- Photogenic results: they photograph well on wood, glass, or fabric backgrounds.
Gather Your Supplies Like a Crafting MacGyver
Preparation saves you from mid-project chaos. Here’s a streamlined list so you can dive straight in.
- Red or orange cardstock or sturdy paper
- Black construction paper or a black marker
- Small googly eyes (optional but cute)
- Glue or hot glue (depending on your confidence and patience)
- Scissors or craft knives (careful now, kid-level supervision if needed)
- White gel pen or white paint for spots
- Optional: paint, brushes, and a sealant for longevity
How you assemble matters less than how you approach it. Pro tip: lay out your pieces first, then start gluing. It saves you a lot of “oh no, I cut the wings wrong” drama.
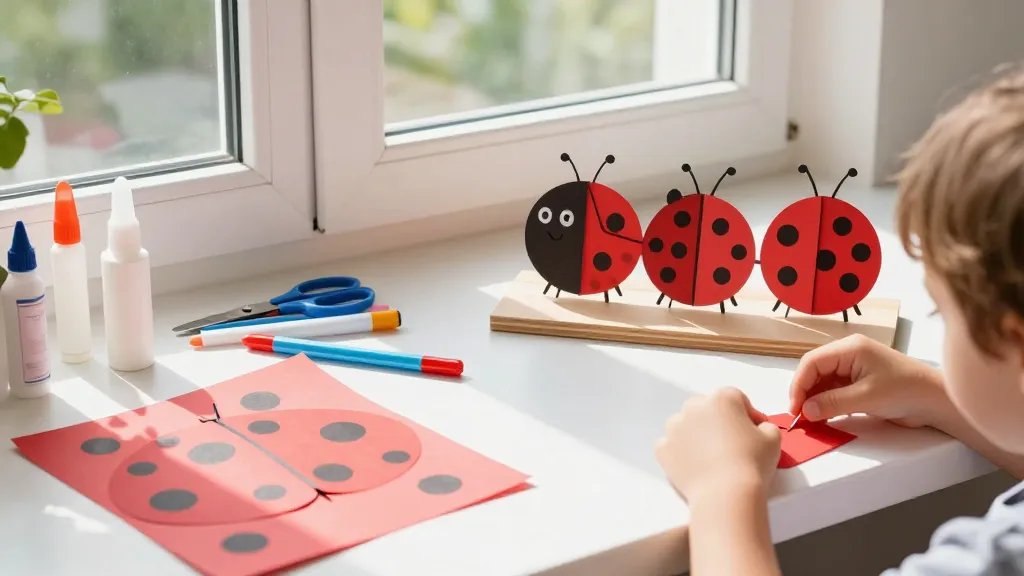
Step-by-Step: Simple Ladybird Paper Craft
Let’s get into the meat of the craft. This version is friendly for kids and great for a weekend activity with minimal setup.
- Cut a large red circle for the body and a smaller black oval for the head.
- Glue the head to the top of the body. Hold for a moment so it sticks. No wobbly bugs allowed!
- Cut two small black oval wings and glue them to the back of the body. Yes, it’s basically a tiny beetle cape moment.
- Add two white dots or small googly eyes above the beak-like head if you’re into facial expressions.
- Dot the body with white or black spots. The classic ladybug look is essential, but feel free to branch out with dot patterns.
- Finish with a glossy sealant if you want your ladybirds to survive rainy days or a chaotic preschool environment.
Variations to Kick the Creative Vibes Up a Notch
If you’ve got the basics down, these tweaks keep things fresh and Instagrammable.
- Mini magnets: attach a small magnet to the back for fridge-friendly decor.
- Seasonal vibes: switch to pastel backgrounds for a springtime bunting or to metallics for a party banner.
- Fabric version: use felt pieces for a plush, tactile buddy.
- Window clings: use contact paper and markers to make reusable ladybirds that cling to glass.
Making It Interactive: A Classroom-Ready Spin
If you’re crafting with kids or leading a workshop, here are ideas to make it interactive without chaos.
- Story prompts: each kid creates a ladybird and adds a tiny caption about where it’s traveling this spring.
- Counting game: practice counting spots as a math tie-in. It’s educational and adorable.
- Gallery wall: dedicate a corner of the room to “Ladybird Lane” where each kid’s creation finds a home.
Tips for Managing a Bouncy Group
Keep supplies in labeled bins, set a quiet glue station, and plan a quick cleanup ritual. FYI, a little organization goes a long way and reduces the typical craft day chaos.
Tips for a Pro-Level Finish (Without the Drama)
Want your ladybirds to look polished without turning the session into a production?
- Use double-sided colored paper for cleaner edges.
- Trace simple shapes with a light pencil first, then cut for precision.
- Stroke the edges with a black marker to sharpen the silhouette.
- Seal with a light spray or brush-on sealant to prevent color transfer.
Color Play and Personalization
Experiment with color palettes beyond classic red and black. Try lime green bodies with purple spots for a playful twist that still reads “ladybug.” The more you lean into your style, the more the craft feels like you.
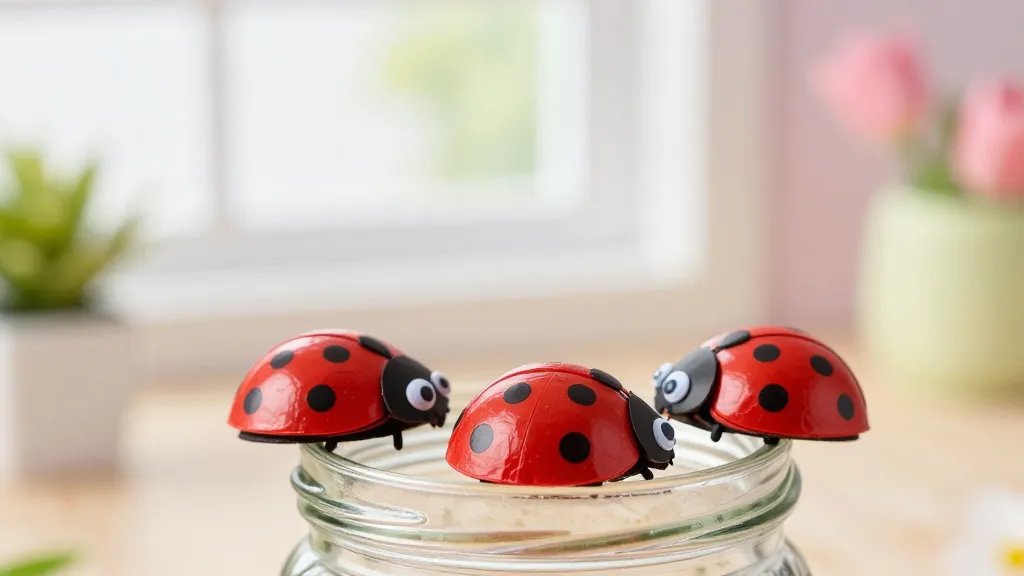
Display Ideas: Where to Show Off Your Creations
Your ladybirds deserve a stage. Here are friendly, low-effort display ideas.
- Window garland: punch holes in the tops and thread string for a sunny window display.
- Desk buddies: glue a small stand on the bottom so they perch on your workspace.
- Outdoor-safe pins: attach a pin back so you can decorate hats, bags, or jackets.
FAQ
Do I need to use real ladybird colors?
Not at all. Let the craft glow with any colors you love. It’s your project, so feel free to bend the rules and get creative. The goal is a bright, cheerful result that makes you smile.
What age range is this suitable for?
Pretty much all ages with supervision for the cut-and-glue parts. Younger crafters can stick pre-cut shapes while older kids can handle cutting and fine detail.
Can I make larger versions for decorations?
Yes! Use larger paper plates or cardboard circles to scale up. You’ll get statues that make a big impact on a mantle, shelf, or party table.
How long does this take from start to finish?
Plan for 20 to 45 minutes depending on complexity and how many you’re making. If you’re doing a group activity, multiply time by the number of participants and add buffer for cleanup.
What surfaces work best for display?
Flat, non-slick surfaces work well. Try painted wood, cork boards, or glass with removable adhesive. If you want long-term durability, sealants help protect against smudges and moisture.
Is there a digital version of this craft?
Absolutely. You can trace the shapes in a photo editing app, print them, and assemble with digital elements or print-and-cut pieces. It’s perfect for virtual classrooms or rainy days when you can’t gather in person.
Conclusion
Spring is begging for tiny, joyful projects, and ladybird crafts hit the mark. They’re simple, adaptable, and surprisingly captivating once you start. IMO, the best part is how quickly you see results—proof that a little paper, glue, and imagination can brighten any space. Ready to give it a go and flood your world with little red wings? Let’s craft, celebrate, and maybe giggle a little at our own wobbling, charming bugs.


