
Let’s be honest: balloon dogs are adorable, but making one out of clay can feel intimidating. This guide breaks it down into easy steps, with tips, tricks, and a little art-world attitude to keep things fun. FYI, you’ll be surprised how satisfying it is to see a wobbly lump suddenly resemble a pup.
Why Balloon Dogs in Clay Are Worth It
Balloon dogs are playful, iconic, and surprisingly forgiving. You don’t need fancy tools or a sculpting degree to nail the silhouette. If you’ve ever looked at a polymer clay shop and thought, “That looks hard,” this tutorial will prove otherwise. IMO, the charm is in the wobble, the imperfections, and that little stage where it starts to resemble something alive.
Materials You’ll Need (No Drama, Just Supplies)
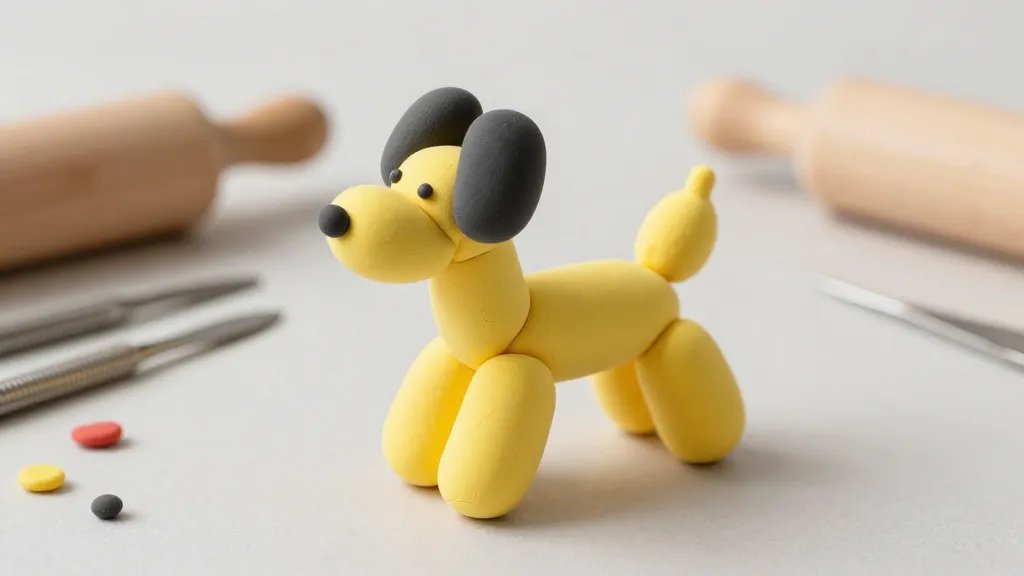
- Quality polymer clay in colors you love (yellow for the body, black for the eyes, metallic accents if you’re feeling fancy)
- Clay cutter or basic tools: a rolling pin, a small blade, shaping tools
- A clean work surface and a sharp knife for clean edges
- A baking sheet and parchment paper
- Optional: gloss glaze or sealant for a shiny finish
Before you freak out about tools, remember: this is DIY and totally doable with the basics. FYI, you’ll save a lot of heartache if you condition the clay first by kneading it until it’s warm and pliable.
Step 1: Shape the Body Like a Balloon
Think of the body as a rounded oval with a tiny neck. Roll a smooth, even ball, then elongate it slightly. Don’t over-think it—this isn’t precise science, it’s sculpture with personality. If it looks more like a grape or a potato, that’s not a failure; it’s the vibe.
Pro-Tip: Smooth the Surface
Lightly rub the surface with your fingertip to finish the shape. A little texture adds charm, but you want the final surface to catch light nicely. If you see fingerprints, wipe them away with a clean finger or a soft cloth.
Step 2: Create the Head and Snout
For a balloon dog, the head is basically a smaller ball with an elongated snout. Roll a second ball, pinch one end to form a gentle taper, and blend the seam where it meets the body. Your aim is a seamless connection that looks like one continuous shape.
Blending Like a Pro
Use a small tool or your finger to blend the neck into the head. Don’t go overboard—you want a smooth transition, not a glued-on lego vibe. If you nick the surface, smooth it out with a tiny dab of clay.
Step 3: Make the Ears and Tail Playful
Ears on a balloon dog are basically small triangles or almond shapes. Attach two small triangles to the top of the head and blend the edges. The tail should be a short, curved nub—think of a question mark without the dot.
Ear Positioning Tricks
Position ears perkily to give the dog character. If you want a mellow look, lay them back gently. Remember, the ears will bend a little as you bake and glaze, so don’t stress if they’re not perfectly symmetrical.
Step 4: Add the Legs (That Don’t Look Like Spaghetti)

The legs on a balloon dog are small cylinders or rounded sticks. Attach two legs to the front and two to the back, making sure they’re evenly spaced. Blend the bottoms a bit so they stand stably, but not so flat that they look glued on.
Stability Matters
If your sculpture tips easily, widen the stance a touch or create tiny feet with small pads of clay. A little extra contact area can make a big difference when it’s time to bake.
Step 5: Bake, Then Come Back for the Magic Touch
Follow the clay manufacturer’s instructions for baking time and temperature. Don’t skip this step—the bake hardens the clay, sealing in your hard-won shapes. After cooling, inspect for any minor cracks or seams that need a quick touch-up with a tiny bit of fresh clay.
What If It Warps?
A tiny amount of warp is normal. If you notice a wobble, re-bake with a little extra reinforcing clay at the joints. Patience pays off here—let the clay reset, then smooth again after cooling.
Step 6: Finishes That Make It Pop
Now the fun part: finishing. You’ve got options, from matte to glossy. A gloss glaze gives a sleek look, while a satin finish keeps it more subdued. If you prefer a pop of color, add a tiny contrasting glaze on the eyes or nose for personality.
Sealant Sneak-Peek
Always seal polymer clay pieces that will be handled a lot. If you’re giving this as a gift, a quick sealant layer adds durability and a little professional shine. FYI, a dab goes a long way—you don’t want to flood the surface.
Tips for a Faster, More Fun Build
- Work in small sessions to keep your hands from cramping and your focus sharp
- Roll and shape on a clean, smooth surface to avoid fingerprints and texture issues
- Keep a tiny damp towel nearby to clean tools between steps
- Document your progress with photos as you go—progress pics are motivating
Common Pitfalls and How to Avoid Them
Overworking the clay makes it stiff; take breaks and re-warm the doughy bits. If something tears, patch it with a small amount of fresh clay and blend the edge. And if your balloon dog ends up looking more like a blob, don’t panic—reshape and rebalance the proportions. It happens to the best of us, IMO.
FAQ
Can I use air-dry clay instead of polymer clay?
Air-dry clay is doable, but it behaves differently when drying. It can crack more easily, and finishing options differ. If you’re new to sculpting, polymer clay is often the smoother ride with a gloss glaze finish.
What colors work best for a classic look?
Classic balloon dog colors include yellow, red, black, and white, but you can go wild. A metallic highlight on the nose or eyes can add a playful twist. It’s your sculpture—embrace the color chaos.
How long does it take to bake and finish?
Expect 20–40 minutes of bake time, plus cooling. Then 15–30 minutes for finishing up with paint or glaze. If you’re slow and deliberate, you’ll enjoy the process more (and the result will look more polished).
Do I need a kiln?
No kiln required for polymer clay; your regular kitchen oven does the job. Just follow the clay’s temperature recommendations and avoid overheating. FYI, don’t preheat with the sculpture inside, or you’ll get drama and a melted masterpiece.
How can I display my balloon dog once it’s finished?
Display options range from a small pedestal to simple tabletop stands. You can also mount it on a tiny dowel or create a little ceramic base. A clear gloss sealant helps keep the piece looking fresh on shelves or desks.
Conclusion
You started with a lump and ended with a playful balloon dog sculpture that feels personal and imperfect in the best way. The charm isn’t perfection; it’s character, wobble, and a dash of whimsy. So grab your clay, pick a color, and give yourself permission to roll, pinch, and smile at the little dog that’s about to become your new favorite tiny sculpture. IMO, you’ll want to make a whole family of these cuties. Ready to start your first one? Let’s go and have fun with it.


