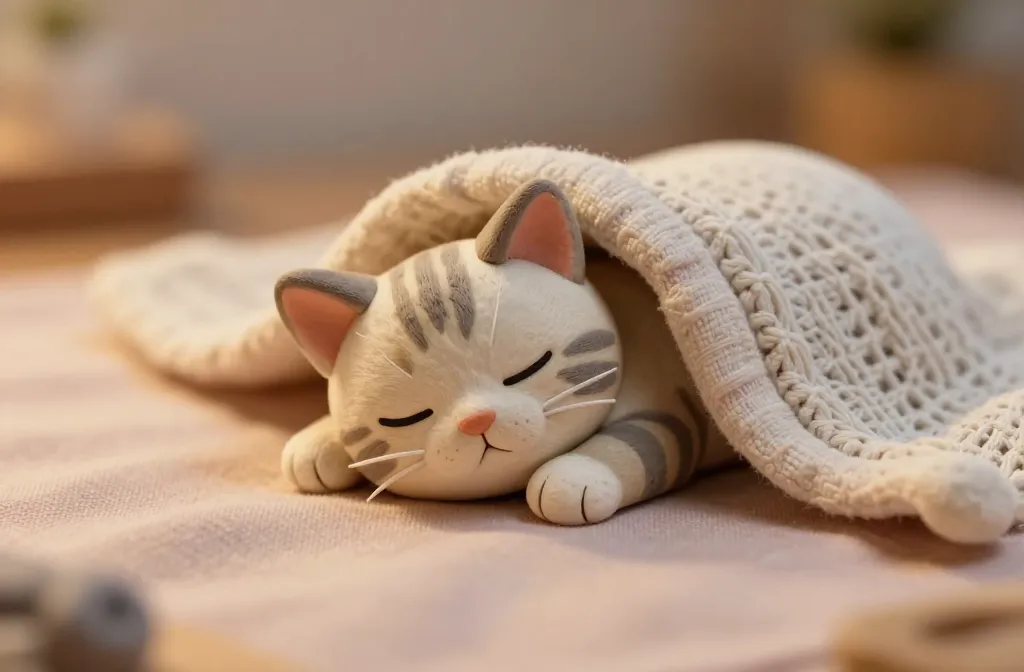
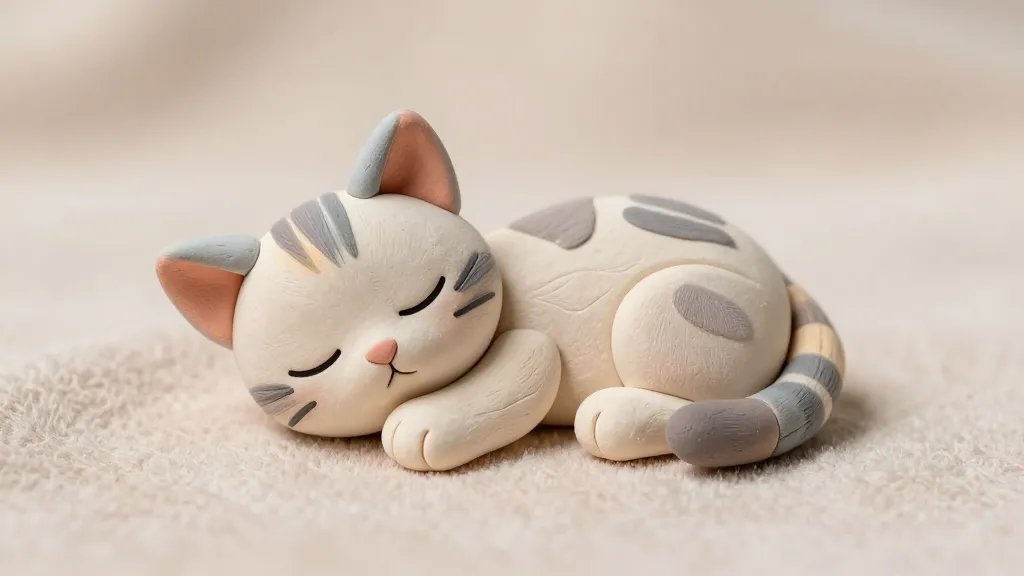
An adorable sleeping kitten clay figure is more than just a cute craft—it’s a tiny cozy moment you can hold in your hands. If you’ve ever needed a bit of whimsy to brighten your desk, this little sculpture might be your new best friend. Let’s dive into why this tiny critter is stealing hearts and how you can make one that looks almost alive.
Why a sleeping kitten clay figure hits different
They’re calm, cozy, and endlessly charming. A sleeping kitten radiates chill vibes, plus it’s a playful reminder to pause and breathe. If you’re chasing creative projects that don’t demand hyper-detail, this is your low-stress hero. FYI, even beginners can conjure something delightful with a little patience.
Materials you actually need (and a few you might want)
- Air-dry clay or polymer clay
- Clay tools or simple household items (toothpick, cookie cutter, needle tool)
- Wire for a tiny armature (optional but helpful)
- Micro paints or acrylics for subtle shading
- Sealant or clear varnish to protect the finish
- Paintbrushes in various sizes
- Soft fabric scraps or felt for a tiny blanket (totally optional but cute)
Step-by-step: shaping a cozy napping kitten
- Sketch a quick silhouette: oval head, small body, tucked-in paws. Keep it simple—we’re aiming for adorable, not anatomical perfection.
- Build the core: roll a small ball for the head, a slightly larger one for the body, and pinch to form the legs and tail. Use a wire armature if you want extra sturdiness for display.
- Blend and smooth: use your fingers damp with a touch of water or clay conditioner to smooth seams. The magic happens in the little curves that say, “I’m sleepy.”
- Face tiny details: tiny closed eyes, a dot for the nose, and a faint mouth line. Avoid overdoing it—sleeping expressions are the softest kind of cute.
- Texture and color: keep colors muted—creams, grays, or soft browns work best. A light blush on the cheeks can add charm without going overboard.
- Add a nap blanket (optional): tuck a little felt blanket under the head or around the paws for extra coziness.
- Bake or dry: follow your clay’s instructions. If you’re using air-dry clay, give it ample time to harden completely before painting.
- Paint and seal: add delicate shading under the paws and along the belly to imply depth. Seal with a clear coat to keep your cat friend safe from fingerprints.
Common mistakes and how to dodge them
- Over-featured face: Tiny features read sleepy, not surprised. Scale down the eyes and nose for maximum cuteness.
- Rigid pose: Sleepy bodies are soft and rounded. Avoid stiff lines that make the kitten look statue-like.
- Too much paint: A little goes a long way. Let the clay’s natural texture show through for realism.
- No protection: A sealant saves your hours of effort from chips and smudges.
Creative twists to try
- Mini accessories: a tiny bow, a collar bead, or a yarn ball toy can add personality without stealing the spotlight from the kitty.
- Seasonal vibes: a sunbeam, a little leaf blanket, or snow specks for wintery cuteness.
- Display ideas: set on a wooden plaque, inside a wine cork frame, or as a desk buddy beside a plant.
Subsection: mastering the sleepy-eyed look
Tiny eyelids can convey a peaceful snooze without looking lazy. Start with a subtle curved line and angle it slightly downward. Add a small highlight on the upper lid to imply gloss. Keep it soft—think whisper, not shout.
Finishing touches that make it pop

A gentle wash of color along the edges or a hint of pink on the ears can bring warmth. If you want realism, a dusting of white on the paws or a touch of gray along the back adds depth. Remember, less is more here. IMO, the sweet spot is a figure that exudes calm without looking flat.
Subsection: faux fur texture without the mess
Use a dry brushing technique with a light beige or gray over the surface. It creates the illusion of fur without requiring endless strands. Bonus: it hides small sculpting imperfections.
Display ideas that maximize the cuteness
- Tiny bed setup: a folded fabric scrap as a bed with a mini pillow makes it look stage-ready.
- Desk buddy: pair it with a tiny plant or a coffee mug to scale the scene.
- Gallery wall: group several kittens with different poses for a playful display.
Subsection: photographing your clay kitten
Natural light is your best friend. Shoot from a high angle to catch the cuddly expression and tilt slightly to emphasize the paws tucked under the head. A neutral background makes the clay color pop. FYI, a tiny prop or two can tell a story—like a nap interrupted by a curious plaything.
FAQ
Is clay the only material I can use for a sleeping kitten figure?
Clay is the simplest route, but you can experiment with polymer clay, air-dry clay, or even modeling paste if you want a different texture. Each has its own drying time and finish, so plan accordingly.
How long does it take to finish a basic sleeping kitten sculpture?
Most beginners can finish a simple piece in a few hours spread over a couple of days (dust-free drying helps). If you’re adding paint and sealing, factor in drying time between coats.
Can I make the figure more durable for display?
Yes. Use a lightweight armature, bake if your clay requires it, and seal well. A small stand or base helps prevent tipping.
What if I make mistakes during shaping?
No big deal. Clay is forgiving. You can smooth over seams with a damp finger, or simply roll new pieces and blend them in. Patience turns flaws into character.
Do you need fancy tools, or can I improvise?
You can absolutely improvise. Toothpicks, bobby pins (cleaned), and the edge of a spoon can help with shaping and detailing. As you get comfortable, you’ll know which tools genuinely speed things up for you.
Conclusion
This sleeping kitten clay figure is more than a cute ornament—it’s a tiny pocket of joy you can create, customize, and display. It’s accessible for beginners, but endless in its potential for personalization. So grab some clay, a few paints, and a sprinkle of patience. IMO, you’ll end up with a charming reminder that creativity doesn’t have to be loud to feel magical. Want a quick win? Start with a simple pose and one soft color family, then let the tiny whiskers playfully reveal your personality.


