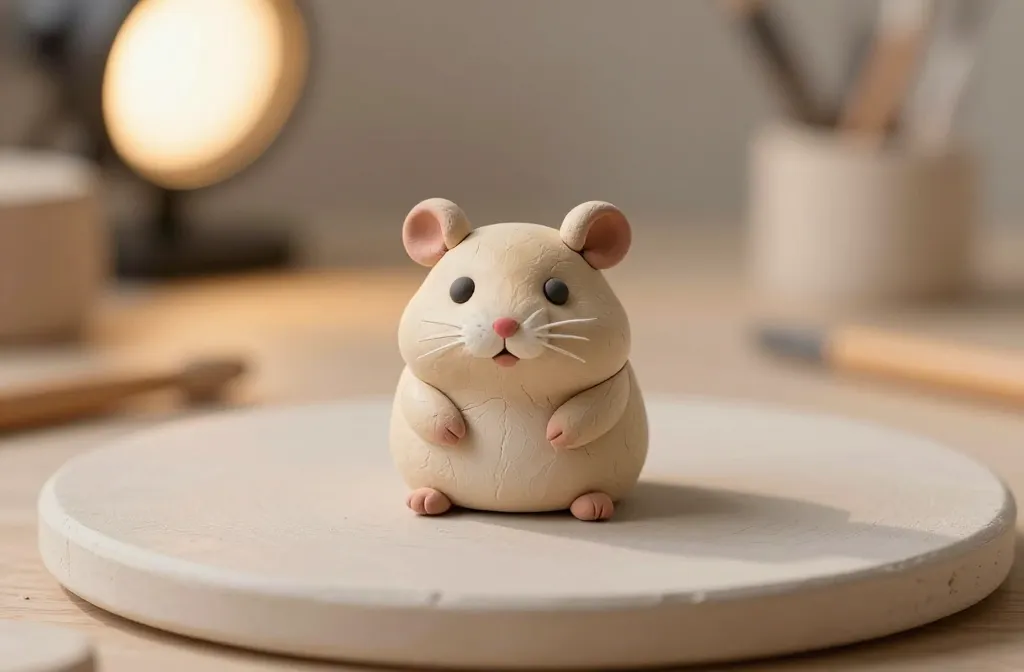
Want a tiny, cute project you can actually finish this weekend? Welcome to the hamster clay craft club, where beginners become clay-slinging artists one tiny paw at a time. Grab some air-dry clay, a Smoothie of patience, and a dash of whimsy—and you’re in.
Why Hamster Clay Craft Is Perfect for Beginners
If you’ve never molded a mini buddy before, you’re in luck. Hamster clay crafts are forgiving, tiny, and endlessly repeatable. You can practice shaping ears, cheeks, and those tiny paws without committing to a huge sculpture.
– No kiln needed: air-dry clay handles the hard part.
– Quick wins: a cute little hamster can take under an hour from start to finish.
– Minimal supplies: basic clay, a few tools, and paint go a long way.
Choosing Your Clay and Tools
First things first: pick the right materials. You don’t need premium stuff to start—just reliable, workable clay and some simple tools.
- Air-dry polymer clay is a crowd-pleaser. It smells nice, dries solid, and is forgiving for beginners.
- A small rolling pin or even a smooth bottle helps flatten surfaces evenly.
- Clay shaping tools (or even toothpicks) let you carve tiny details like whiskers and toes.
- Want to go all-in? Acrylic paints and a fine brush make those features pop.
Step-By-Step: Your First Cute Hamster
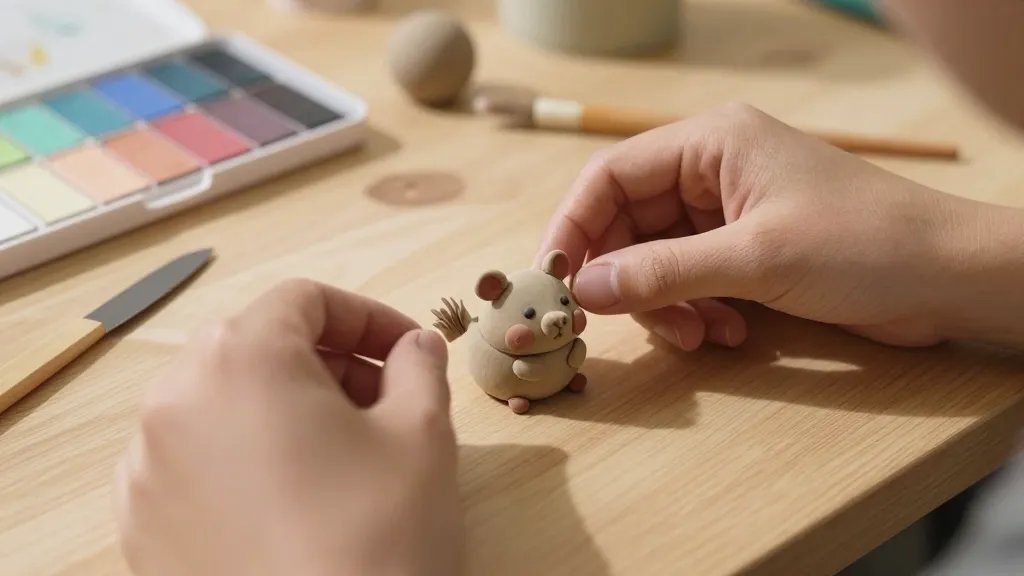
Here’s a simple, friendly path from lump to lovable hammy buddy.
- Roll a round body: a snug marble-sized ball forms the torso.
- Make a smaller head: roughly half the size of the body with a gentle taper.
- Attach with a dab of water or clay glue. Hold for a few seconds so the pieces bond.
- Shape tiny ears: flattened triangles glued to the top of the head.
- Eyes, nose, and cheeks: tiny black dots for eyes, a pink dot for the nose, and a blush of pink on the cheeks helps character shine.
- Tail and paws: a small napkin-folded tail and mini paws finish the look.
- Dry and seal: let it dry completely, then seal with a clear spray or varnish if you want shine and durability.
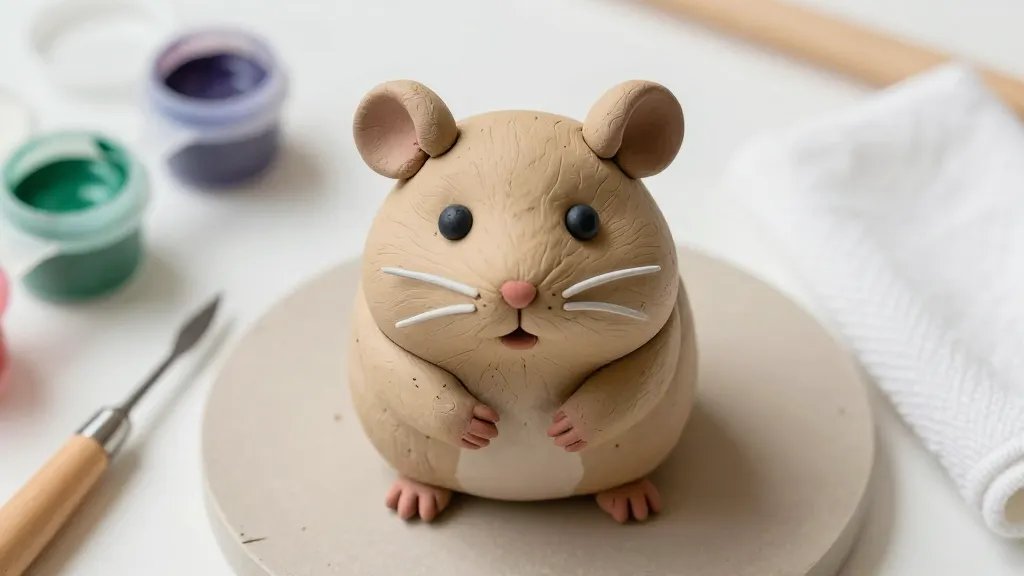
Color Play: Simple Patterns That Look Pro
You don’t need every shade in the rainbow to make your hamster adorable. Start with easy color ideas that read well on a tiny sculpture.
- Classic golden hamster: warm tan body with lighter belly and tiny pink paws.
- Grey sneaky: cool grey body with white accents—adds a touch of elegance.
- Himalayan vibe: pale body, dark ears, and a soft, endearing face mask.
FYI, you can use watered-down acrylics for a wash effect to create depth without drowning your piece in paint.
Details That Make the Hamster Come Alive
Small touches transform a simple lump into a character.
- Whiskers: draw fine lines with a sharpened tool or a tiny brush after the clay is dry.
- Cheek blush: a dab of pink paint or colored pencil adds instant cuteness.
- Textures: you can simulate fur with light stippling or gentle ridges using a toothpick.
Finishing Tips
– Let each layer dry fully before adding the next to prevent fingerprints and smudges.
– Apply a light sealant to protect your art if you’ll handle it often.
– If something feels off, don’t stress—you can reattach or reshape a feature after a quick dry.
Creative Variations to Keep You Engaged
Once you’ve nailed the basics, try these playful twists to expand your hamster-companion collection.
- Seasonal hamsters: add a tiny scarf for winter, sunglasses for summer vibes, or a pumpkin for fall.
- Pregnant or baby hamsters: make a tiny family using similar shapes but smaller sizes.
- Mini accessories: a clay wheel, a little vegetable bowl, or a miniature cardboard box set the scene.
Displaying and Gifting Your Creations
Your hamster clay crafts deserve a good home.
- Display shelves: create a tiny display with a light background to highlight the colors.
- Gift ideas: attach a small name tag or sticker with a cute note for friends and family.
- Mini gallery: line up a few hamsters in a row for a charming, homemade display.
Common Pitfalls and How to Avoid Them
Happens to all of us: a wobble here, a crack there. Here are quick fixes.
- Cracking: keep pieces a bit thicker than you think; ultra-thin bits dry too quickly and crack easily.
- Glue issues: use small amounts of water or clay glue to join pieces—less is more.
- Paint peeling: seal with a thin, even coat of sealant before painting details that might rub off.
FAQ
Do I need special clay to start?
Not at all. Start with air-dry clay or basic polymer clay. Both are forgiving and great for beginners. You can upgrade later if you fall in love with the craft.
How long does it take to finish a hamster project?
Most beginners can finish a simple hamster in under an hour, with drying time varying based on clay type and thickness. If you’re slow at picking up details, take breaks and come back refreshed.
What if my sculpture cracks after drying?
Gently reattach cracked pieces with a dab of water or clay glue. You can also blend the seam with a small amount of fresh clay and let it dry again. Patience is your friend here.
Can I paint after it dries?
Yes. For best results, paint after the clay is fully dry and sealed if you want longevity. Acrylics work great and are easy to clean up.
How should I seal my finished hamster?
A clear acrylic sealant or varnish protects paint and gives a uniform finish. Apply light, multiple thin coats rather than one heavy coat to avoid drips.
Conclusion
You just embarked on a tiny, adorable journey that rewards patience, creativity, and a lot of smiles. Hamster clay crafts are the perfect sandbox for beginners: forgiving, quick to see results, and endlessly tweakable. FYI, you’ll probably fall in love with the process and end up with a little family of hamsters on your shelf. So grab your clay, channel your inner sculptor, and start your first tiny buddy today.


