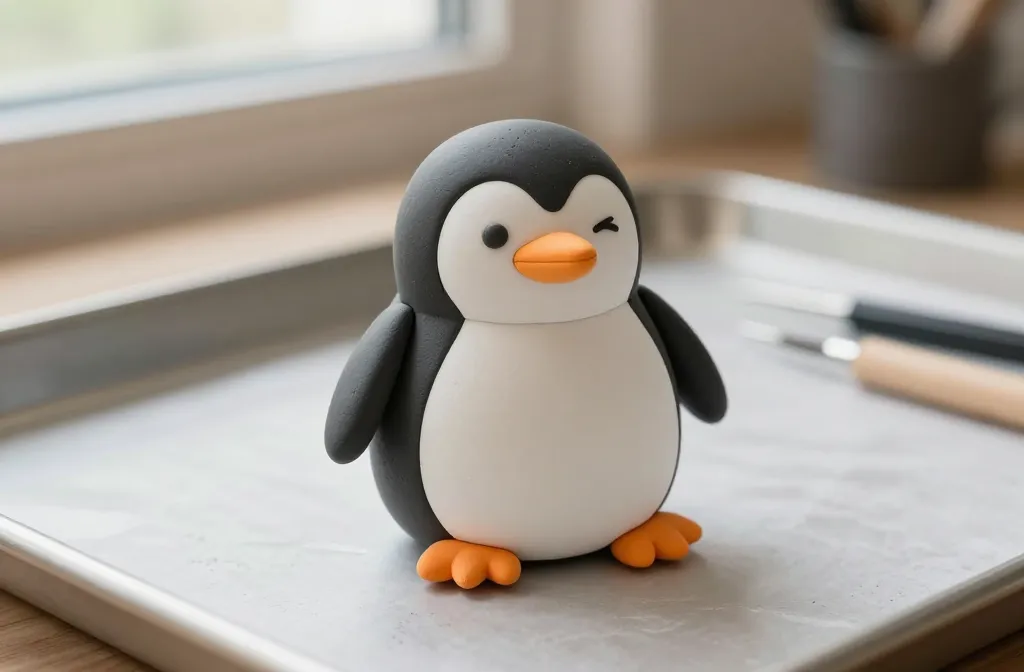
An adorable clay penguin is easier to whip up than you think, and the payoff is priceless giggles. Let’s skip the drama and dive into a goofy, satisfying project you can finish in one sitting. FYI, your inner sculptor might just emerge wearing a tiny beak.
Gather Your Materials Like a Pro Doodler
– Polymer clay or air-dry clay in black, white, and a splash of yellow or orange for the beak and feet
– A small rolling pin or a clean bottle to flatten the clay
– A few simple tools: a toothpick, a plastic knife, and a dotting tool for eyes
– A baking tray and parchment paper (if you’re using polymer clay)
– Optional: a tiny eye bead or bottle cap for extra cuteness
Have your workstation ready, and yes, a snack break counts as essential equipment. Do you prefer glossy or matte finishes? FYI, a quick gloss glaze will make your penguin look extra shiny for selfies.
Shape the Body Without Overthinking It
Start with a round, slightly flattened ball for the torso. This is your penguin’s belly, a cute puff that begs to be squeezed. Then add a slightly smaller ball for the head, connected with a short neck. Don’t stress the seam—pandas and penguins alike live for a little seam charm.
– Roll into smooth spheres
– Gently blend the neck into the body
– Check the weight balance; your penguin should stand with a jaunty little wobble
A little tip: keep the body a tad wider at the bottom for stability. Nobody likes a topply penguin.
Waddle on: Sculpt the Tiny Flippers and Feet

Flippers should be short, rounded rectangles that tuck in at the sides. Don’t worry about perfect symmetry—humans love a little quirk. For feet, sculpt two small ovals and attach them to the bottom. A tiny orange triangle for the beak adds the perfect pop of color.
– Attach flippers with a damp fingertip or a tiny amount of clay slip
– Let the feet sit flat so your penguin can pose all day
– Pinch a tiny blob on the cheeks for a blush of charm
Pro move: press a tiny indentation where the beak meets the head to create a natural groove. It looks surprisingly lifelike and instantly cuter.
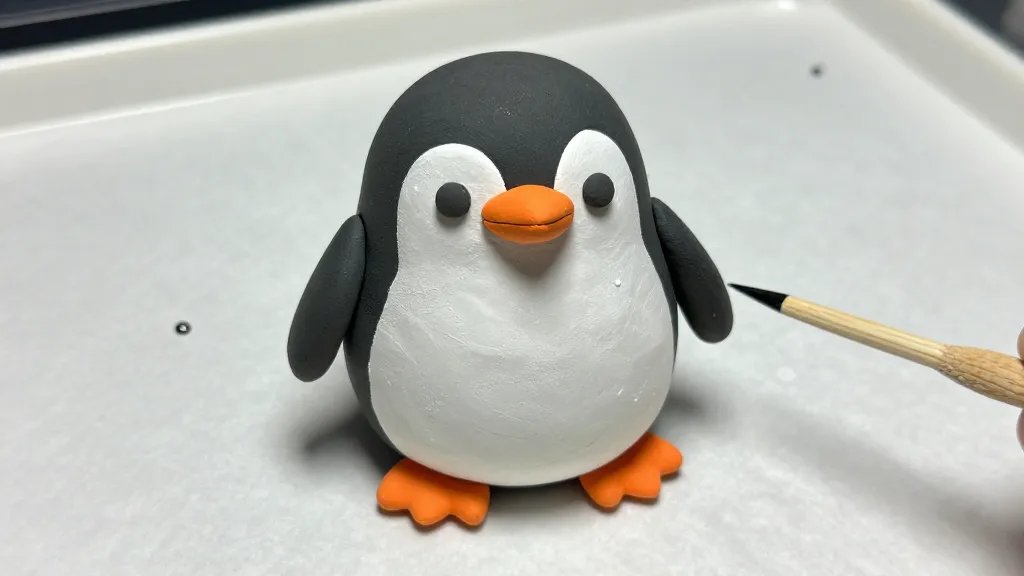
Face It: The Eyes, Beak, and Expression
Eyes give your penguin personality. You can use black clay dots or tiny beads. Place two dots close together for a curious look, or a little cross-eyed grin for comedy gold. The beak should point slightly downward, like a perpetually perplexed little bird.
– Position the eyes before fully curing (if using polymer clay)
– Add a small white dot in each eye for a gleam
– Attach the beak with a dab of clay and then sculpt a gentle smile
If you’re feeling fancy, mix a tiny bit of white clay with a drop of black to fake a glossy eye shine. Your penguin will blink at you in photos, I swear.
Texturing and Personality Details
Texture adds life. Lightly press a toothpick along the belly to suggest fluffy plumage. You can also crumble a tiny bit of clay and dab it on the chest for a “fuzzy sweater” vibe. Optional: add a tiny scarf or a bow tie for extra character.
– Keep textures subtle to avoid clutter
– A few stray “feather” lines go a long way
– Add a tiny red or pink heart/patch on the belly if you’re feeling sentimental
Why not give your penguin a tiny prop, like a minuscule fish or a seashell? It instantly builds a story.
Finishing Touches: Curing, Glazing, and Display
Depending on your clay, you’ll bake or air-dry. Polymer clay needs heat, while air-dry clay just needs time. Follow your product’s instructions, obviously.
– If you baked, let it cool completely before handling
– Apply a light glaze for shine or a matte seal for that cozy, cuddle vibe
– Mount on a small, stable base if you want it to stand proudly on a shelf
One pro tip: test a tiny patch first to see how your glaze behaves with the color you used. No one needs a shiny black penguin that looks like a bat.
Optional: Make a Little Village or Family of Penguins
Want to scale from solo to squad? Make a few siblings or a tiny ice floe scene. Variation is the spice of crafting life.
– Create different sizes: bigger bellies, smaller heads, wiggly flippers
– Give each penguin a unique accessory: a scarf, a hat, a mini ice-cream cone
– Use a shallow tray as a faux ice shelf to display your crew
Pro tip: group dynamics are adorable. Bonus points for naming them after your friends.
Common Pitfalls and How to Avoid Them
– Pitfall: Over-smoothing. It makes the penguin look fake. Embrace little quirks.
– Pitfall: Too-tight seams. Slightly soften joints with a damp finger.
– Pitfall: Fragile finishes. If you’re shipping or gifting, seal with a protective layer.
If you’re stubborn like me, you’ll find your own quirks. That’s part of the charm.
FAQ
What clay works best for beginners?
Polymer clay is friendly for beginners because it’s forgiving and bakes quickly. Air-dry clay is great if you don’t want to deal with heat. Pick what fits your vibe and stick with it.
How do I ensure the penguin stands upright?
Give it a slightly wider base and, if needed, attach a tiny stand or a flat base with extra clay. A tiny bit of weight in the belly helps stabilize it. FYI, wobble is cute, but not when it keeps falling.
Can I make a moving-beak penguin?
Yes! Use a flexible wire or a small magnet inside the beak and head junction for a playful tilt—just don’t push too hard. It’s a fun surprise for photos and videos.
How long does it take to finish a chubby penguin?
If you’re cruising, you can finish in under 2 hours, plus drying or baking time. If you’re chasing perfection, expect a cozy afternoon or an evening session full of giggles.
What finishes look best on black and white clay?
Matte finishes keep it natural and cute, but a thin gloss over the black areas can pop the silhouette. Test a small area first to see your preferred vibe.
Any quick tips for gifting this penguin?
Wrap it carefully, add a tiny thank-you note, and include a care card if you used polymer clay. A little bow or a mini card with “Made with love” makes it feel special.
Conclusion
You just crafted a chubby penguin that’s ready to waddle into hearts. The joy isn’t just in the finished piece but in the tiny, satisfying moments—rolling, shaping, and letting the personality emerge. IMO, the best part is how easy it is to personalize. So grab your clay, name your penguin, and start a tiny world that’s all yours. FYI, you’ll probably end up making a whole squad. Enjoy the creative ride!


