Ready to amp up your rainy-day creativity? Grab a handful of colorful clay, a tiny sprinkle of patience, and you’ll be cuddling your own mini clay friends in no time. This isn’t just sculpting; it’s a tiny world you can poke with a toothpick and giggle at when your fox wears a scarf in July.
What You’ll Need Without Paring the Excitement
Before we dive into the cute chaos, line up your supplies. The goal is simplicity, not a full-blown art studio. FYI, you’ll thank yourself for picking basic colors and a trusty set of sculpting tools.
- Air-dry or polymer clay in a handful of colors
- Small sculpting tools and a toothpick or needle for tiny details
- Gloss varnish or Mod Podge for a little shine (optional)
- Oven or tabletop drying space depending on clay type
- Tiny accessories like beads, magnets, or metal glitz (optional)
Sketching the Idea: Design Your Mini Crew
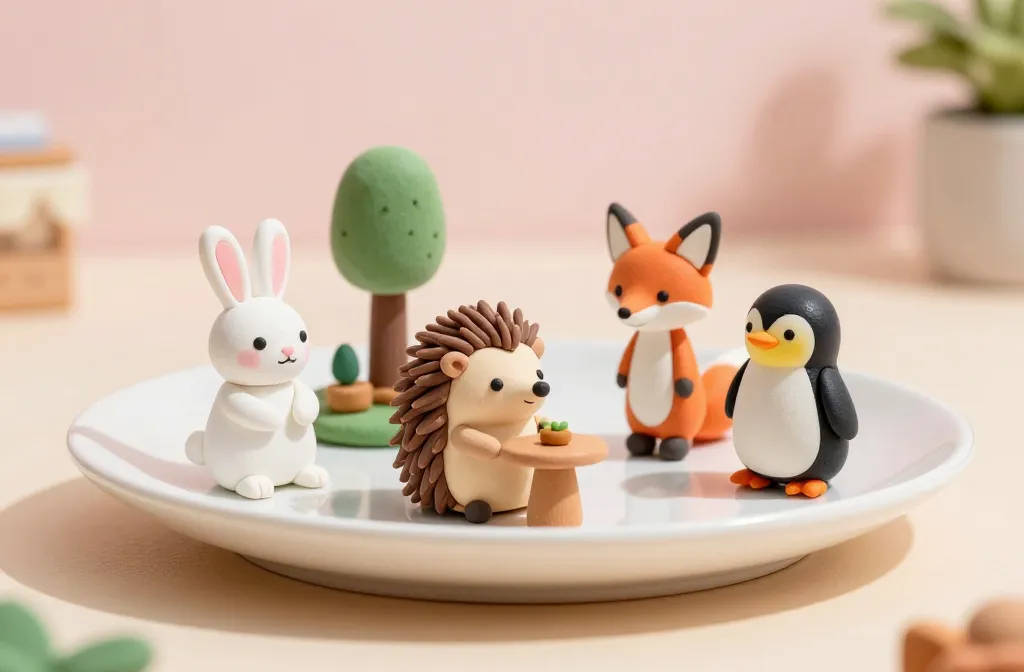
Start with a quick sketch in your head or on paper. Do you want a woodland party, a tiny cafe crew, or a space squad? Having a theme keeps your colors cohesive and your stubborn penguin from looking like a bear cub.
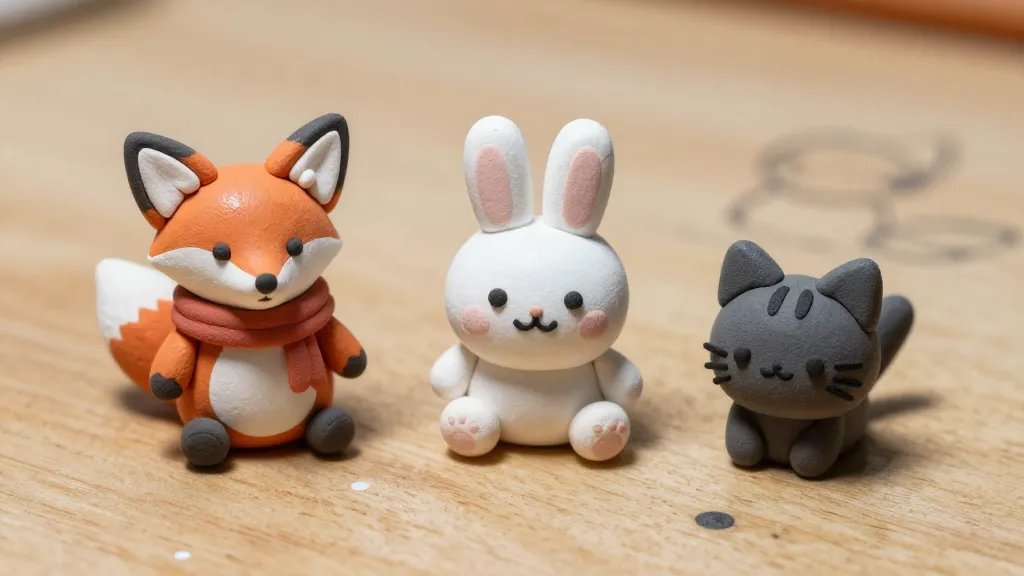
Tip: pick 3–4 core characters and give each a signature feature. A bunny with oversized ears, a hedgehog wearing a scarf, a fox with a hat—small quirks go a long way.
Section 1: Building Your First Tiny Bodies
Let’s get the basics out of the way. Roll small pebbles of clay for bodies, then add limbs. If you’re using polymer clay, bake per package directions; air-dry clay just dries on its own, so no need to babysit the oven. Ready for a quick pro move?
- Use a dab of contrasting color for cheeks—instant personality
- Attach limbs with a pinch of moisture or slip from the clay itself
- Leave the waist or neck slightly thicker for easier posing
Section 2: Faces That Pop
Eyes, noses, smiles—these tiny features steal the show. I swear the eyes are the soul of your mini crew. Use tiny beads for eyes or draw with a fine tool. A simple smile can completely transform a character.
Eye-Detail Quick Tips
- Place eyes symmetrically, then add a tiny white dot for life
- Give each friend a distinct brow or eyelash line to tell a mood story
- Use a tiny black dot for pupils and a white dot for catchlights
Section 3: Outfits, Accessories, and Tiny Personalities
Clothing is where your characters get their vibe. A scarf for winter, a hat for whimsy, or a little apron for a cafe crew. The fun lies in mismatched tiny fashion choices that scream character.
Accessory Ideas
- Mini hats made from curved clay slices
- Scarves with a simple strip of clay wrapped around the neck
- Magnetic accessories if you want a swap-able collection
FYI, you don’t need every single accessory. Pick two or three that feel right for your crew and scale back on the extras to avoid chaos.
Section 4: Posing, Display, and Preservation
Now that you’ve built your mini friends, pose them like you’re directing a cute little play. If you want a permanent display, consider a tiny diorama or magnet backings so they can cling to your fridge like celebrity guests.
Preservation Notes
- Air-dry clay will harden with time, no baking needed
- Polymer clay loves baking; cool thoroughly before handling
- Seal with a light varnish to resist smudges and cookie crumbs
Section 5: Troubleshooting the Tiny Terrain
Every artist hits a snag now and then. Don’t stress—tiny clay chaos is totally normal and fixable. Let’s tackle the most common issues with quick fixes.
- Brittle limbs? Add a tiny wire inside the limb for extra strength before shaping
- Color chipping? Start with a primer layer or sealers between color layers
- Eyes won’t stick? Use a dab of water or clay slip to help attachment
Section 6: Elevating the Project — Themes and Mini Sets
Want to take your mini clay friends to the next level? Create themed sets that tell a story. A forest friends guild, a seaside snack squad, or a moonlit explorers crew—your imagination is the limit. Build a cozy display shelf, or photograph them against tiny backdrops for share-worthy content.
Theme Ideas to Spark Creativity
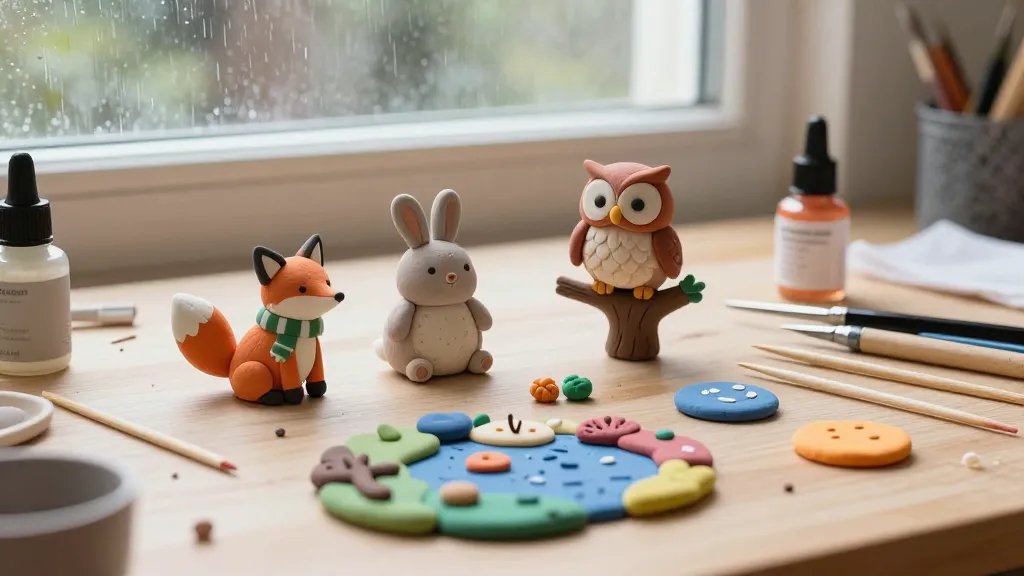
- Forest Friends: fox, hedgehog, owl, bunny
- Cafe Crew: barista bear, cat barista, mouse pastry chef
- Space Pals: astronaut raccoon, alien jellyfish, rocket penguin
FAQ: Quick Answers to Your Mini Clay Obsessions
How long does air-dry clay take to cure?
Typically 24 to 48 hours, depending on humidity and thickness. If you’re in a rush, cut the pieces thinner and let them dry in a warm spot. FYI, thicker bits take longer and may crack if they dry unevenly.
Can I bake air-dry clay to speed up curing?
Air-dry clay doesn’t bake like polymer clay, so don’t put it in an oven. If you’re using polymer clay, follow the package instructions for baking times and temperatures. The two clays aren’t interchangeable in that sense.
What’s the best way to attach small pieces like ears or hats?
Use a small amount of clay slip or water as glue, or embed a tiny pin or wire for extra hold. If you’re polymer clay, you can bake once the pieces are attached to seal the bond.
How do I prevent colors from staining the surface while shaping?
Work on a craft mat or silicone sheet, and keep a damp brush handy to smooth edges. If color transfer happens, wipe gently with a damp cloth before it sets.
Any tips for photographing mini clay setups?
Natural light is your best friend. A simple white or pastel background helps the colors pop. Use a shallow depth of field to keep the focus on your characters, and don’t be afraid to snap several shots from different angles. IMO, a tiny screenshot-worthy diorama is worth it.
Conclusion: Tiny Friends, Big Joy
Mini clay friends aren’t just crafts; they’re portable tiny-companions that fit on your shelf, fridge, or desk and make you smile. The steps are simple, the results incredibly heartwarming, and the process feels like a playful, creative chat with a friend. So what are you waiting for—grab your clay, pick a theme, and start shaping your micro world. FYI, you’ll probably end up with a dozen little pals before you know it. Enjoy the making—and don’t be afraid to embrace the charming imperfects!


