
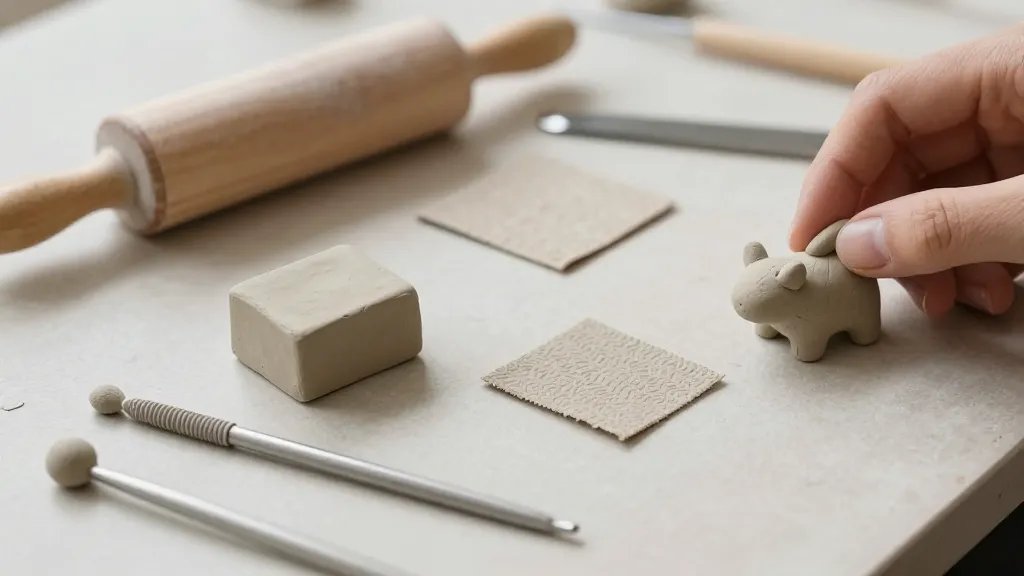
Small clay sculptures are like tiny adventures you can carry in your hands. You don’t need a full studio to get impressive results, just the right tools and a sprinkle of patience. Let’s gut-check your kit, so you can stop guessing and start shaping.
What you really need right now
Starting a project without the right basics is a recipe for frustration. Your goal isn’t to collect every fancy gadget, but to have a lean, dependable set that works. Think versatility over vanity and you’ll save space, money, and sweat.
- Quality base clay: Choose polymer clay for baked pieces or air-dry clay for quick turns. Pick a neutral color to start and add accents with paints later.
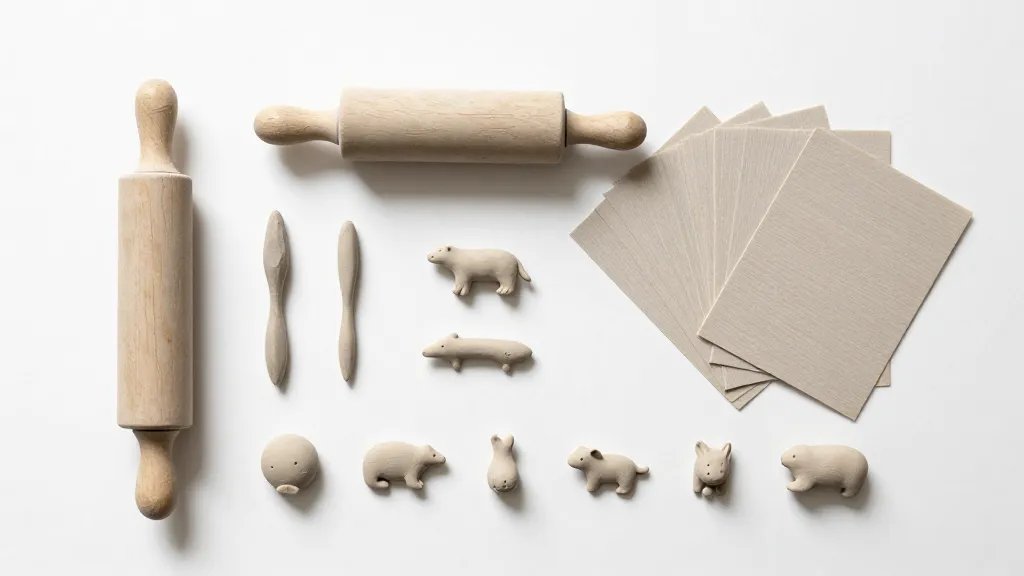
- Rolling tools: A simple set of rolling pins and texture sheets helps you flatten and texture without fighting the clay.
- Modeling tools: A basic toolkit with ball-end, dot, and ribbon cutters gives you control over details without overworking the clay.
- Clay conditioning options: A small stack of parchment or a nonstick mat keeps surfaces clean and turns your clay pliable faster.
- Cutting implements: A sharp hobby knife or craft blades for clean trims and precise edges.
- Needle or pin tool: For fine lines, holes, and adding tiny details without tearing clay.
- Sanding and smoothing: Fine sandpaper or a soft file helps you polish surfaces to a shine or a perfectly matte finish.
- Finishing supplies: Acrylic paints, tiny brushes, varnish or sealant, and a brush-on glaze if you want shine or extra protection.
- Storage and workspace: A clean tray, zip-top bags, and a towel to corral tools and keep dust away from your clay.
Polymer vs. air-dry: which clay should you pick?
If you’re new, the two main routes are polymer clay and air-dry clay. FYI, you’ll get different vibes from each, so pick based on your goals.
Polymer clay perks
polymer clay bakes hard in a regular oven, so your sculptures hold their shapes better. It’s forgiving for beginners when you aren’t afraid of heat. You can layer colors, bake small adjustments, and achieve a crisp finish.
Air-dry clay perks
air-dry clay dries on its own, no oven required. It’s great for quick iterations and for those without oven access. It’s softer at first, which makes texture work and gentle shaping easier—though you’ll want to seal it to prevent cracking.
Tools that actually make your life easier
A few well-chosen tools will save you time and headaches. You don’t need a museum-worth collection; you need a reliable toolkit you can reach for every session.
- Rolling pin variation: A standard pin plus a cheap silicone roller gives you different textures and thickness control.
- Texture and surface tools: A sponge, toothbrush for stippling, and a silicone texture mat add character without manual carving.
- Detailing gadgets: A fine-point stylus for tiny lines, a needle for bead-like detailing, and a ribbon tool for gentle hollowing.
- Shaping aids: Small clamps or binder clips hold shapes as they set and save you from smudging while drying.
Keeping things clean and organized
Claying is messy, but you don’t have to surrender your workspace to it. A tidy setup speeds up your process and makes results more predictable.
- Nonstick surfaces keep sticks from tearing and sticking where you don’t want them. A silicone mat is gold.
- Protective finishes protect your hard work. Choose a sealant or varnish suitable for polymer or air-dry clay to stop humidity from wrecking your finish.
- Storage strategy keep unused clay wrapped and labeled. It lasts longer when it’s sealed from air and dust.
Color tricks that don’t require a rainbow budget
Color is your friend, but you don’t need every hue to tell a story. Learn to mix and layer, and you’ll get a lot of mileage out of a small palette.
Color basics to start with
– Start with a few primary colors and white. You can mix secondary tones by hand.
– Keep a small color wheel handy to predict hues and avoid muddy results.
Layering and shading
– Apply base colors, then build shadows with slightly darker tones.
– Dry brushing and subtle washes give depth without heavy commitment.
Texture and expression: getting character into small pieces
Texture makes your sculptures feel tactile and alive. You can push boring blobs into something expressive with a few simple techniques.
- Imprint textures from everyday objects: fabric, leaves, and tiny combs add personality.
- Use a stiff brush to create hair-like lines or fuzz for fur effects.
- Experiment with scoring and slipping before joining pieces for stronger adhesion.
What to do when your sculpture goes rogue
Even pros get piece-forgetting disasters. The trick is to stay flexible and learn from the wobble.
- Don’t panic—most issues are fixable with patience and a fresh look at the structure.
- Cracks? Smooth them with a bit of fresh clay or a damp tool, then re-seal after it dries.
- Edges won’t bite if you wet your fingers and smooth in circular motions.
Experiment ideas that spark joy
If you’re in a creative rut, here are quick ideas that keep you moving without turning into a full-blown sculpture marathon.
- Tiny animals with oversized features for comic charm.
- Miniature food items with realistic textures (even a little bread crust looks legit).
- Abstract shapes with bold textures and high-contrast colors.
Bonus: quick project plan
– Decide on a theme and pick 2-3 colors.
– Sketch a rough form in your head or on paper.
– Block out the main shapes with your simplest tools.
– Add details and texture.
– Bake or dry as required, then seal and paint.
FAQ
What’s the easiest clay to start with for beginners?
For beginners, air-dry clay is forgiving and requires no oven. Polymer clay is great if you want durable pieces and don’t mind learning bake times. Start with whichever aligns with your access to an oven and your patience for waiting between steps.
How long does a small sculpture take from start to finish?
Short projects can take 1–2 hours including drying time, but most of the magic happens in short bursts. Bigger pieces may stretch into several sessions. Plan breaks so you don’t burnout.
Do I need a fancy setup or can I use a desk lamp and a kitchen table?
You can absolutely start on a kitchen table with a good, clean surface. A stable chair, a proper workspace, and some good lighting make all the difference. FYI, a dedicated mat saves you from sticky wipeups later.
How do I prevent air-dry clay from cracking?
Keep it evenly moist during shaping, avoid overworking it, and let it dry slowly. You can wrap pieces loosely to control airflow or use a humidity trap in a dry room. If cracks appear, you can smooth in some fresh clay and blend gently.
How do I seal and protect my finished pieces?
For polymer clay, bake and then apply a compatible varnish. For air-dry clay, use a polymer-based sealant or a clear matte spray. Always test on a scrap piece first to see how it interacts with your paint.
What are common mistakes to avoid?
Overworking clay leads to cracks and weak joints. Skipping conditioning makes it less pliable. Rushing drying causes warping. Slow, patient builds with testing often beats “wow” finishes.
Conclusion
Your small clay sculpture journey doesn’t require a studio’s worth of gear. Start with a lean, versatile toolkit, learn the quirks of your chosen clay, and let texture and color do the heavy lifting. With a few reliable staples, your desk becomes a creative playground where every tiny sculpture packs personality. So grab a rolling pin, your favorite 3-4 colors, and a sense of humor—you’re ready to sculpt your next tiny masterpiece.


