If you’ve spent hours shaping, sculpting, and glazing clay, watching it crack and chip during a simple kitchen spill is heartbreakingly relatable. Fear not: sealing and protecting your clay masterpieces is easier than you think. This guide walks you through practical steps, busted myths, and a few pro tips to keep your creations vibrant for years.
First things first: why seal clay at all?
Sealing clay does more than make colors pop. It protects against moisture, fingerprints, and wear from handling. Think of it as superhero armor for your art. Without a proper seal, even a beautiful sculpture can look dull or absorb oils from your hands. FYI, seals also make glazes look more even and can reduce micro-cracking over time.
Choosing the right type of sealant
There isn’t a one-size-fits-all solution. Your choice depends on the clay type and finish you want.
- Air-dry clay: Best with acrylic sealers or polyurethane sprays. They set quickly and are easy to apply.
- Polymer clay: If you baked it, you can use varnishes, sealers, or even resin for a glossy finish. Just ensure compatibility with your glaze.
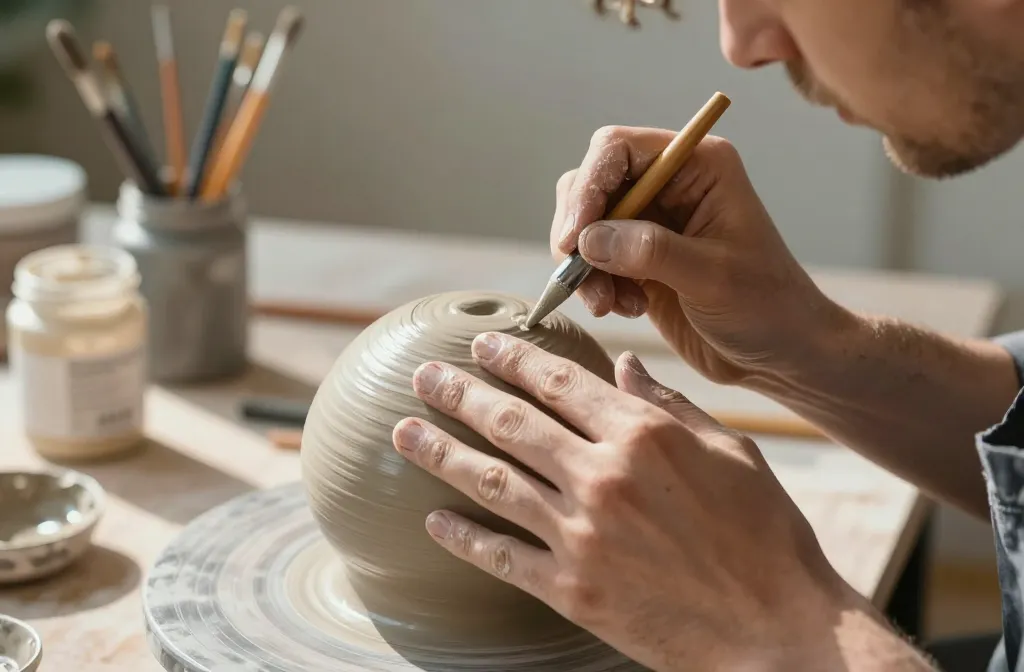
- Ceramic/stoneware: Use clear acrylic seals or specialized ceramic varnishes. For functional pieces, consider food-safe options when contacting food.
Pro tip: always test your sealant on a scrap piece or the underside of your project to check for color changes or tackiness. IMO, a tiny test patch saves big heartbreak later.
Gloss, satin, or matte: picking your finish

Finish affects how your piece reads in light and texture.
- Gloss = bold colors, shiny surface, a bit more glare. Great for vibrant pieces.
- Satin = balanced glow, reduces glare, more forgiving on fingerprints.
- Matte = understated, velvety feel, hides texture and flaws well.
Step-by-step: sealing air-dry clay
Air-dry clay is forgiving, but sealing it properly takes a bit of care.
- Let the piece cure completely. This can take 24–72 hours depending on thickness.
- Lightly sand with very fine grit (about 400–600) to smooth surface. Wipe away dust.
- Apply a thin base coat. Use a sealer compatible with air-dry clay. Avoid thick coats—they cause cracking.
- Let it dry per the product’s directions, then apply a second coat if needed. For best results, use multiple thin coats rather than one heavy one.
- Finish with your chosen topcoat (gloss, satin, or matte). Allow full cure time before handling.
Sealants for polymer clay: what to know
Polymer clay brings a different set of considerations because it’s baked. You can seal before or after baking, depending on the product.
- Before baking: Some sealers can be painted on and baked with the piece to set the color. Check your brand’s guidelines first.
- After baking: Use varnishes designed for polymer clay. Expect a bit of varnish haze if you apply too thick a layer.
- For a durable finish, consider a polyurethane or acrylic varnish. If you plan to handle the piece a lot, go with a high-gloss or satin finish for extra resilience.
Getting fancy: adding texture and color protection

You don’t just seal; you can enhance. Texture-friendly sealers help preserve raised details, and UV-protective varnishes keep colors from fading in sunlight.
Texture-safe sealing tips
- Use a brush with soft bristles to avoid flattening raised textures.
- Apply in the direction of the texture to keep lines crisp.
- For porous surfaces, consider a slightly tinted base seal to even out color variation.
UV protection without yellowing
Some sealants can yellow over time under sun exposure. If you’re displaying outdoors or near windows, look for UV-blocking varnishes labeled as “UV resistant” or “UV protective.” FYI, a matte UV sealant can minimize glare while keeping color fidelity.
Safety and DIY hacks you’ll actually use
Sealants can contain chemicals, so ventilation matters. Work in a well-ventilated area and wear gloves if you have sensitive skin. If you’re worried about food safety, avoid sealing pieces that will come into contact with food or drink unless the product explicitly states it’s food-safe after curing.
DIY quick-checks
- Always read the label for food-safe claims and recoat times.
- Test any new product on scrap clay first.
- If in doubt, stick to water-based acrylic varnishes—clean, simple, and usually safe.
Preservation beyond the finish: storage and handling
Finish is only part of the story. How you store and handle your work matters just as much.
- Store pieces away from direct sunlight to prevent fading and brittleness.
- Keep humidity stable; extremes can cause warping or cracking.
- Use soft padding when transporting to avoid scuffs and chips.
Common mistakes and how to avoid them
We’ve all been there: rushed coats, sweat equity on display. Let’s fix the usual suspects.
Rushing coats
Apply thin, even layers and allow full cure time. Rushed coats lead to tackiness and uneven finish.
Skipping prep
A clean surface matters. Dust and oil sabotage adhesion, so wipe down and sand lightly if needed.
Ignoring compatibility
Not every sealer plays nice with every clay. Always check your product’s compatibility with your clay type and you’ll thank yourself later.
FAQ
Can I seal air-dry clay with a spray sealer?
Yes, spray sealers are convenient and quick. Apply in several light passes from a consistent distance to avoid drips. Layering thin coats yields a smoother, more durable finish.
Is there a sealant that makes colors pop the most?
Gloss finishes tend to intensify color, but satin can give the piece a more natural look with less glare. If you want drama without high shine, try a satin base coat with a gloss topcoat in a few spots for emphasis.
How long does a sealed clay piece last?
It depends on the sealant and how often the item is handled. Expect several months to years for decent protection, especially if you keep it out of direct sunlight and away from moisture.
Can I seal my ceramic or fired clay with food-safe products?
If the piece will touch food, only use products explicitly labeled as food-safe after full curing. Even then, consider using non-porous, non-edible surfaces for food contact.
What’s the best way to fix a damaged seal?
Gently clean the area, dry it, and reapply a thin coat of the same sealant. For larger chips, you may need to repaint and reseal in stages to match the original finish.
Conclusion
Sealing and protecting clay creations isn’t magic—it’s a thoughtful routine that makes your art endure. Start with the right product, apply in thin layers, and give each coat time to cure. Take care of prep, handling, and storage, and your pieces will keep their color, texture, and charm for years. So grab your seals, pick your finish, and go protect those mini masterpieces like a pro.


