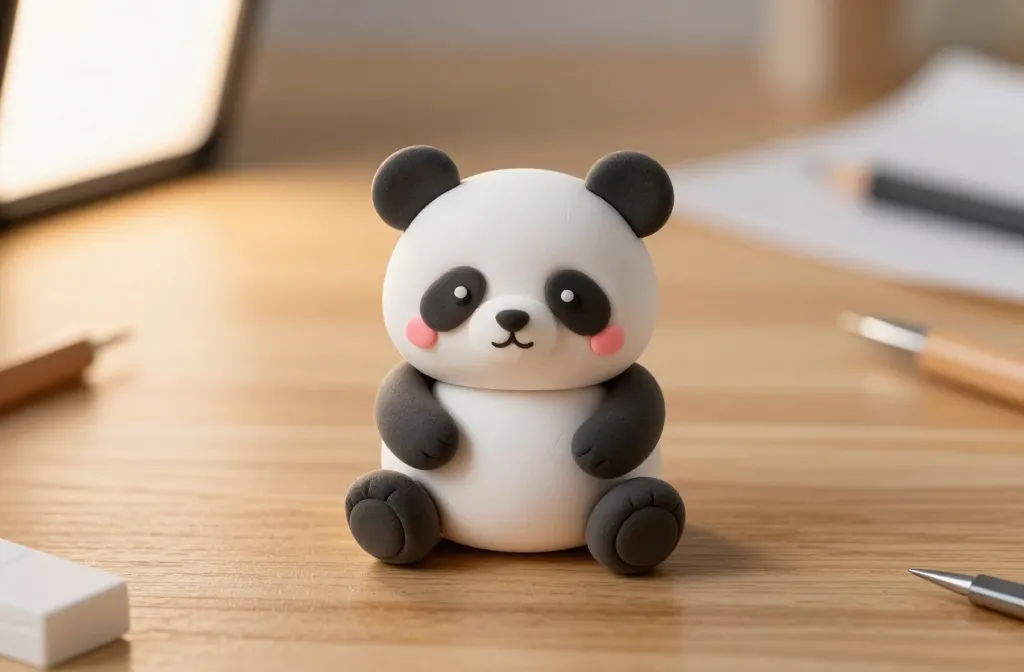
Want a tiny panda that fits in your palm and your heart? Let’s skip the medals and go straight to the squishy, adorable vibes. This mini clay panda tutorial is all about simple steps, tiny details, and a little bit of playful mess.
Why This Little Panda Wins Your Craft Time
First off, pandas scream cute, and tiny ones scream “perfect desk buddy.” You don’t need fancy tools or pricey clay to pull this off. It’s forgiving, beginner-friendly, and oddly satisfying. FYI, the tiny panda will look best when you keep your hands steady and your expectations a bit wiggly—in a good way.
What You’ll Need (No Mystery Supply List)
- Air-dry clay in black, white, and a touch of pink for cheeks
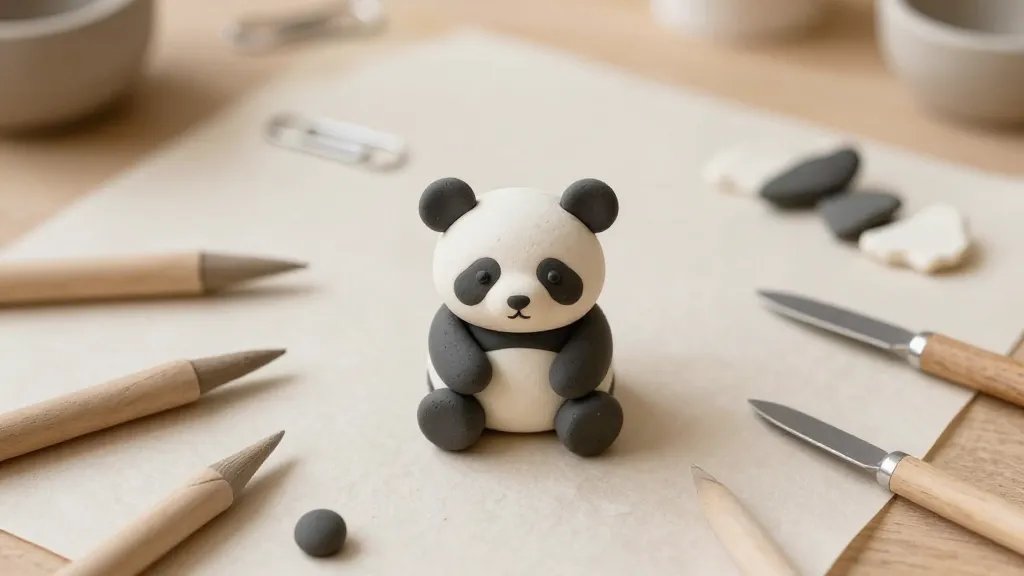
- Clay tools: a small knife, a toothpick, and a dotting tool or the end of a paperclip
- Optional: a tiny glass bead or a glossy sealant for eyes
- Non-stick surface or parchment paper
- Patience and a playlist that won’t judge your fidgeting
Step 1: Shape the Body, Head, and Ears
Start with a small white ball for the head. Roll a bigger white ball for the body, then flatten it a bit so it sits nicely. The magic happens when you attach tiny black ear shapes toward the top of the head. Press gently so you don’t squish the whole vibe.
Make the Ears Perky
Roll two little black teardrop shapes and flatten the rounded ends to stick on. If they flop, don’t panic—adjust with a dab of clay glue or wet your fingers and smooth the seams.
Step 2: Add the Face Details
Eyes are life. Roll two tiny black beads or make tiny insets with a black dot on white. Place them about halfway down the head for that classic panda look. Add a tiny pink dot for cheeks if you want extra cuteness. Blink-worthy and totally optional, but I vote yes.
Expressive Touches
Want a playful tilt to the panda’s head? Give one eye a tiny white highlight by dabbing a teeny white dot. It’s the difference between “meh” and “aww.”
Step 3: Build the Limbs
Roll four small black cylinders for the arms and legs. Attach them to the body, leaving a little space so the panda sits upright like a tiny plushy friend. Smooth the joins with a damp finger so nothing looks jagged.
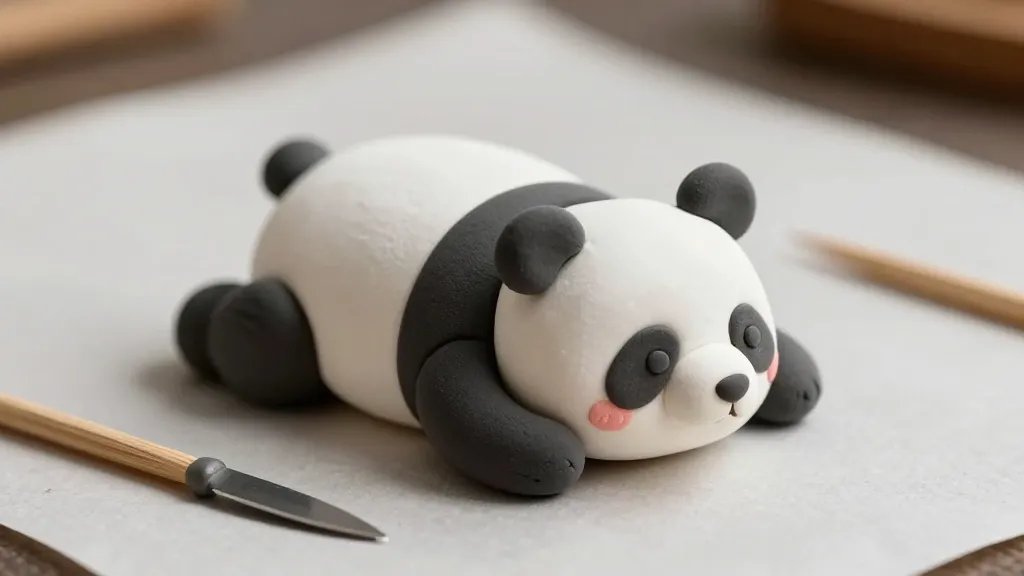
Step 4: The Classic Panda Stance
Position the panda in a cute squat stance. If you want it to stand, make the feet a touch wider for balance. This is where the tiny science of gravity meets craft patience. Pro tip: let the clay dry a bit before you pose it for longer-term stability.
Optional Details to Elevate the Look
- White belly patch: a soft, rounded white oval on the body
- Small nose: a tiny black dot or a tiny triangle between the eyes
- Glossy eyes: a drop of clear glaze or a tiny drop of gloss varnish
Step 5: Sealing the Deal (Not the Drama)
If you used air-dry clay, give your panda some time to dry fully. A light spray of acrylic sealant will help it survive desk duties and accidental coffee skews. If you’re preventing fingerprints, handle with care and let it cure in a dust-free spot.
Creative Variations You Can Try
Kinda want to shake things up? Here are easy twists that keep your panda fresh and Instagrammable.
Color Pop Pandas
Swap black for dark gray for a softer look, or add a pastel bow on the head for personality. FYI, the base shape remains the same—only the vibe changes.
Mini Pandas with Accessories
Give your little buddy a tiny bamboo leaf or a mini scarf. It’s ridiculous how much character a stick of green clay can add. Prepare for a few “aww” comments from friends.
Storing and Displaying Your Mini Panda
Store unused clay in an airtight container to keep it workable. Display options: a tiny shelf, your desk, or a photo stack with a cute backdrop. Pro move: create a mini zen shelf with a couple of other small creatures for the ultimate kawaii collection.
Troubleshooting Quick Fixes
- Cracking: If the clay dries too fast, mist with a tiny amount of water and press the crack closed. Then let it dry slowly again.
- Flopping ears: Re-attach with a dab of wet clay and hold until it sticks firmly.
- Uneven surface: Gently rub with a slicker or your finger to smooth seams and create a uniform look.
FAQ
Is air-dry clay the best option for beginners?
Yes. It’s forgiving, sets without a kiln, and cleans up with water. If you’ve never sculpted before, air-dry clay is your best friend and your future panda will thank you.
How long does a mini panda take to dry?
Give it at least 24 hours for a light touch-dry, longer if the pieces are thick. For a sturdy finish, wait 48 hours and cure in a dry, cool spot. FYI, patience pays off here.
Can I paint after it dries?
Absolutely. Acrylic paints work well on dry air-dry clay, and sealing afterward locks the color in. Just be sure the surface is fully dry before painting, or you’ll get smudges and regret.
What if I don’t have tiny beads for eyes?
No problem. Use the smallest possible black clay dots or roll tiny spheres and flatten them. The key is placement and size—keep them proportionally small for that panda charm.
How do I fix messy seams?
Blend seams with a damp finger or a soft tool. Lightly roll the surface to smooth out transitions. If something looks obvious, cover with a small white patch or an added feature to distract from the seam line.
Conclusion: Your Tiny Panda, Your Moment
There you go—an approachable, playful mini clay panda that you can whip up in an evening and cuddle on your desk the next day. This tiny critter proves you don’t need a fancy setup to create something charming. So grab your clay, embrace the wobbles, and start sculpting. IMO, you’ll surprise yourself with how quick and cute the results turn out. Happy crafting, friend!


