An adorable tiny hedgehog clay project is the perfect weekend side quest. It’s cute, surprisingly forgiving, and oddly satisfying to hold when you’re done. Let’s dive into how to make one that looks handcrafted, not hobby-store perfect.
What You’ll Need Before You Start
– Basic clay: air-dry or polymer, your pick
– Fine-tipped sculpting tools and a toothpick for texture
– A shallow apron of patience and a sprinkle of humor
– A small rolling pin or a capped bottle to flatten pieces
– Eyes, beads, or tiny paint dots for the face
– Optional: a tiny brush for detailing and a dab of glaze for shine
Have you ever overthought a simple project? FYI, keeping supplies minimal actually speeds things up. Start with the essentials and add flair later, if you’re feeling ambitious.
Choosing Your Hedgehog Style
Hedgehogs come in many moods: sleepy, curious, grumpy, or surprisingly chic. Decide the vibe first, because it guides proportions and texture. A chubby belly? A quill arrangement that looks just right? Ask yourself: do I want a hedgehog that fits in the palm or a refrigerator-mawnk that sits on a shelf? The answer shapes your approach.
Chubby vs. Sleek
– Chubby hedgehogs look friendlier and easier to sculpt because soft curves hide minor wobbles.
– Sleek hedgehogs read as modern and minimalist, but they demand sharper edges and precise quill lines.
Shaping the Body: The Core Steps
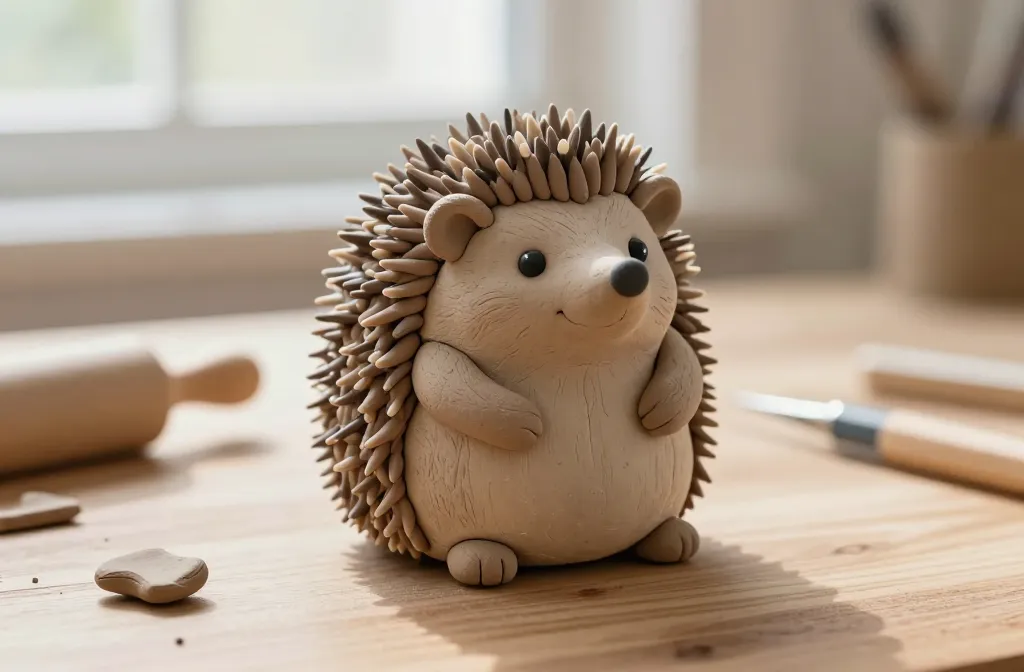
Begin with a teardrop or oval for the body. Use light pressure so you don’t squash the form. Roll a small ball for the head and attach it with a pinch of clay between neck and body. Blend seams gently with your fingers or a soft tool.
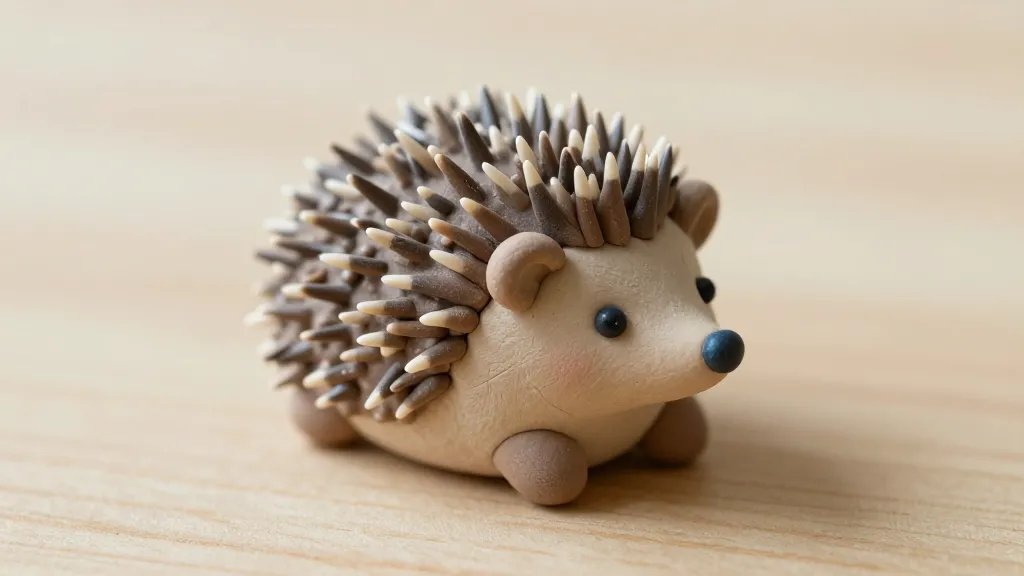
Quill Texture Without Tears
– Pinch, roll, or score tiny lines along the back to mimic spines.
– Vary the line depth to give a natural, not identical, look.
– If you’re using glossy glaze later, texture catches light beautifully.
Face and Personality: Tiny Details That Matter
The face is where the magic happens. A few simple features can reveal a hedgehog’s mood. Place two tiny beads or painted dots as eyes. Add a small oval for the nose and a curved mouth line. A pinch of clay for tiny cheeks adds personality.
Expression Tricks
– Wide eyes and a small smile say “friendly neighbor.”
– Narrow eyes and a tiny frown say “I know secrets you don’t.”
– A tiny tilt of the head brings a curious vibe.
Finishing Touches: Lighting, Glaze, and Stability
Let the piece dry completely if you’re using air-dry clay. For polymer clay, bake according to the package. Once dry, add color accents if you want. A light coat of clear glaze makes the quills pop and gives durability. FYI, a matte finish can look charmingly rustic.
Base or Stand Ideas
– A small, flat ceramic washer can become a perfect base.
– A tiny log-shaped pedestal adds whimsy.
– A leafy patch of clay can create a little hedgehog habitat scene.
Creative Variations to Try
Mix in fun elements to keep things interesting. Outfit your hedgehog with a tiny scarf, a leaf cape, or even a mini mushroom friend. You can also experiment with color palettes: soft pastels for a cute look or earthy tones for a woodland vibe.
Mini Accessories
– A tiny acorn or leaf as a companion
– A pair of compostable eyes if you’re avoiding beads
– A painted stripe or dot pattern along the quills for character
Common Pitfalls and How to Avoid Them
Sculpting can feel like a prank: the tiny parts don’t hold or the texture goes sideways. Here are quick fixes:
– If the head keeps detaching, blend the neck joint with a thin coil of clay and smooth well.
– If lines smudge, let the piece rest a bit, then re-sculpt the texture with a dry tool.
– If you’re using air-dry clay, protect the surface from humidity; it loves to smudge.
Troubleshooting Quick Cheats
– Keep a small bowl of water handy to smooth seams on polymer clay with a finger or tool.
– Use a baby wipe to wipe off fingerprints before baking or drying.
– Don’t overwork the clay; fatigue leads to fingerprints and less crisp lines.
FAQ
What kind of clay is best for beginners?
For beginners, air-dry clay is forgiving and doesn’t require a kiln. Polymer clay is fantastic if you want durability and a glossy finish after baking. Pick one based on your patience for drying time and if you own a toaster oven or a real oven.
How long does it take to dry or bake?
Air-dry clay usually takes 24 to 48 hours to fully cure, depending on thickness and humidity. Polymer clay bakes in about 15 to 30 minutes per 1/4 inch at the recommended temperature. Always follow your material’s instructions—burnt hedgehog? Not cute.
How can I seal and protect my hedgehog?
Apply a clear acrylic sealer or glaze after it’s fully dry or baked. A light coat adds shine and helps prevent chips. If you’re handling it a lot, consider a matte seal to keep the look soft and natural.
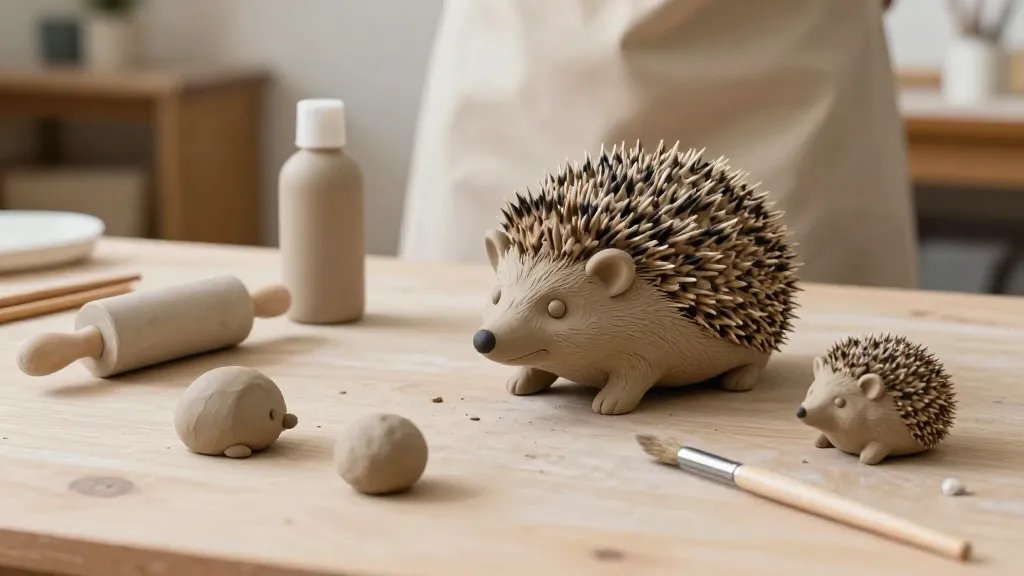
Can I make more than one hedgehog?
Absolutely. Create a little hedgehog family or a gang of woodland pals. You’ll learn from each mini-project, spotting better textures and positioning with practice.
How do I fix a broken quill row?
Gently reattach broken pieces with a small amount of clay slip (water plus tiny bit of clay). Blend the seams and re-texture. Practice makes quill perfection, and yes, you’ll get there.
Conclusion
Tiny hedgehog clay projects are the kind of craft that pays you back in smiles and brag-worthy photos. They’re approachable, forgiving, and oddly addictive—one more little hedgehog and suddenly you have a forest of mini friends. So grab your clay, pick a vibe, and start sculpting. If you mess up, no worries—you’re still making something charming and unique. IMO, these little critters are the tiny therapy sessions your desk didn’t know it needed. Happy sculpting, friend!


