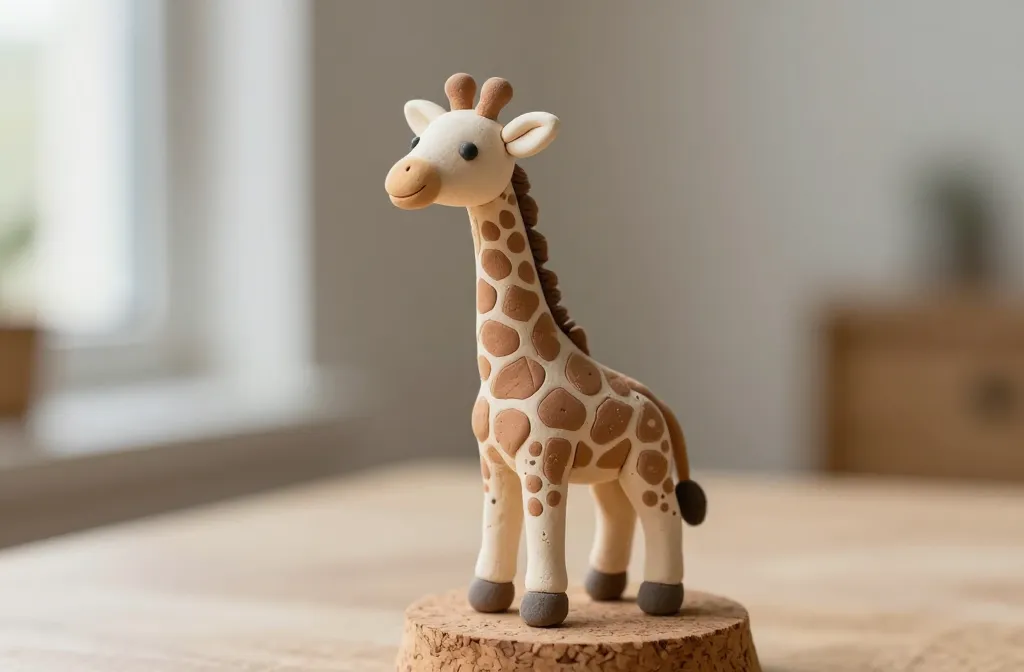
Want a tiny, charming project you can finish in an afternoon? This mini giraffe clay animal tutorial keeps things simple, playful, and oddly therapeutic. Grab your clay, a few basic tools, and your sense of whimsy—we’re making something you’ll actually want to display.
What You’ll Need to Start
– Air-dry clay or polymer clay in your preferred giraffe colors: sandy beige, warm brown, and a hint of white for highlights
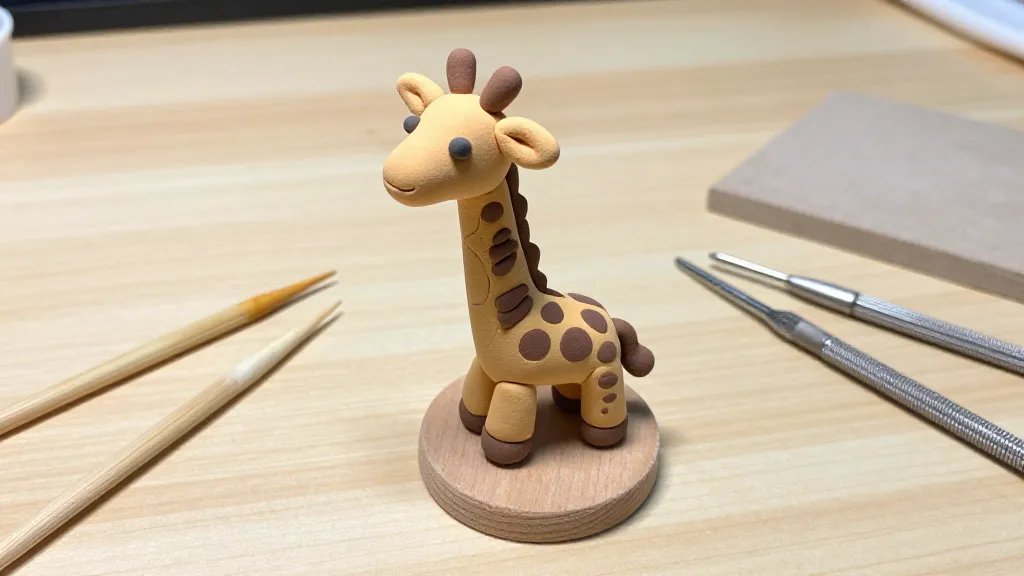
– Basic sculpting tools like a toothpick, a small knife, and a needle tool
– An optional dotting tool or pen cap for tiny details
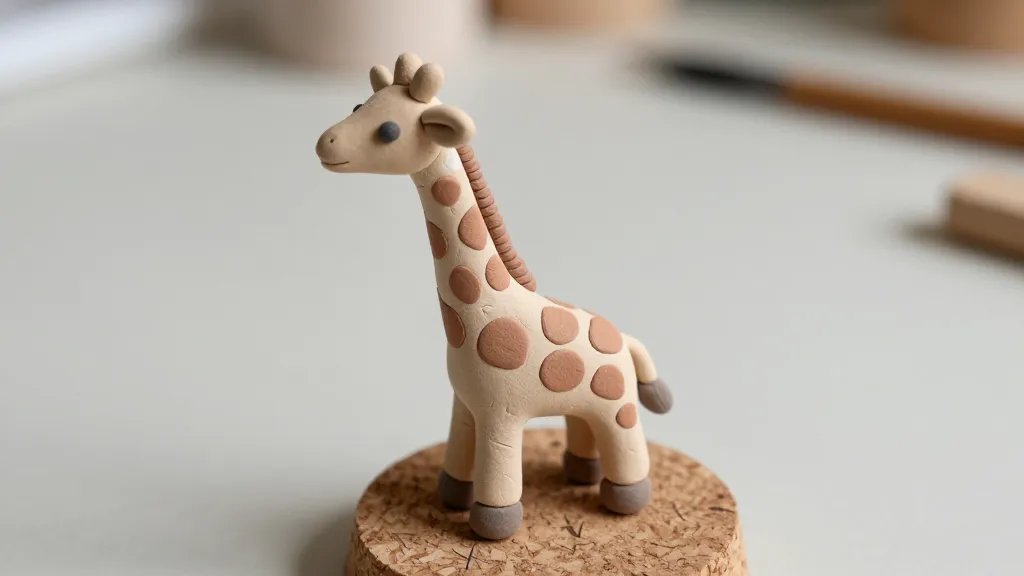
– A base (a small slab of clay or a cork) to help your giraffe stand
– Acrylic paints if you want to add features after baking or drying
– Sealer to protect finished piece (clear matte works well)
If you’re thinking, “Do I really need all that?”—trust me, you’ll use most of it. FYI, you can improvise with household items, which makes this project even more satisfying.
Step 1: Shape the Body That Won’t Budge
Start by rolling a small teardrop shape for the torso. Think chubby peanut. This sets the chunky, friendly giraffe vibe. Flatten one end slightly so it can sit on a base. This is your anchor, so don’t skip the base—it saves you from wobbly life decisions later.
Pro Tips for a Sturdy Base
– Press the torso gently onto the base and let it cure before moving on
– If your clay is fresh and soft, chilling the piece for 10 minutes speeds up firmness
– A dab of glue on the base won’t hurt if you’re using polymer clay
Step 2: Add the Neck and Head—In Perfect Proportions
Roll a long, skinny cylinder for the neck, then taper the top for the head. Attach the neck to the torso with a pinch of moisture from your fingers or a tiny amount of water if you’re using air-dry clay. The key here is gentle, confident bonding—no dramatic wiggles.
For the head, shape a rounded oval with a tiny snout. Carve in two small indentations for nostrils and a subtle mouth line. Don’t overthink it; cuteness thrives on simplicity.
Neck Tips for Stability
– Angle the neck slightly forward to give your giraffe character
– If it looks too long, shorten and reattach—you can always patch with more clay
– Smooth joints with a damp finger to hide seams
Step 3: The Mini Horns, Ears, and Those Signature Spots
Roll two tiny horn shapes and attach them to the top of the head. Slice two small ear shapes and attach on either side. Giraffes aren’t shy about their ears, and neither should your sculpture be.
Now for the spots. Dip a small tool into brown clay or use a thin brush to dab spots onto the torso. Keep them irregular for a natural look—symmetry is overrated here. Fewer spots in some areas can read as shading, which is adorable and believable.
Spot Pattern Play
– Start with a few large spots, then scatter smaller ones around
– Focus spots mainly on the torso; neck spots can be sparser
– If you’re painting, outline spots softly with a darker shade to deepen the texture
Step 4: The Finishing Touches—Tiny Details That Shine
Add a little tail by rolling a short thin strand of brown clay and attaching it to the back. For eyes, you’ve got options:
– Tiny black beads
– Tiny painted dots using a fine-tipped brush or marker
– A dab of white paint with a dot of black in the center for extra pop
Feet should be stable on your base, so press them down evenly. If you want extra cuteness, give the giraffe a slight tilt of the head to imply curiosity.
Optional: Expression Upgrades
– A curved mouth line can suggest a friendly grin
– A tiny white highlight on the eyes makes the sculpture feel alive
– A subtle blush on the cheeks with a tiny touch of pink adds charm
Step 5: Curing, Painting, and Sealing
If you’re using air-dry clay, let the piece dry completely according to the package instructions—usually 24 hours or more. Polymer clay goes into the oven as directed by the brand. FYI, patience here pays off with a sturdier sculpture.
Once dry or baked, you can paint details or apply acrylic washes to bring out texture. Finally, seal with a clear matte varnish to protect your tiny giraffe from fingerprints and dust.
Painting Pointers
– Use thin, translucent washes rather than heavy coats
– Dry between layers to prevent smudges
– A tiny dry brush with a lighter shade can highlight raised areas beautifully
From Weekend Project to Display-Worthy
Your mini giraffe is ready to go from desk companion to room decor. Place it on a shelf, in a terrarium, or alongside other tiny clay critters you’ve made. The real trick is choosing a base or display setting that makes the giraffe feel at home.
If you want to go the extra mile, create a small entourage of equally tiny animals—zebras, elephants, or little birds—to build a charming micro menagerie. A cluster of mini friends looks instantly gallery-worthy and satisfies that “I made this” glow.
Troubleshooting Quick Fixes
– If the neck won’t attach firmly, try pinching a small seam with your fingers and adding a touch of moisture or clay to reseal
– Spots look too uniform? Mix a couple of shades and dab them randomly again
– The piece wobbles? Re-adhere the feet or add a longer base for stability
FAQ
Can I use air-dry clay for beginners?
Yes. Air-dry clay is forgiving and dries without an oven. It’s perfect for quick, mess-free projects. Just be mindful of drying times and humidity.
What if I don’t have tiny sculpting tools?
No problem. Use everyday items: a toothpick for detailing, a plastic straw for shaping, or the blunt end of a pencil for smoothing seams. Creativity > fancy tools.
How do I prevent the clay from cracking during drying?
Keep thickness consistent, avoid sharp edges, and don’t over-handle while drying. If cracks appear, dab a small amount of fresh clay into the crack and blend.
What’s the best way to paint once it’s dry?
Use acrylic paints in thin layers. Start with a base color, then add shading. Seal after the paint dries for durability. FYI, you can dry brush highlights for added texture.
How long does this project take?
If you’re cruising, you can finish in a couple of hours. If you’re taking your time to perfect details, plan for a lazy afternoon. Either way, it’s a rewarding win.
Conclusion
This mini giraffe clay animal is the perfect breezy project for crafters of all levels. It’s cute, forgiving, and surprisingly satisfying to see your tiny friend come to life. With the base, the neck, the spots, and a glossy seal, you’ve got a display-worthy piece that took only a small chunk of time. So what are you waiting for? Grab your clay, channel your inner sculptor, and make a little giraffe you’ll proudly show off.


