An artsy, tiny world comes alive when clay ghosts float into the frame. They’re cute, quirky, and totally Instagram-ready. Let me show you why these little clay wisps deserve a spot in your craft stash and your chats.
What Makes Clay Ghosts So Endearing
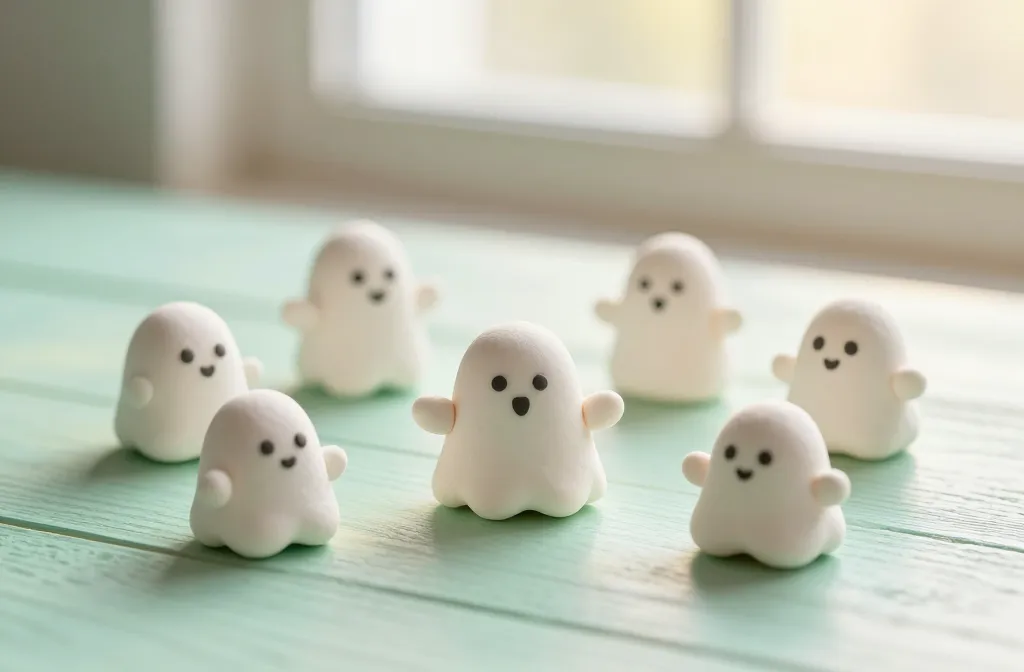
Clay ghosts have that timeless charm: soft shapes, squishy textures, and eyes that say “I’m here for snacks and stories.” They’re not scary at all; they’re basically marshmallows with personality. FYI, the handmade imperfections—little thumbs instead of perfect curves—are part of the magic.
Design Ideas That Spark Joy
- Pastel Parade: Use pale blues, pinks, and mint greens for a friendly vibe.
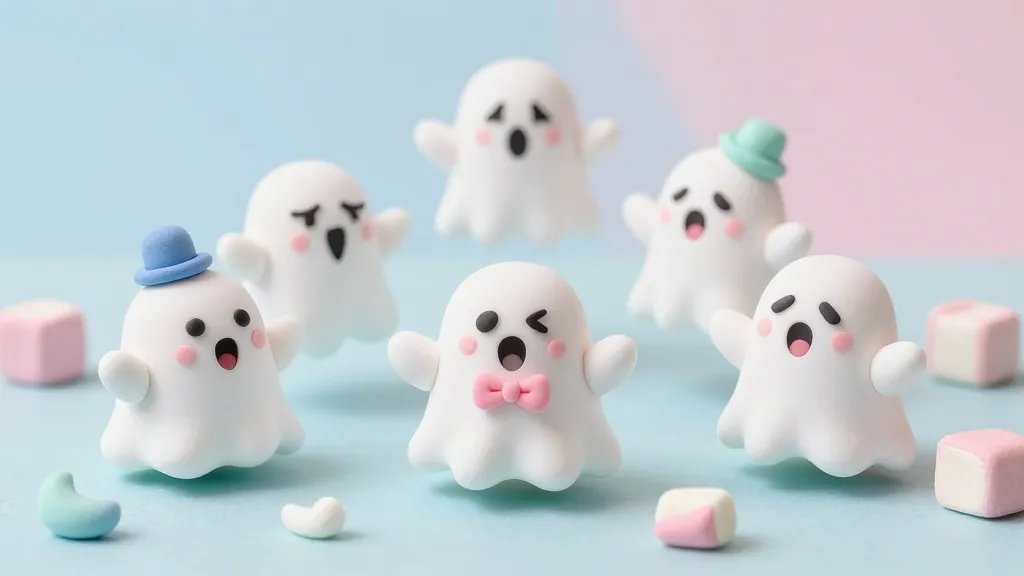
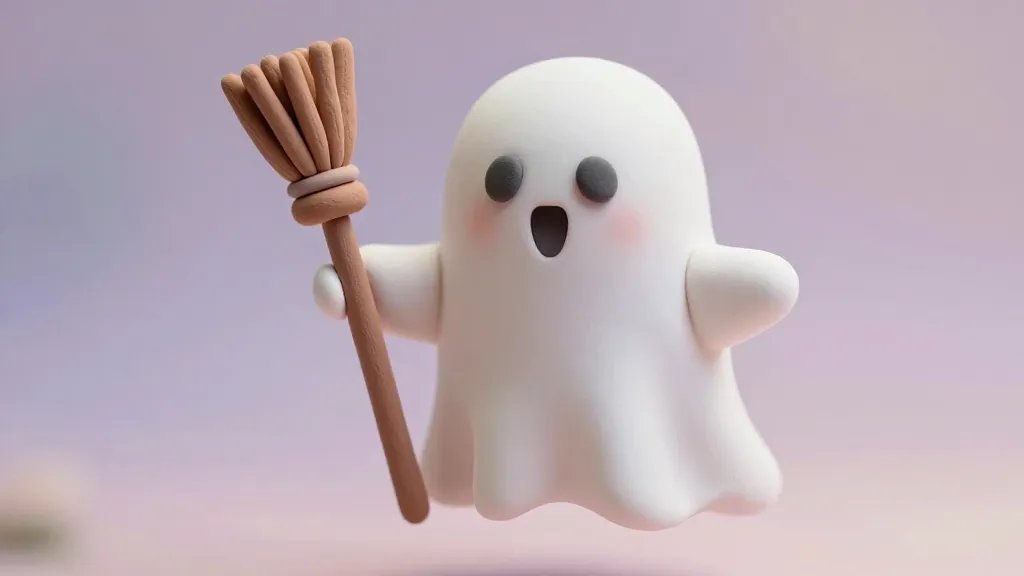
- Tiny Attachments: Add mini accessories like bow ties, hats, or tiny broomsticks.
- Glow in the Dark: Paint a layer of glow-in-the-dark varnish for midnight cuteness.
Want to level up? Try sculpting with different thicknesses for a ghostly floaty look. The lighter, the cuter. And yes, you can mix in tiny wavy arms to give them a “come here” float that’s begging for a photo.
Step-by-Step: Crafting Your First Clay Ghost
Grab your clay, a toothpick, and a little patience. Here’s a simple path to a darling spectral buddy:
- Roll a teardrop-shaped body with a slightly wider bottom for stability.
- Pinch two tiny eye shapes and a cheerful mouth—expression is everything.
- Flatten the bottom a touch so they stand or perch nicely.
- Add a floaty veil or scarf to give character and motion.
Finishing Touches
Seal with a quick bake, then glaze for shine. Gloss makes their eyes pop, while matte gives a vintage vibe. FYI, a touch of pink blush on the cheeks is surprisingly adorable and totally non-dramatic.
Storytelling Through Clay Ghosts
Every ghost has a tale. Is this one a shy librarian who hides behind stacks of paperback? Or a prankster who leaves tiny footprints of glitter? The stories you tell with these figures are what turns a cute craft into a narrative you can share in captions and comments.
Character Combinations That Work
Group dynamics matter. Pair a curious white ghost with a giggly lavender one, add a lantern-wielding tiny companion, and you’ve got a cast that begs for a mini comic strip. The clumsy charm of imperfect shapes makes each character feel like a friend you’d meet at a cozy cafe.
Materials and Tools That Won’t Break the Bank
You don’t need the fanciest setup to make adorable ghosts. Here’s a lean list that gets you there fast:
- Polymer clay in a handful of colors
- A needle tool or toothpick for detailing
- Soft brushes for shading and a glaze or varnish
- A small, sharp knife for clean edges
Set yourself up with a tiny workspace, and you’ll be surprised how easy it is to churn out a little ghost army. IMO, the secret is practicing tiny adjustments—one millimeter can change the vibe entirely.
Displaying Your Cute Clay Ghosts
Presentation matters almost as much as the craft itself. Try these ideas to show off your spectral squad:
- Mini haunted shelf: a slotted wood plank with faux cobwebs and twinkly LEDs.
- Shadow box diorama: nestle ghosts among pumpkins, moons, and wisps of “fog.”
- Photo backdrop: a pastel gradient with a few fake stars makes the ghosts pop in pics.
Photography Tips for Maximum Creep-Cuteness
Natural light is your best friend. Shoot from a slightly above angle to give the figures a floating feel. A shallow depth of field keeps the focus on their adorable faces. And yes, a tiny bit of fairy lights can be magical without being cheesy.
Seasonal Spins: Halloween, Holidays, Anytime
Cute clay ghosts aren’t limited to Halloween. You can adapt them to any season with simple props:
- Winter: add little scarf and snowflake accents.
- Spring: flower crowns and leaf hats brighten the lineup.
- Halloween: glow-in-the-dark paint and spooky glow accents raise the stakes—without losing the cuteness.
FAQ
Are clay ghosts easy for beginners?
Yep. Start with simple teardrop shapes and a couple of features. The more you practice, the more personality you’ll squeeze into each ghost. FYI, imperfect edges often look more adorable than perfectly smooth surfaces.
What paints work best on polymer clay?
Acrylic paints adhere well after baking. Use a thin layer for details and seal with a gloss or matte glaze. IMO, testing colors on a scrap piece first saves you hex-worthy heartbreaks later.
How do I prevent clay from cracking?
Keep your pieces moderately soft when shaping, avoid over-baking, and bake at the recommended temperature. If you’re layering, let pieces cool between steps to avoid warping. trust me, patience pays off here.
Can I mix other materials with clay ghosts?
Definitely. Tiny felt accessories, fabric scarves, or glitter accents can elevate the cuteness. Just ensure everything is baked separately and attached securely with a strong glue after baking.
How should I store finished ghosts?
Store them in a dust-free box or display case. Keep them away from direct sunlight to prevent fading. If you’re shipping, wrap gently and use soft padding to protect delicate noses and tiny ears.
Why These Little Ghosts Matter
Cute clay ghost characters are more than craft toys—they’re tiny, tangible joy. They invite imagination, spark conversation, and give you a playful outlet to unwind. IMO, creating them is a little therapy session with a lot of smiles attached. And yes, they’re surprisingly addictive in the best possible way.
Conclusion
Clay ghosts are a delightful blend of whimsy and craft skill that anyone can enjoy. Whether you’re making a lone floaty friend or an entire spectral squad, the process is as joyful as the results. So grab some clay, channel your inner spooky-sweet designer, and start sculpting memories that glow—literally or at least in your camera feed.


