Clay isn’t just mud with a dream; it’s a tiny universe you shape with your hands. newbies jump in full of ideas and end up wondering where their work went wrong. let’s skip the avoidable blunders and get you from “ugh, that cracked” to “nailed it, chef’s kiss.” FYI, progress beats perfection, every single time.
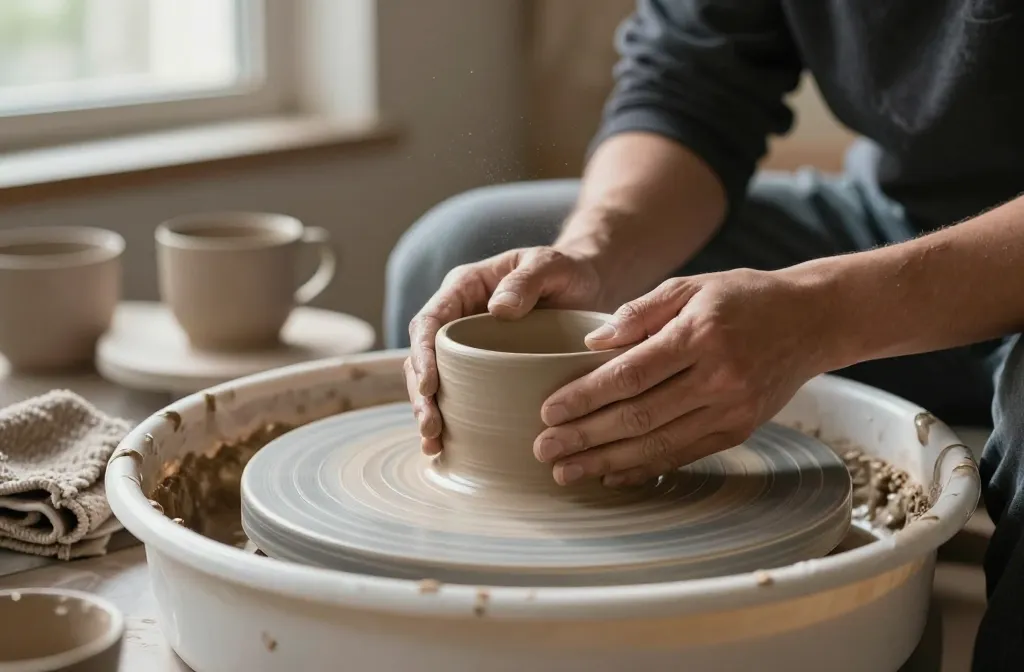
1. Skipping the Basics: Not Centering or Proper Clay Preparation
You might hear “center, center, center” like a broken record, but it’s the truth. If the clay isn’t centered, your pot will wobble, your mugs will lean, and your pride will shatter faster than your latest glaze. Start with wavering hands? No problem—practice centering on a slow wheel speed, with steady pressure.
What to do next
- Wedge the clay until it’s uniform in texture and moisture.
- Slip and score edges before attaching parts to avoid cracks.
- Keep your hands damp, not dripping, to prevent sticking.
2. Overworking the Clay: Kneading, Over-Detail, and Quick Drying
The impulse to polish every nook is real, but overworking makes clay brittle and weak. You’ll notice hairline cracks and warping after firing. It’s not glamorous, but it happens to the best of us.
Strategies to save your pieces
- Let pieces rest after coiling or throwing before you refine shapes.
- Use softer pressure when smoothing edges—fingers, not chisels.
- Keep a damp cloth handy and cover work when you pause to prevent drying out.
3. Glazing Like You’re Running a Guessing Game

Glazes are a love-hate relationship: they can be stunning or stubborn. The classic mistake is glazing too thick, which traps air bubbles or creates a gunky finish. If crystals form or colors run, it’s often a sign you’re pushing your luck just a tad too far.
Light on glaze, big payoff
- Test glazes on a small sample piece first.
- Apply multiple thin coats instead of a single heavy layer.
- Label your test tiles so you remember which combo turned out well.
4. Ignoring Clay Type and Suitability
Stoneware, earthenware, porcelain—they’re not interchangeable. Beginners often mix types and expect identical results. The result? Cracking, warping, or glaze incompatibility that leaves you frustrated instead of impressed.
Choosing the right clay for your project
- Ask: what glaze am I using and at what temperature will it fire?
- Match the clay’s porosity and shrinkage with your firing schedule.
- Experiment with a few test tiles to understand how your chosen clay behaves.
5. Underestimating Drying and Handling Time
Rushing can ruin a good design. Clay can warp, crack, or slump if it dries too quickly or unevenly. You’ll end up with a mug that looks like it went through a dryer-on-high cycle—no one wants a warped souvenir.
Smart drying habits
- Wrap pieces loosely and allow even drying in a controlled environment.
- Avoid drafts and temperature swings that speed up drying unevenly.
- Use a leather-hard stage for any trimming or adding handles.
6. Handles That Don’t Do Their Job
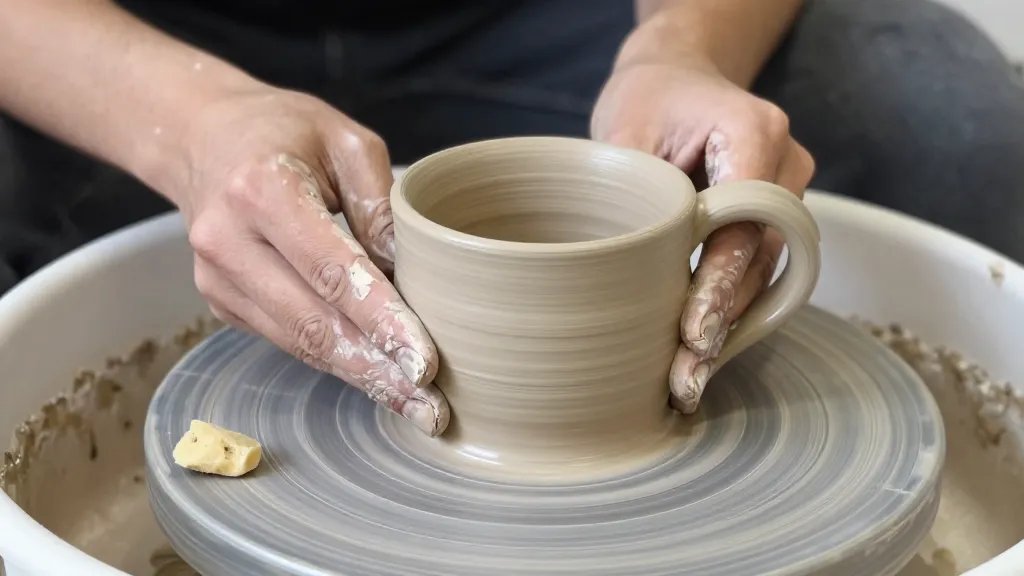
Handles are the grumpy teenagers of ceramics: easy to attach badly, stubborn to fix later. Poorly attached handles crack or detach in the rinsing or after a couple uses. It’s not just aesthetics—it’s water on the floor and your ego in the sink.
Handle horror stories and fixes
- Score and slip well; blend the seam smoothly to prevent cracks.
- Ensure the handle is comfortable to hold and balanced with the body of the piece.
- Test the handle under light pressure before firing to simulate a real grip.
7. Not Keeping Good Studio Habits
Your studio is your workshop—dirty, organized, or chaotic. Poor habits lead to wasted material and inconsistent results. No one wants to clean up a mess only to discover their glaze jar leaked or their tools are missing.
Simple, effective routines
- Clean as you go; wipe wheels, keep tools dry, and label your shelves.
- Keep a materials log: what clay, glazes, and firing temps you used.
- Store leather-hard pieces properly to prevent cracking or warping.
8. Forgetting to Print or Photograph Your Progress
Documentation isn’t vanity; it’s strategy. If you don’t track what works and what doesn’t, you’ll repeat mistakes. Build a small library of your successes and failures to guide future projects.
Photographic and note-taking tips
- Take consistent photos from the same angles for easy comparison.
- Note the clay type, moisture level, glaze, and firing schedule when you finish a piece.
- Use captions that remind you of what to adjust next time.
FAQ
What is the most common beginner mistake with clay?
The most common mistake is not properly preparing and centering the clay. Without a solid center and uniform moisture, everything becomes unbalanced, leading to collapse or warping as you work.
How can I prevent cracks during drying?
Keep pieces on a stable, evenly heated surface and let them dry slowly. Cover with plastic to control moisture loss and avoid rapid temperature shifts that cause stress cracks.
Is it better to glaze thick or thin?
Thin, multiple coats beat one thick coat every time. Thick glazes trap air and melt unevenly, which can cause drips and pinholes. Dab on multiple light layers and fire according to the glaze’s instructions.
How do I attach a handle that won’t crack?
Score and slip both surfaces, blend the joint smoothly, and reinforce from the inside with a small coil for extra strength. Let the joint dry slowly and keep the piece in a stable environment while it cures.
What should I test before a big glaze run?
Test a small tile with the glaze under the same firing conditions. Note color, texture, and any reactions with your clay body to avoid surprises on your main piece.
How important is wheel speed for beginners?
Turn the wheel slowly at first, then gradually increase as you gain control. High speeds can fling clay and throw your process off balance. Patience wins here, IMO.
Conclusion
Starting with clay is a brave, goofy, and wonderfully messy adventure. You’ll stumble, you’ll learn, and yes, you’ll yell at your kiln once or twice. The key is to build solid fundamentals—center, prepare, test, and don’t rush the finish. With steady practice, your pieces will stop looking like experimental spaghetti and start looking like legit pottery you’re proud to show off. Ready to make something awesome? Grab a ball of clay and greet your next happy accident.


