An adorable hobby that doubles as self-expression? Yep, DIY kawaii phone charms are where it’s at. If you need a little daily dose of cute that fits in your pocket, you’ve landed in the right place. Let’s dive into charms you can make in a weekend and still have time for a snack.
What Makes a Charm Totally Kawaii?
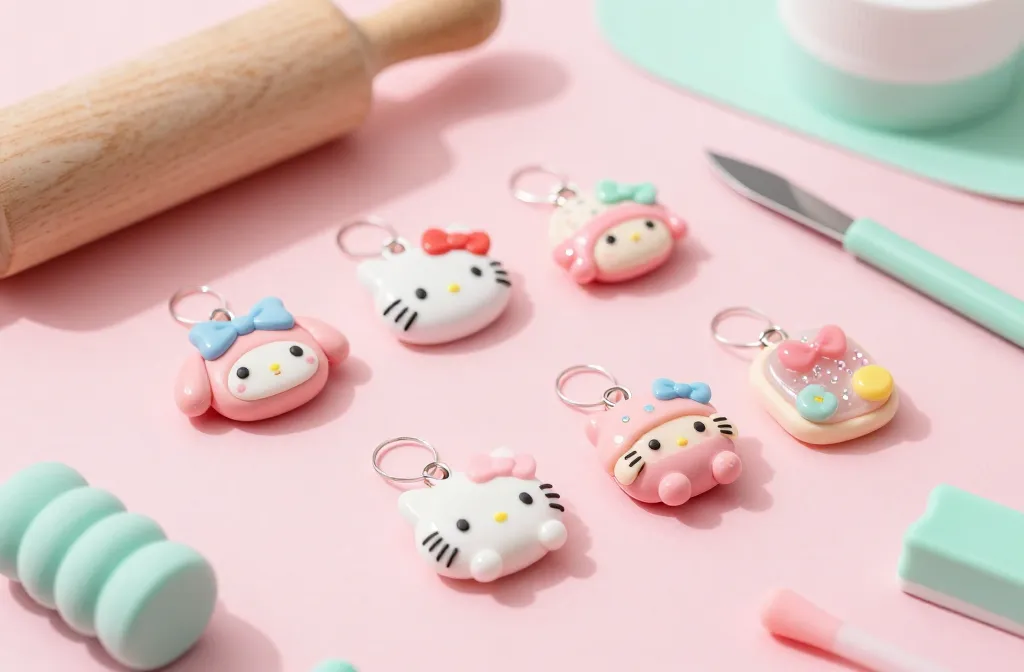
A charm becomes kawaii when it looks irresistibly cute, feels quirky, and somehow boosts your mood every time you glance at your phone. Think pastel colors, cheery faces, and tiny details that scream “you.” No need to go full craft-store chaos—just pick a vibe and run with it.
Pick Your Charm Style (And Why It Matters)
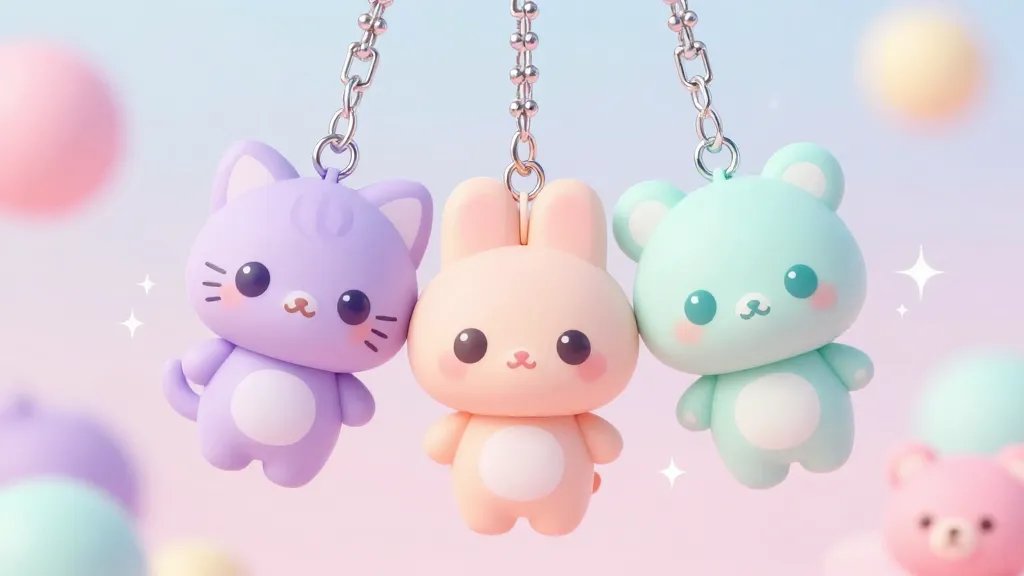
Choosing a style sets the whole project up for success. Do you want chibi characters, edible-looking sweets, or adorable creatures? Your style guides color choices, materials, and even the kind of charms you’ll string onto your phone.
Chibi Characters
– Pros: Big heads, tiny bodies, maximum cuteness.
– Cons: Details can get fiddly, so start simple.
– Tips: Use polymer clay for sturdy shapes, then seal with a clear glaze.
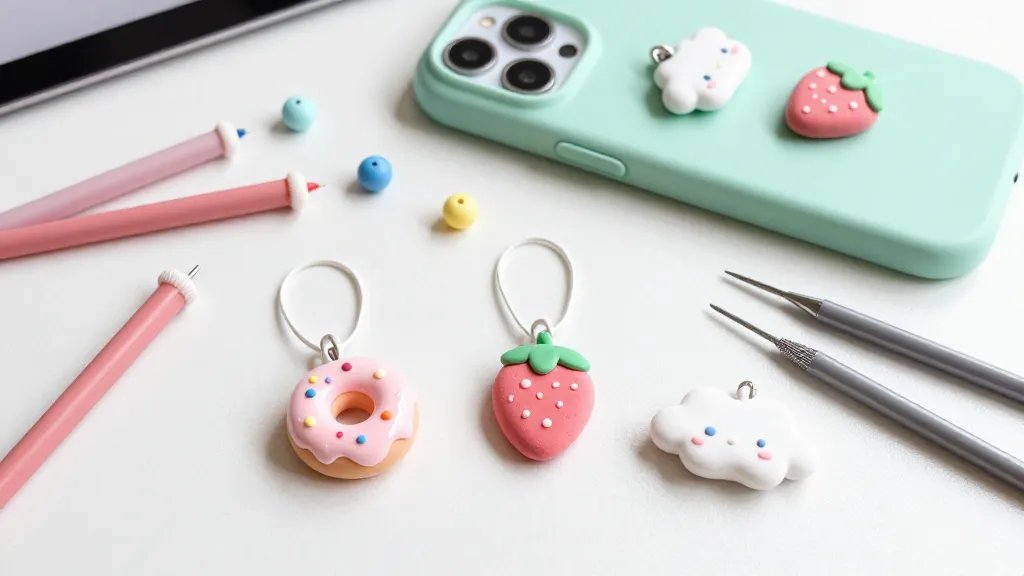
Sweets & Treats
– Pros: Bright colors, instantly crave-worthy.
– Cons: Edges can snag if you’re not careful.
– Tips: Sand edges smooth, dust with mica powder for shine.
Materials That Won’t Break the Bank
DIY should feel doable, not a scavenger hunt for rare beads. Here’s a sane starter list you can get at craft stores or online.
- Polymer clay or resin for sturdy shapes
- Acrylic paints and fine brushes
- Tiny charms, beads, and glitter (sparingly, please)
- Jump rings and a small lobster clasp
- Clear sealant or glaze for durability
- Phone strap bases or cord for easy attachment
Step-By-Step: Crafting Your First Charm
Starting simple helps you avoid heartbreak and broken clay pieces. Here’s a quick path to a cute staple charm.
- Sketch your idea. Keep it simple—bold shapes read best on small surfaces.
- Shape with clay or pour resin into tiny molds. Bake or cure per your material’s instructions.
- Paint and detail. Use stacked colors so the charm pops on your phone.
- Seal, then attach a jump ring and clasp. Add a cord or chain, and you’re done.
Personalize It: Infuse Your Vibe
Your phone is a reflection of you, so tailor your charms to things you love. Are you obsessed with cats, coffee, or cosmic stars? Here are quick ways to encode those loves.
- Cats: whiskers, tiny paws, and a mischievous expression.
- Coffee: tiny mugs, latte art, and little foam hearts.
- Space: planets, stars, and rocket shapes with metallic paints.
Creative Safe-Guards: Longevity Tips
DIY charms look cute, but they shouldn’t crumble in your pocket. Here are durable tricks.
- Seal everything thoroughly with a clear glaze to prevent chipping.
- Use resin if you want ultra-smooth, glass-like surfaces (FYI: it can be foggy in humid climates).
- Attach the jump ring tightly and test pull strength to avoid snaps.
What If I’m Not Great at Painting?
No stress. You can use stickers or pressed decals for fast, neat touches. A quick varnish over stickers keeps edges from peeling, and you still get that kawaii vibe.
Going Deeper: Mini Techniques for Pro-Level Charm-Craft
If you’re ready to level up, these small techniques make a big difference without turning craft time into a marathon.
- Layering paint for depth: base color, shade with a slightly darker tone, highlight with white or lighter color.
- Using tiny gloss accents to simulate glossy eyes or candy coatings.
- Experimenting with texture: sprinkle a little micro-sand or glitter inside resin for tactile charm.
Texture Tricks That Don’t Muff Up Your Design
– Don’t overdo glitter; too much can dull the charm.
– Use matte plus gloss combinations to create contrast and highlight focal points.
Camera-Ready Charms: Photos for Your Feed
If you’re posting crafts online, presentation matters. Flat lays and clean backgrounds make your charms pop. Natural light is your best friend, and a simple backdrop goes a long way.
– Shoot straight on to show shape and gloss.
– Include one scale item (a coin or ruler) so followers know size.
– Add a tiny prop—a pastel sticker or a flower—without clutter.
FAQ
How long does it take to make a beginner charm?
Most beginners finish a simple charm in under an hour, including curing and sealing. If you’re painting tiny details, add 30 minutes of patience for dries and touch-ups.
What’s the easiest material to start with?
Polymer clay is a great starter because it’s forgiving and bake-hard. Resin is fun but a tad more involved (offsprings, molds, ventilation). Pick clay for your first couple of charms.
How do you attach multiple charms to a phone case?
Use a sturdy jump ring and a short chain or cord. If your case is smooth, a little double-sided adhesive can help keep the charm in place, but I’d still go with a ring for security.
Can I reuse parts from old jewelry?
Yes! Salvaged beads and charms can inspire a new piece. Just clean them first and mix textures widely so your final charm feels fresh.
Are there safety tips I should know?
Always bake or cure according to material guidelines and ventilate when working with resin. Wear a mask if you’re sanding or drilling tiny parts. Keep small pieces away from pets and kids.
Conclusion
DIY kawaii phone charms are the perfect, low-stakes craft with big payoff. They let you flex a little creativity, show off your personality, and keep your phone looking adorably you. So grab a few supplies, pick a vibe, and start small. FYI, you’ll probably surprise yourself with how quickly you crank out a mini collection you’ll actually want to show off. Happy crafting, friend!


