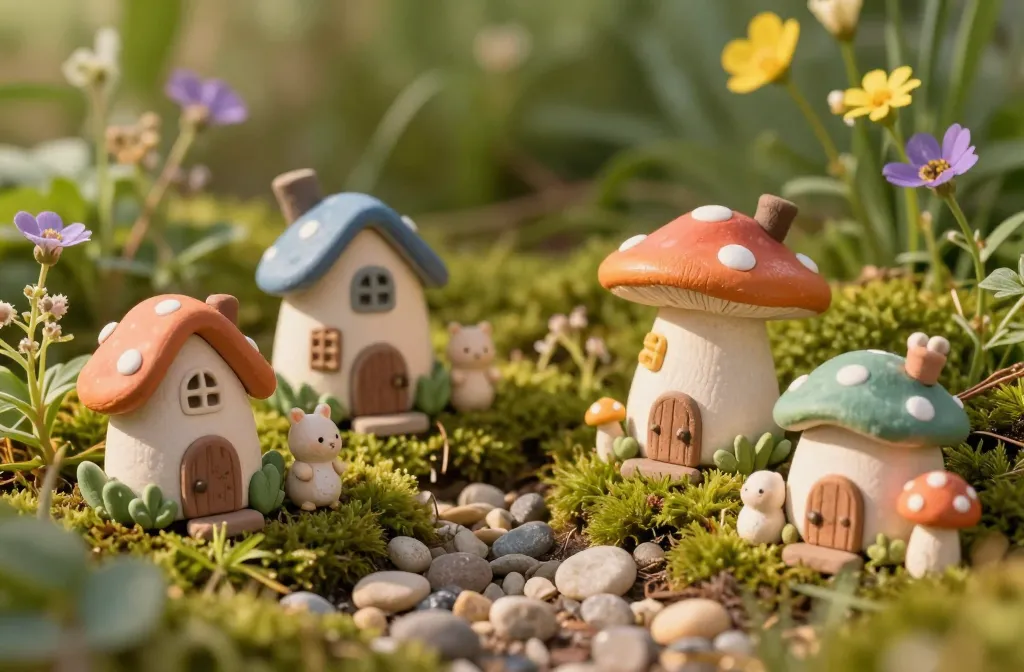
An instant spark for your garden spirit starts here. Fairy garden accessories made from clay bring whimsy, color, and a dash of magic to any outdoor corner. Let’s dive into why clay goodies are the vibe your fairy crew has been begging for.
Why Clay? The Magic Behind Clay Fairy Garden Accessories
Clay is forgiving, colorful, and easy to shape into little characters, doors, and critters. You can glaze, paint, and seal it to withstand a drizzle (or a light sprinkle—no heroic weatherproofing required). FYI, clay pieces add texture that plastic just can’t replicate. Ready to get hands-on and craft your own tiny world?
Handmade Charm vs. Store-Bought
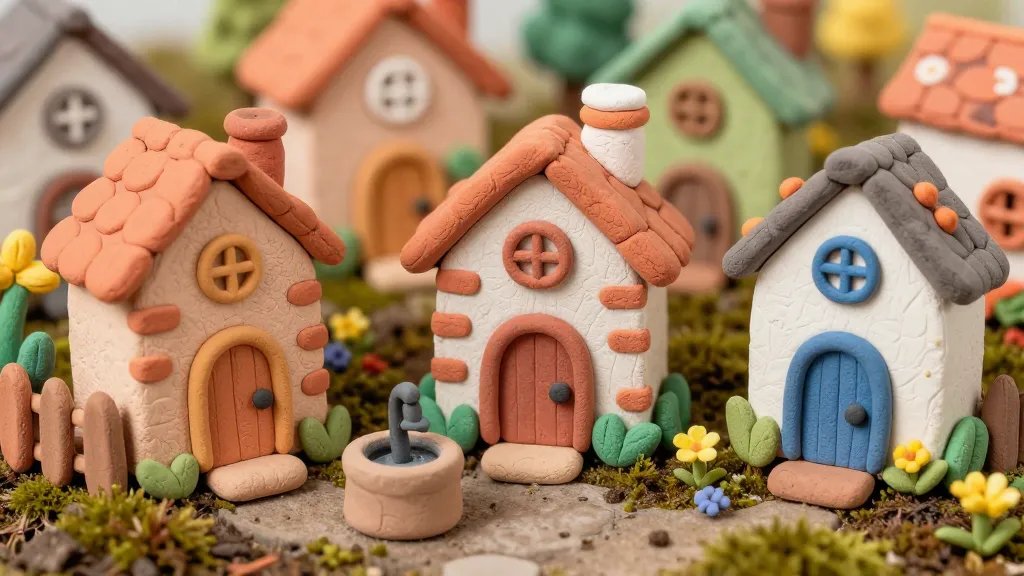
– Handmade clay pieces feel personal and unique. No two towers or toadstools look exactly alike.
– Store-bought options can be quick, but they rarely capture your garden’s personality.
– Mix and match: sculpt a few favorites and fill in with curated finds for a balanced scene.
Getting Started: Tools, Materials, and a Quick Plan
Starting small keeps the process fun, not stressful. Gather a few basics, sketch a rough layout, then dive in.
Essential Materials
- Air-dry clay or polymer clay (depends on your curing preferences)
- Acrylic paints, fine brushes, and a clear sealant
- Glazes or acrylic varnish for a protective finish
- Comfortable work surface, plastic wrap, and a toothpick or needle for detailing
- Small molds or cookie cutters for consistent shapes
Simple Plan to Start
- Sketch a tiny map of your fairy garden—think doorways, mushrooms, furniture.
- Make a few focal pieces first: a fairy door, a cozy bench, a mushroom seat.
- Paint and seal in stages to avoid smudges.
- Arrange elements in your outdoor space, then tweak for sightlines and scale.
Character Ideas: Who Lives in Your Clay Fairy World?
Creativity loves company, and your clay characters set the mood. Here are some delightful ideas to spark your imagination.
Whimsical Harbingers
- Petite fairy door with a brass bell
- Miniature lamp nestled in a mossy crevice
- Tiny lanterns strung along a twig fence
Garden Companions
- Smiling mushrooms with painted polka dots
- Chubby hedgehog lounging on a leaf
- Little frog perched on a stone chair
Textures, Colors, and Finishes: Making It Pop
Clay gives you a playground of textures and hues. Let’s talk color stories and finishing touches that hold up outside.
Color Palettes That Work
- Pastels for a fairy-tantamount vibe: blush pinks, mint greens, soft lavenders
- Earthy tones: terracotta, moss, olive, cream for a woodland look
- Bold accents: cobalt blue doors, sunny yellow stools, ruby mushrooms
Finishing Techniques
- Seal with a clear, weather-resistant varnish to keep colors from fading
- A dry brush method adds gentle highlights on textured surfaces
- Incorporate metallic accents sparingly for a magical wink
Placement Ideas: Where to Put Your Clay Creations
Strategic placement makes or breaks a fairy garden. Here are real-world tips to maximize charm.
Small-Scale Wonders
- Hug a potted plant with a tiny clay bench tucked behind
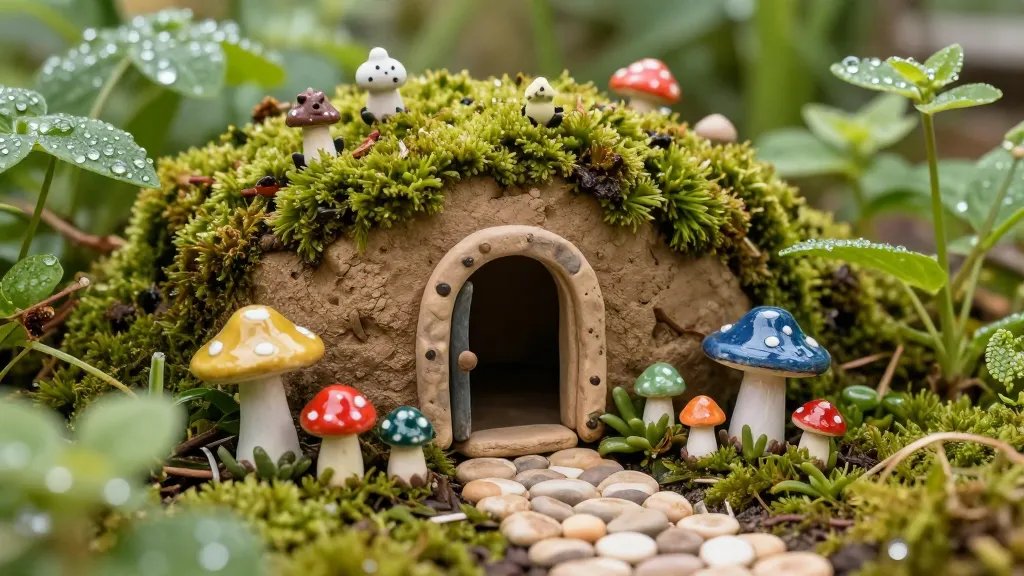
- Place a door at the base of a willow or near a mossy rock
- Ring a small path with pebble borders for a storytelling effect
Seasonal Shifts
- Spring: fresh moss, dewdrop glaze on toadstools
- Summer: brighter hues and extra lanterns for evening sparkle
- Autumn: mossy greens paired with warm brick-red accents
Maintenance: Keeping Your Clay Fairies in Tip-Top Shape
Clay holds up with a little care. Here’s how to keep your mini-world smiling year-round.
Simple Care Steps
- Dust gently with a soft brush or cloth
- Check for cracks after freeze-thaw cycles and patch as needed
- Re-seal every season or after heavy rainfall to preserve color
DIY Repairs
- Cracked edges? Sand smooth and repaint; seal afterward
- Loose pieces? Use a dab of non-toxic craft glue and hold until set
Creative Project Ideas: Quick Builds for Beginners
If you’re itching to start right now, these mini-projects are perfect.
1-Minute Mushroom Village
– Sculpt several tiny mushrooms, lay them on a circle of bark chips, add a mossy floor.
Fairy Table and Bench
– Bake or air-dry a flat round disk for a table; pair with two slotted bench pieces.
Fairy Mailbox
– Create a tiny mailbox with a curved top; add a tiny letter for flair.
FAQ
What clay is best for outdoor fairy garden accessories?
Air-dry clay is easy and forgiving, but it can fade in strong sun. Polymer clay is durable when baked and holds details well, but needs proper curing. If you’re outdoors a lot, consider sealing with a weatherproof varnish after painting to extend life.
Do I need special tools or molds?
Not at all. You can start with simple tools like toothpicks for fine lines, a small rolling pin, and basic cookie cutters for shapes. Molds help keep shapes consistent, but freehand crafting adds personality—your choice!
How do I seal clay for outdoor use?
Use a clear, UV-resistant sealant. Apply thin coats in a well-ventilated area and let each layer dry completely. Reapply seasonally to maintain color and prevent chipping.
How big should my clay pieces be?
Think scale with your garden. If you have a large pot, go a bit bigger for impact. If it’s a tiny balcony planter, keep pieces compact so they don’t overwhelm the space.
Can I mix clay with other materials?
Absolutely. Combine clay characters with moss, natural stones, or tiny wooden furniture. The mix adds texture and keeps the scene looking lively and not toy-like.
How long does it take to finish a small project?
Short projects take a weekend or a few evenings. If you rush, you might miss little details. IMO, giving yourself a couple of sessions helps you refine paintwork and shading for a polished look.
Conclusion
Clay fairy garden accessories bring a personal, whimsical touch that’s hard to beat. They’re forgiving for beginners, endlessly customizable, and genuinely charming. So grab your clay, a few paints, and start shaping your tiny universe—you might just become the neighborhood’s favorite garden wizard. Ready to bring your fairy story to life? Let the tiny doors swing wide and the moss dust sparkle.


