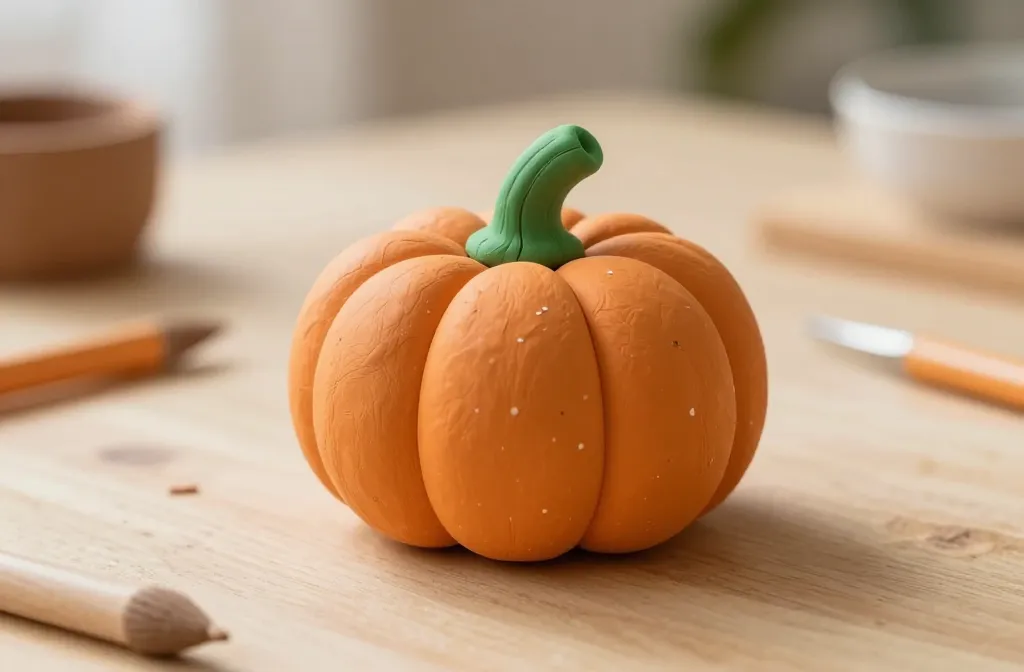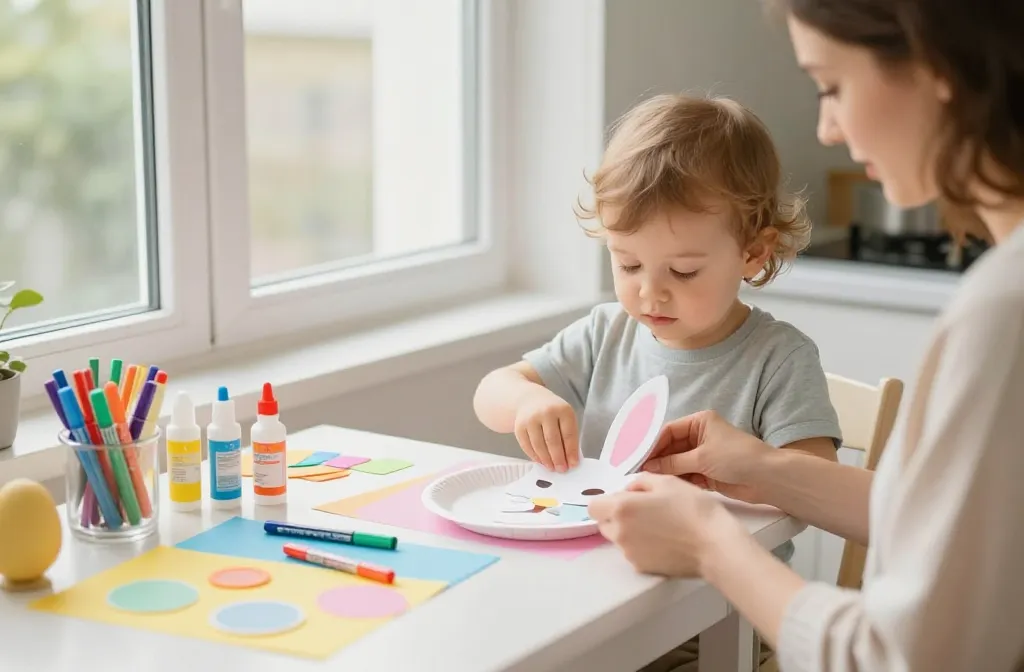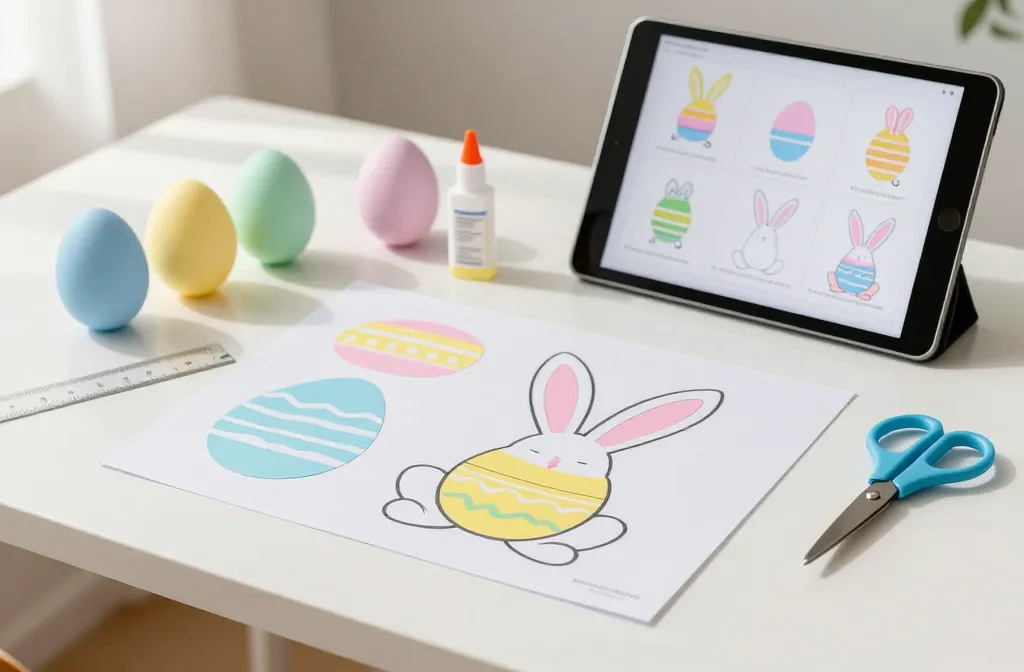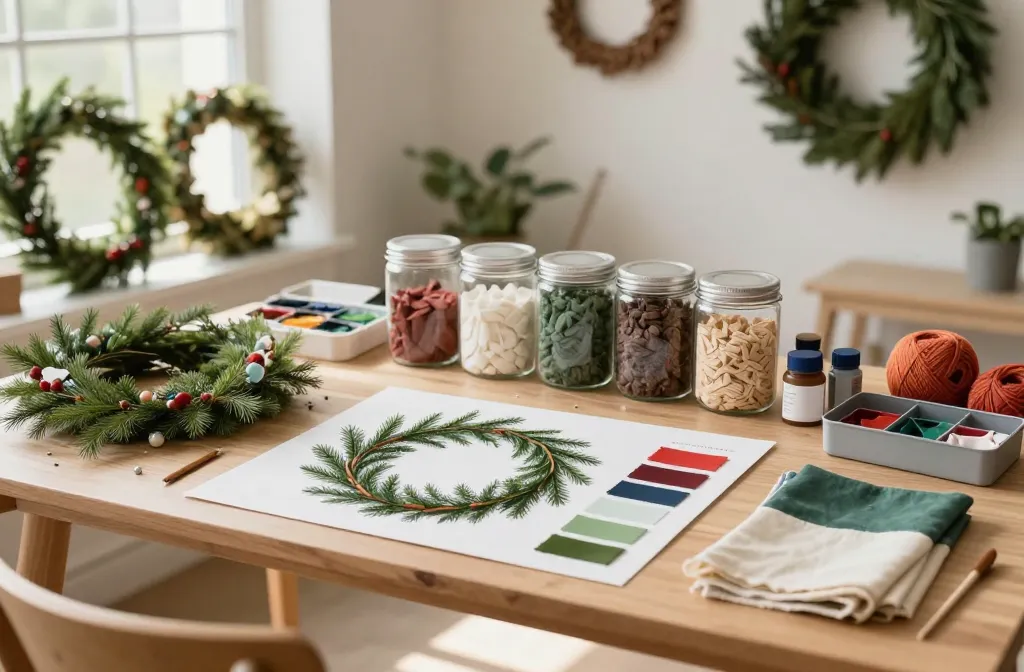
An easy, cozy guide to making cute, one-of-a-kind clay ornaments you’ll want to hang on every branch. Let’s skip the Pinterest pressure and get you crafting with confidence, humor, and a dash of holiday sparkle.
What You’ll Need Before You Start
To keep this fun and frustration-free, assemble a small kit first. You don’t need a fancy studio—just a few basics and a little space to let things dry.
- Air-dry clay or resin clay (your choice, but air-dry is friendlier for beginners)
- Rolling pin or a sturdy bottle for flattening
- Cookie cutters in festive shapes
- Plastic beads, pebbles, or decorative bits for texture
- Straws or skewers for holes
- Acrylic paints and fine brushes
- Clear sealant or Mod Podge for a glossy finish
- Ribbon or string for hanging
FYI: lay down a washable surface. You’ll thank yourself later when cleanup is a breeze and you’re not chasing clay dust around the living room.
Choosing Your Shapes and Style
Think beyond the usual spheres. Christmas clay ornaments shine when they tell a little story.
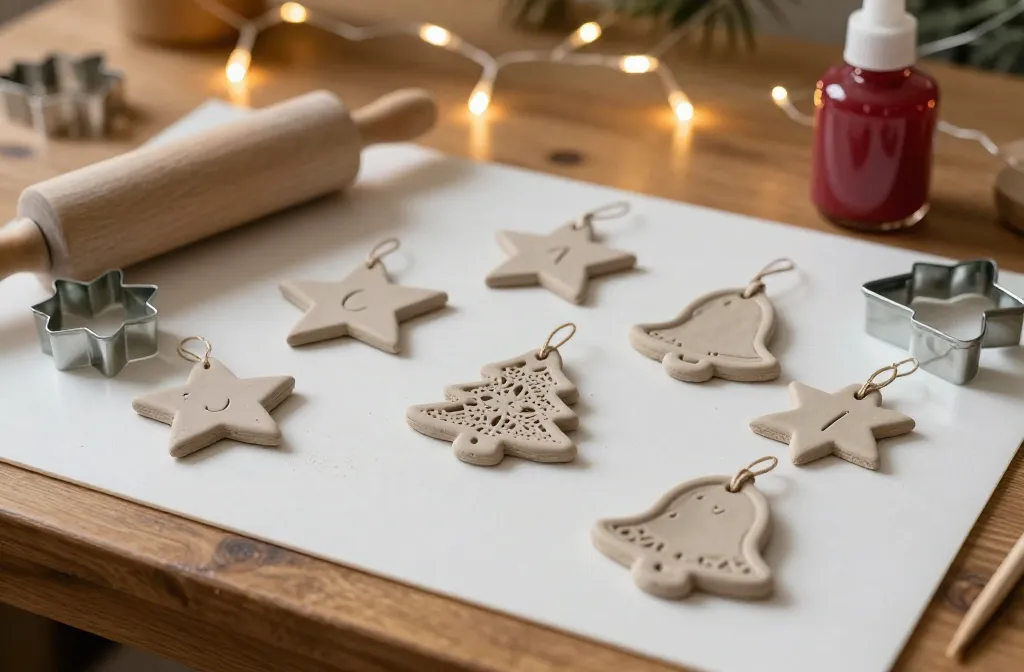
- Classic shapes: stars, trees, bells, candy canes
- Personal touches: initials, pets’ paws, tiny mittens
- Texture play: impression with lace, leaves, or stamped patterns
Tips for Quick Wins
– Roll to about 1/4 inch thickness for sturdiness and easy handling.
– Use a sharp edge to trim outlines; clean edges look way more professional.
– Dip a finger in water and smooth edges for a polished finish.
Step-by-Step: Making Your First Batch
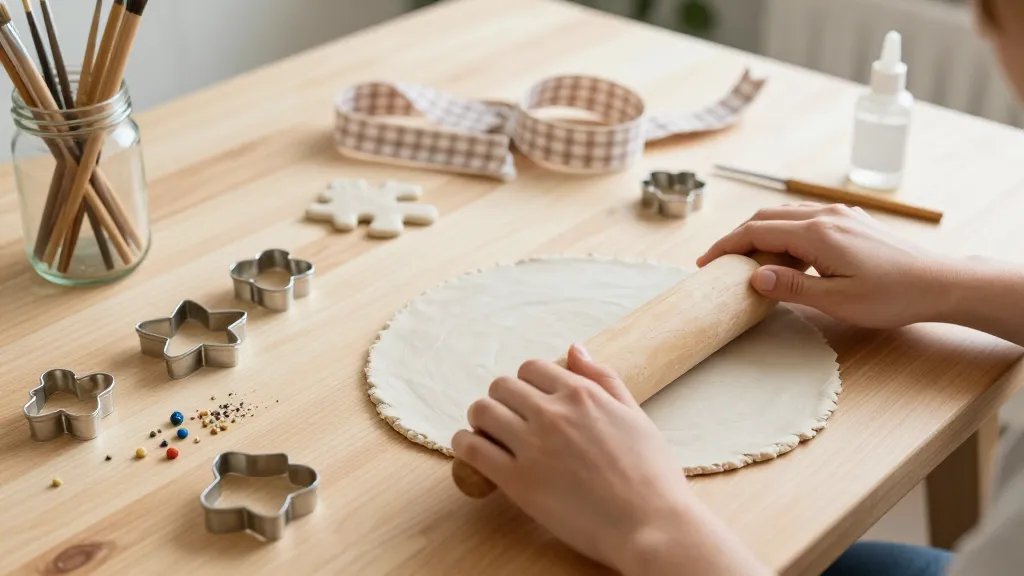
Let’s break it down so you don’t feel like you’re auditioning for a pottery class.
- Knead the clay until soft and pliable. No drama, just warmth.
- Roll evenly to your desired thickness. If you’re unsure, go thinner—it dries faster and paints nicer.
- Cut shapes with cookie cutters, then lift gently. If edges crack, press them back together and smooth with a damp finger.
- Make a little hole near the top with a straw or thin skewer. This is where your ribbon will thread through.
- Lay shapes on a parchment-lined tray and let them dry in a cool, dry spot. Time varies; check the package for guidance.
Speedy Drying Hacks
– Place some fans nearby to accelerate air drying.
– If you’re in a humid area, prop the shapes in a low-humidity corner and rotate daily so they dry evenly.
Finishing Touches: Painting and Sealing
This is where your ornaments go from nice to wow.
- Paint with acrylics in festive hues. Accent with metallics for sparkle.
- Use fine brushes for details like faces, snow, or tiny stars.
- Seal with a clear matte or glossy finish to protect the surface and colors.
Painting Cheats for Non-Artists
– Start with a light base coat, then layer darker shades.
– Use a small dot brush for eyes or dots on ornaments. It looks pro without the overwhelm.
– Tape off stripes or shapes for clean lines.
Personalizing and Storytelling Through Ornament Details
Your tree ornaments should feel like a scrapbook you can hang. Add tiny narratives to each piece.
- Mini portraits: a holiday selfie on a charm shape
- Tiny words: “joy,” “peace,” or a family name
- Seasonal motifs: snowflakes, candy canes, reindeer silhouettes
Texture and Layering Ideas
– Impress with lace or leaf patterns by pressing into soft clay.
– Add tiny embossed dots with a bristly tool for a whimsical look.
– Layer painted colors while the base coat is still slightly tacky for a blended finish.
Ornament Care and Hanging Tips
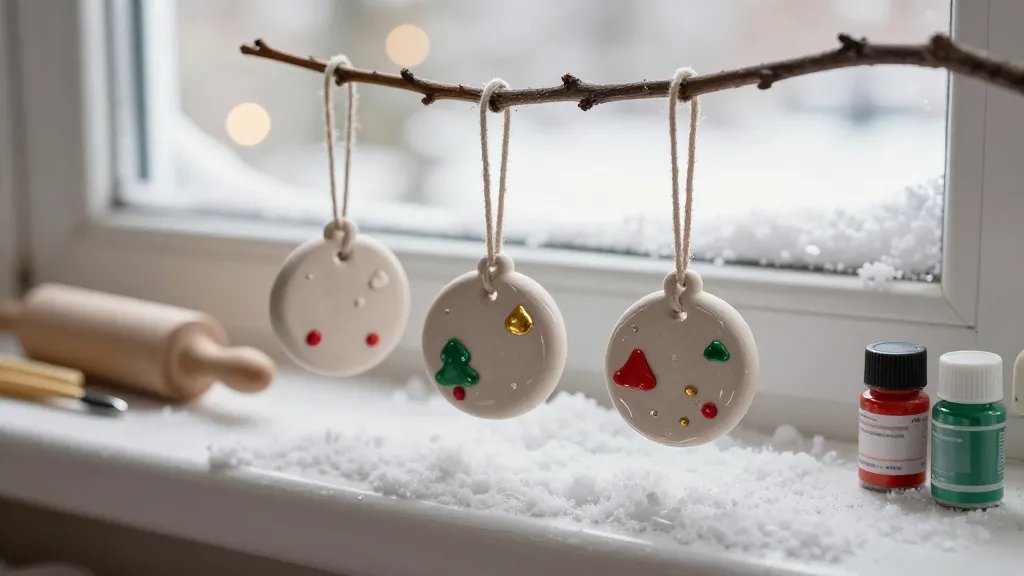
You put time into these, so treat them gently. A little care goes a long way.
- Choose a hanging ribbon that matches your color scheme.
- Thread the ribbon through the hole before fully drying to avoid cracking the piece later.
- Store ornaments in a breathable box with tissue between layers to prevent chips.
Display Ideas Beyond the Tree
– Create a small garland by stringing several ornaments in a row.
– Use them as gift toppers for a handmade touch.
– Clip a single ornament into a shadow box for year-round decor.
Creative Variations to Try Next Time
Once you’ve got the basics, push your creativity a bit further. FYI, experimenting is the fun part.
- Glow-in-the-dark accents for a midnight magic vibe
- Marbled clay by twisting two colors together before cutting shapes
- Mini terrarium look with a tiny glaze sheen to mimic glass
Glaze and Shine: If You Want Extra Gloss
– Apply a clear gloss sealant in thin layers, allowing ample drying time between coats.
– Avoid over-application to prevent drips that look, well, messy.
FAQ
Can I bake air-dry clay ornaments in the oven?
Air-dry clay should not go in the oven. The oven’s heat can crack or warp the pieces. If you want a baked result, look for polymer clay and follow its specific instructions.
How long do ornaments take to dry?
Drying times vary by product and humidity. Generally, air-dry pieces need 24 to 72 hours to harden fully. Check your package for specifics and plan accordingly.
What if my shapes crack while drying?
Cracks happen to the best of us. Gently press the crack together and smooth with a damp finger. If severe, you can reconnect small pieces with a tiny amount of clay and blend the seam.
Do I need to seal the ornaments?
Sealing protects both paint and clay, especially if you plan to handle them often or place them where sunlight might fade colors. A clear acrylic sealant works well.
Which paints work best on clay?
Acrylic paints are reliable, vibrant, and easy to brush on clay. They dry quickly and layer well for details. Use a fine brush for precision work.
Conclusion: Your Personal Christmas Clay Parade
You’ve got a hands-on, joyful project that doesn’t require a workshop full of gadgets. With a little patience, a splash of color, and a sense of humor, you’ll produce ornaments that feel personal and festive. FYI, the best part? Each piece becomes a tiny memory you can hang on the tree or gift to someone special. So grab your clay, pick a shape, and start making your Christmas a little more handmade and a lot more magical.