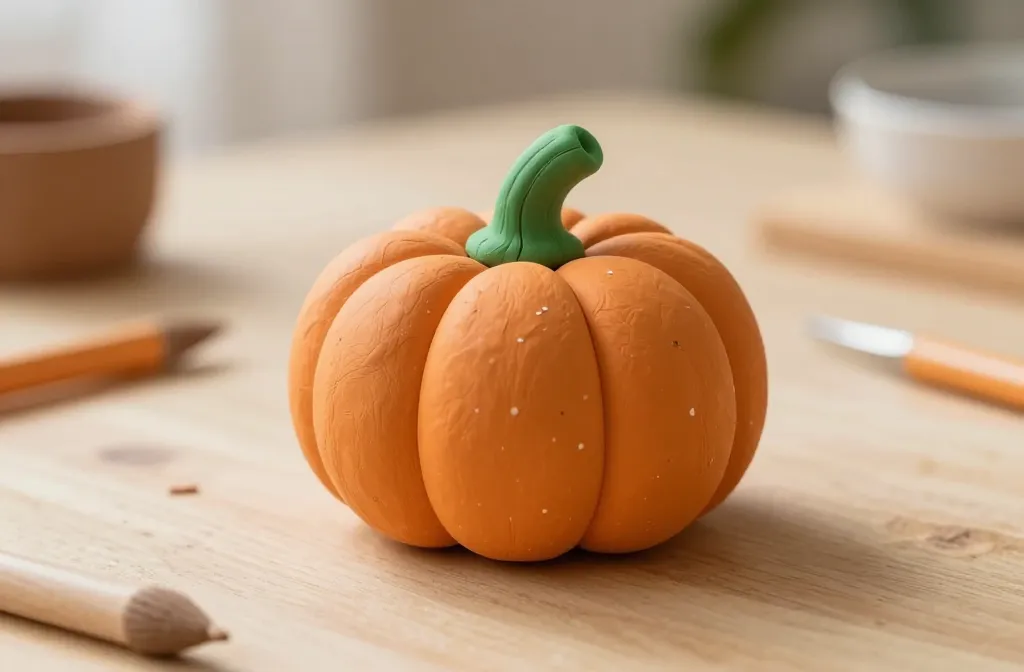
An everyday craft moment turns magical with a little squish, squeeze, and a lot of smiles. If you’ve ever wanted to mix whimsy with a touch of autumn charm, you’re in the right spot. Let’s dive into a pumpkin clay project that even total beginners can crush—literally.
What You’ll Need Before You Begin
– Clay: air-dry or polymer, your call. If you’re new, start with air-dry for no-fuss results.
– Colors: orange for the pumpkin, green for the stem, maybe a little white for highlights.
– Tools: clay modeling tools or a simple toothpick for details, rolling pin or cylindrical object for flattening.
– Glue or clear sealant: optional, but handy if you want longevity.
– A clean work surface and a splash of patience. You’ll thank me later.
Choosing the Right Clay for Your Cute Pumpkin
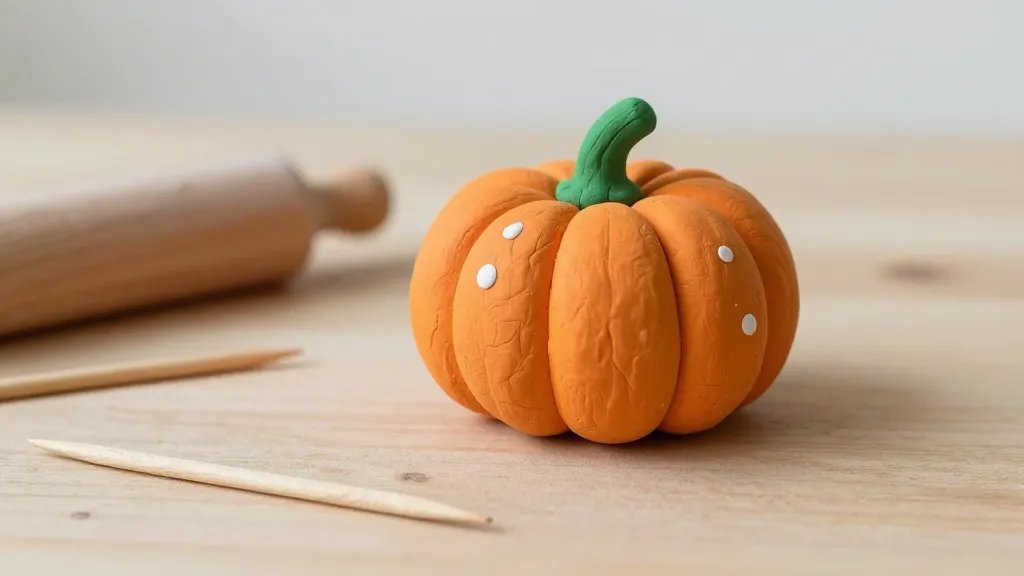
– Air-dry clay dries on its own in 24–48 hours. No oven needed, hooray.
– Polymer clay bakes in the oven and is tougher, but timing matters. Follow package directions.
– If you’re new, start with air-dry. It’s forgiving and smells less like industrial science.
– Pro tip: condition your clay by kneading it until it’s soft and pliable. If it cracks, you’ve gone too dry—give it a little love and rework.
Step-By-Step: Crafting the Chunky Pumpkin
- Roll orange clay into a smooth ball, then slightly flatten the bottom so it sits nicely.
- Roll a smaller ball for the pumpkin’s top and gently press it onto the body, creating a cute bump where the stem will go.
- Roll a skinny cylinder for the stem and attach it to the top. Blend the seam with your finger or a tool so it looks seamless.
- Add vertical grooves with a toothpick or small tool to give that classic pumpkin texture. Don’t overdo it—keep it cute and simple.
- Shape two tiny leaves from green clay and tuck them around the stem. A tiny vein line with a tool adds realism without getting dramatic.
- Optionally add a small face. A simple dot-eyed, tiny smile gives instant personality without turning your pumpkin into a scary goblin.
- Let dry completely. If you’re polymer-clay-ing, bake as directed and cool before you handle more.
Color Variations for Extra Cuteness
– Pale pumpkin: mix a touch of white into the orange for a softer look.
– Deep autumn: add a pinch of brown to the orange for a richer hue.
– Green accents: mix a dash of yellow into green for a fresh spring twist, or go classic with forest green.
Adding Details That Elevate Your Pumpkin
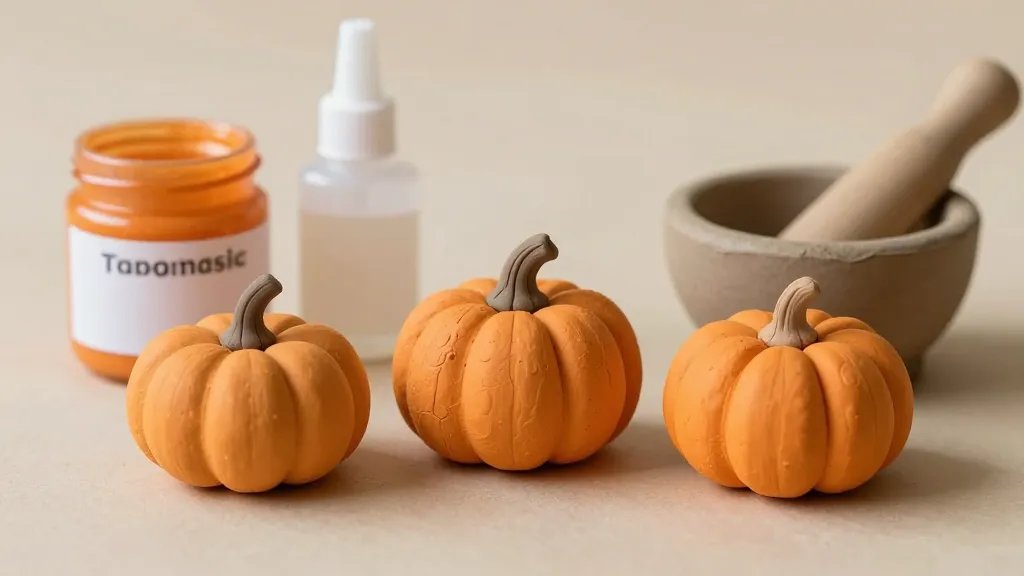
– Lightweight teethers or mini accessories: tiny leaves, a mini bow, or a stitched-on scarecrow badge can turn your pumpkin into a character.
– Textured finishes: press a clean waffle cloth or brush onto the surface for subtle texture rather than a flat finish.
– Gloss vs matte: a light gloss sealant makes colors pop, while matte gives that cozy, handmade vibe. FYI, seal if you plan to put your pumpkin on display.
Using Faces Without Going Overboard
– For the sweetest look, keep eyes small and round, and a tiny arc for a smile.
– Place the face off-center for a goofy, whimsical charm.
– If you’re worried about symmetry, embrace the imperfect—quirk sells in craft land.
Display Ideas: Where Your Cute Pumpkin Belongs
– Mini gallery: create a tiny woodland scene on a tray with acorns, leaves, and pebbles.
– Desk buddy: a little pumpkin sitting among pencils, sticky notes, and a plant.
– Seasonal garland: string several pumpkins with twine for a festive banner.
– Gift topper: attach a small pumpkin to a bow-tied package for a handmade touch.
Shelf Life and Care
– Air-dry pieces stay fairly flexible for a day or two, then firm up. Keep them away from water if you want to preserve color.
– Polymer pieces are durable but can crack if mishandled. Bake properly and handle with care.
– When not in use, store in a cool, dry place to avoid cracking and color fading.
Troubleshooting Common Hiccups
– Cracking after drying: overworked the clay? Knead gently, recondition, and re-roll. If you see tiny cracks, smooth them with a dab of fresh clay.
– Too stiff: let it rest, or warm it between your palms so it’s easier to shape.
– Colors smearing: don’t blend too much on a wet surface; use separate tiny dots of color and blend minimally.
Quick Fix: If Your Pumpkin Is Too Soft
– Chill the clay lightly for a few minutes, then reshape. A chilled surface is less prone to sticking and warping.
FAQ
Is air-dry clay the easiest for beginners?
Yes. Air-dry clay is forgiving, sets without heat, and gives you a quick win. It’s perfect for cute pumpkin projects when you’re still learning the ropes.
Can I seal my pumpkin to make it last longer?
Absolutely. A light coat of sealant protects color and adds a gentle shine. Just make sure the piece is fully dry first, or you’ll trap moisture and cause issues.
What size pumpkin should I start with?
Start small. A 2-3 inch pumpkin is plenty cute and non-intimidating. You’ll gain confidence fast, and it’s easy to display everywhere.
How do I attach different parts without them popping off?
Score and slip method works wonders. Lightly score the surfaces, apply a dab of clay glue or fresh clay as adhesive, then blend the seam. Let it set before moving.
Can I bake polymer clay with these designs if I’ve already added details?
Yes, but follow the manufacturer’s instructions. Bake in small increments if you’re worried about parts shifting. Once baked, you can add extra details with paint or markers.
Conclusion
Crafting a cute pumpkin with clay is a cozy mix of simple steps and big smiles. You don’t need fancy supplies or a perfect setup—just a little patience and a lot of fun. FYI, the best part is how customizable this is: swap colors, tweak shapes, and create a whole squad of Halloween pals. So grab your clay, get your hands a little messy, and celebrate the tiny victories along the way.