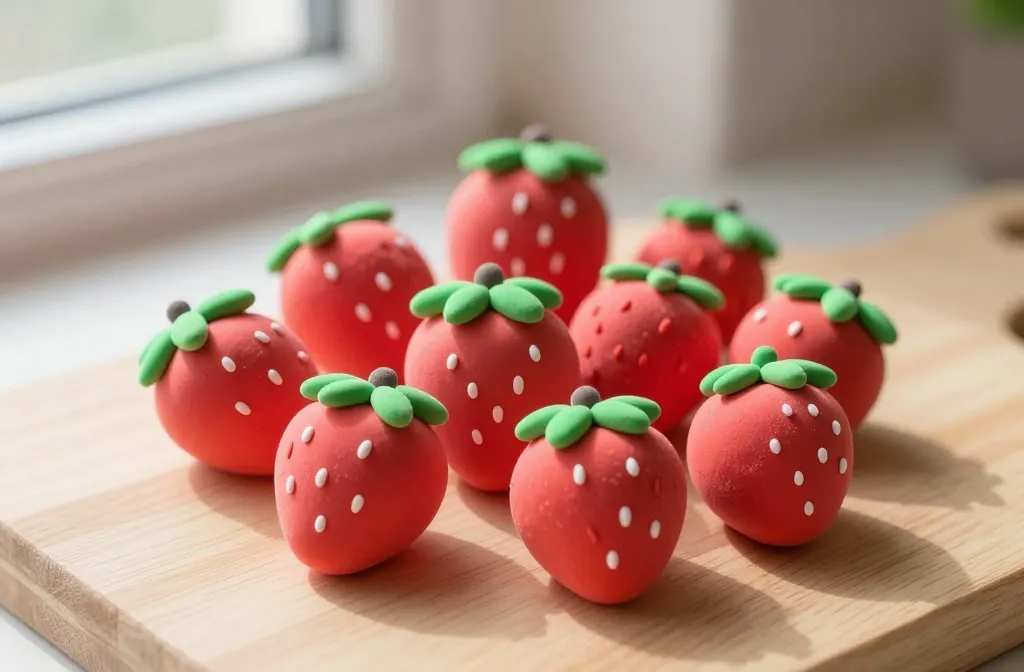
An incredibly cute clay strawberries tutorial that’s as fun to make as it is to look at. I’ll walk you through the basics, share sweet shortcuts, and toss in a few giggles along the way. FYI, you’ll want a napkin nearby for all the tiny strawberry-themed masterpieces you’ll end up creating.
What You’ll Need Without the Freakout
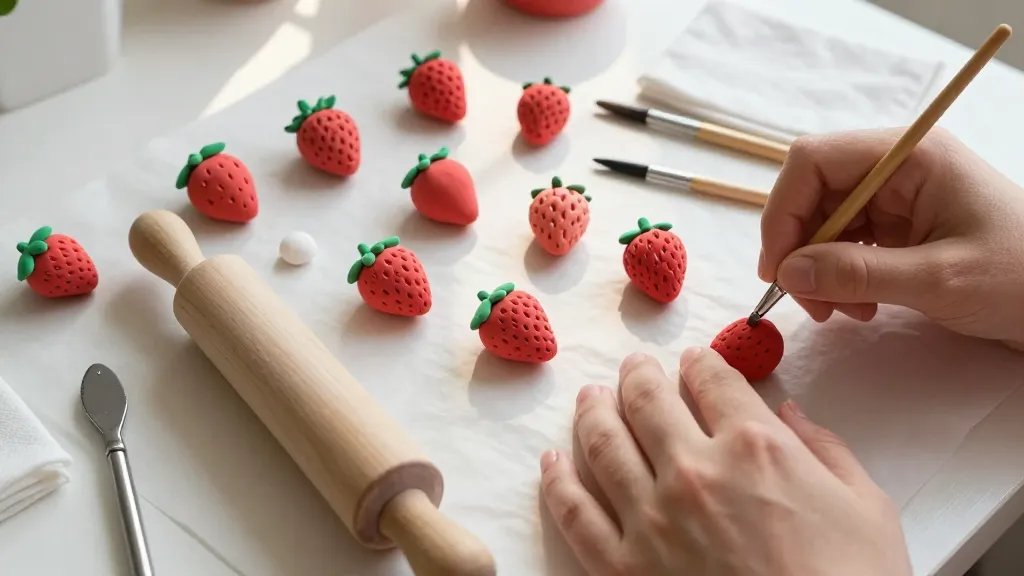
Let’s gather the essentials so you can start right away. Do not overthink this — a few simple supplies will fuel your inner crafter. Ready?
- Polymer clay in red, green, white or whatever colors you vibe with
- Clay conditioning tools (or clean spoons and a rolling pin—get creative)
- Gloss glaze or enamel for shine (optional but worth it)
- Fine-tipped brushes for tiny seeds
- Needle tool or toothpick for dotting
- Basic craft safety—ventilated space
First Step: Shape the Strawberry Easy-Mode
Start with a solid little strawberry frame. Roll red clay into a smooth ball, then flatten one side so it sits nicely on a shelf or a pin. Gently pinch the bottom to form that classic pointy end. No need to be perfect — cute is chaotic in the best way.
Make It Realistic Without the Stress
Imperfect is adorable. A few tiny dimples or slightly uneven sides make your strawberry feel handmade and loved. If you accidentally sculpt a lopsided berry, embrace it — character beats perfection every time. IMO, wobble is your friend here.
Leafy Details: The Green Cap That Pops

Those little calyx leaves are the star of the show. Roll a skinny sheet of green clay and cut tiny leaf shapes. Arrange them around the top of your berry, curling the edges slightly to mimic real leaves. It’s all in the little curves — they catch the light and your eye.
Alternative Leaves for Quick Wins
If you’re short on time, flatten a green sheet, cut jagged leaf shapes, and press gently onto the berry. They’ll still look super cute and save you precious minutes for candy-flavored perfection.
Dotting the Seeds: Tiny Details, Big Impact
The seeds are tiny, but they make the berry pop. Use a fine needle tool or a toothpick dipped in yellow or ivory clay to dot small seeds across the surface. Keep the dots consistently spaced, but don’t stress about being a robot — slight variation adds charm.
Techniques for Perfect Seeds
Try this: hold the tool at a near-90-degree angle for crisp dots, then roll it a little to soften the edges. If you goof, wipe away and retry—practice makes perfect, and perfection is boring anyway.
Finishing Touches: Assembly and Shine
Put it all together and give your berry a glaze. A light coat of gloss enamel makes colors pop and helps protect the clay. If you’re not into gloss, a tiny dab of matte sealant can look adorable too. FYI, test on a scrap piece first to see how your colors behave under finish.
Choosing Your Finish: Gloss vs. Matte
Gloss tends to look juicier and more “strawberry-esque,” while matte gives a charming, vintage vibe. Pick based on the mood you want: glossy = “yummy Insta post,” matte = “artisan desk decor.”
Ways to Display Your Cute Clay Strawberries
Display ideas are the best part because there are no rules. Create a tiny bowl scene, string them into a playful garland, or tuck a few into a faux dessert stack. The more you mix, the happier your craft shelf looks.
Mini Projects to Try
– Tiny faux fruit bouquet
– Clay strawberry magnets for your fridge
– Decorative pins or earrings for quick gifts
Care and Maintenance: Keeping Your Berries Fresh
Clay goods aren’t edible, but they can stay looking sweet for a long time with a little care. Keep them away from extreme heat, oil, and direct sun, which can glaze over or deform the shape. If dust lands on them, a soft brush or microfiber cloth does the job without damage.
Common Mistakes and How to Avoid Them
Let’s keep you from repeating the same oopsies. Here are a few to watch:
- Overworking the clay makes it hard to shape and less smooth.
- Too much pressure can flatten the berry’s roundness.
- Skipping the conditioning step makes the surface prone to cracking.
Tip: take a breath between steps, and occasionally pause to look at your berry with fresh eyes. A quick reset prevents fatigue-induced blunders.
FAQ
How long do clay strawberries last?
As long as you keep them away from heat and direct sun, they’ll stay cute for years. They’re not edible, but they’re great as decor or pins for years to come.
Can I use air-dry clay instead of polymer clay?
Yes, but air-dry clay behaves differently. It can be a tad more brittle and dry, so you’ll want to handle with care and add a sealant to protect the finish. IMO it’s worth trying for a no-bake option.
What’s the easiest way to get tiny seeds right?
Dot with a fine needle or toothpick dipped in a thin glaze or a tiny bit of yellow clay. Practice a few times on a scrap surface until you nail the spacing and size.
What if my leaves won’t stay on the berry?
Blend the base with a tiny amount of green to help the leaves adhere better, or use a small dab of liquid clay to act as glue. Hold for a few seconds and let it set.
Do I need a kiln for polymer clay berries?
Yes, polymer clay usually requires baking in a regular oven. Follow the clay’s instructions for temperature and time. FYI, ventilate the space and keep children and pets away from the oven while it’s on.
Conclusion
There you go — a friendly, breezy guide to making adorable clay strawberries that don’t demand a sculpture degree. The joy is in the process: shaping little berries, chasing the perfect leaf curl, and dotting seeds with tiny precision. So grab your clay, unleash your inner candy-cowboy, and turn a few scraps into a bright, charming display. You’ll be surprised how satisfying it feels to create something that’s purely cute. Ready to start your own berry bonanza?


