These tiny clay ice cream characters are cooler than your feed deserves. They wobble, wink, and somehow steal the spotlight in the most adorable way. Let’s dive into a world where dessert meets whimsy and craft chaos somehow looks cute.
What Makes Tiny Clay Ice Cream Characters So Irresistible?
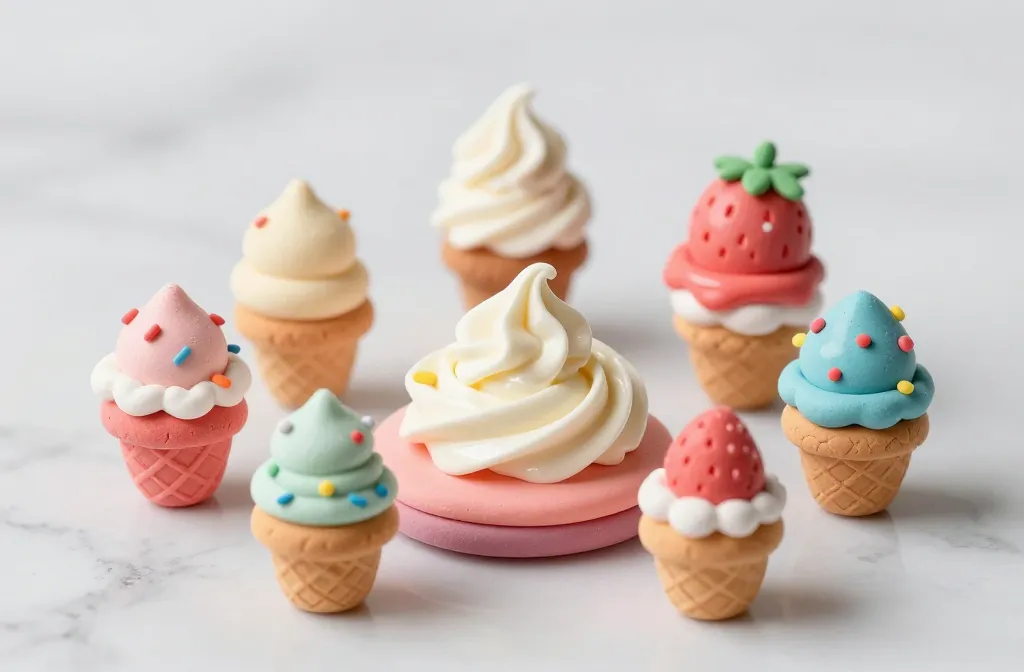
First off, they’re tiny. Everything small feels magical, right? A droplet of glaze here, a sprinkles sprinkle there, and suddenly your brain does a little happy dance. These little figures turn ordinary dessert art into a tiny theater you can hold in your palm. FYI, they’re basically edible-in-spirit goodness with zero calories.
Texture and Personality in One Dig
Clay lets you experiment with texture like no other medium. You can roll, pinch, and sculpt details that give each character a unique vibe. A strawberry scoop might have a cheeky grin; a vanilla swirl could sport oversized sunglasses. The texture tells the story before the words do.
Materials You’ll Actually Want to Buy
Building these cuties doesn’t require a secret agent-tier toolkit. Here’s a chill starter list you can assemble on a weekend:
- Air-dry clay in several colors
- Fine-tip paint brushes
- Gloss glaze or strong sealant
- Small beads, googly eyes, and clay shaping tools
- Toothpicks and a tiny rolling pin or bottle cap as a mini roller
Pro tip: stock up on a matte topcoat if you want that “soft-serve” vibe instead of shiny neon. IMO, the shine can be a vibe killer if you overdo it.
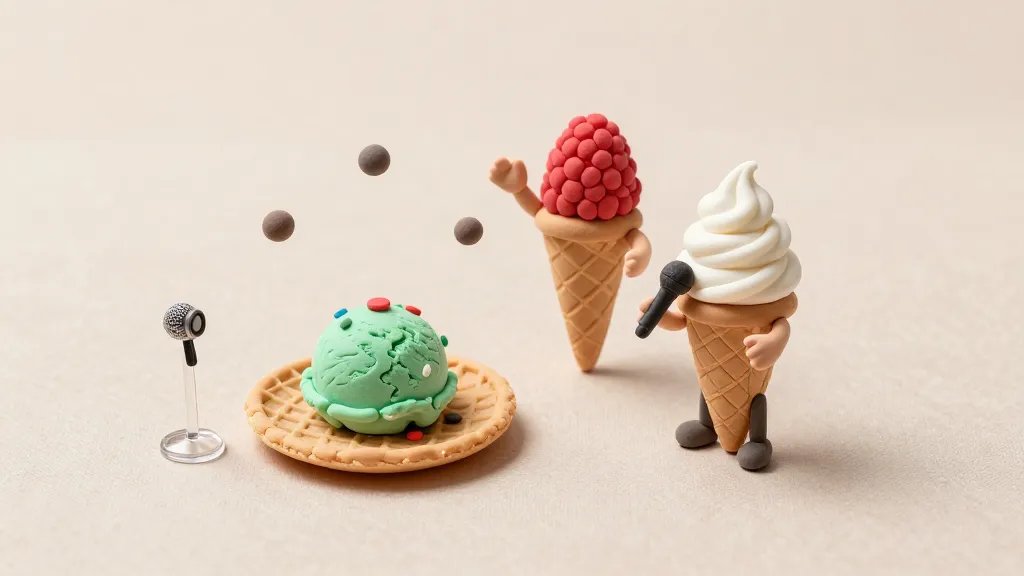
Character Concepts: Who Are These Tiny Scoops?
Let your imagination loose. You can go classic with familiar flavors or get wild with fantasy combos. Here are some ideas to get you started:
- The Winking Mint Chip—always suspicious of spoon drama
- Sunset Mango Sorbet with a tiny sombrero (celebrating sunny days)
- Lavender Honey Swirl that smells like a sleepy afternoon
- Choco-Biscuit Buddy who hides crunchy surprises
- Blueberry Galaxy—stars, swirls, and a tiny cape
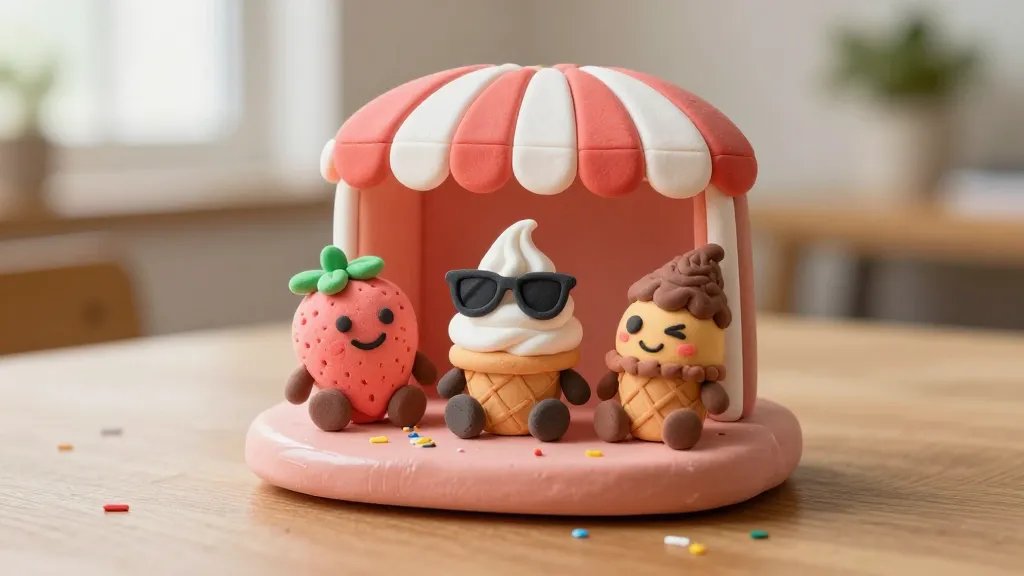
Adding Accessories for Extra Charm
Accessories push personality from cute to legendary. Tiny hats, scarves, or little spoons help tell a backstory. You can create a whole mini world: a pretend ice cream shop, a tiny park bench, or a nap-ready sundae sitting by a park bench. It’s like stop-motion without the camera rig.
Storytelling Through Mini Scenes
These aren’t just figurines; they’re tiny characters with arcs. Build a tiny scene and let each character enact a moment. Maybe Mint Chip saves the day by melting away the villains with cool minty bravery, or Mango Sorbet throws a summer party for the other scoops. The drama writes itself when you let the characters interact.
Mini Scene Ideas to Try
Try these quick setups for inspiration:
- Morning Market: a row of scoops opening shop with tiny price tags
- Sunset Parade: a float made of a giant swirled cone
- Ice Cream Rescue: a scoop saved by a cherry-laden cape
Displaying Your Tiny Creations
How you present them matters almost as much as how you made them. Here are some playful display ideas that don’t require a fancy setup:
- Shadow boxes with a pastel backdrop
- Miniature shelves in a dollhouse corner
- Floating shelves with tiny string lights for a dreamy glow
And yes, sharing photos is totally acceptable. IMO, the internet loves a good tiny-sculpted story. FYI, a bright, natural light photo beats artificial lighting every time for accuracy and mood.
Photography Tips for Tiny Creations
If you want your audience to actually see the charm, you’ll need a few simple photography moves. You don’t need a pro camera—your phone can do the trick with these tweaks:
- Use a plain, soft background to avoid distractions
- Macro mode is your friend for texture detail
- Keep the camera steady; a small tripod helps a lot
- Shoot from eye level to create a sense of connection
Want extra oomph? Add a gentle tilt of yellow light to mimic afternoon sun—it makes the colors pop without oversaturation. FYI, editing lightly to boost contrast can make the details stand out without looking fake.
Maintenance: How to Keep Your Tiny Scoops Fresh
Clay sculptures aren’t immortal—dust and light can dull them. A few simple steps keep them looking crisp:
- Dust with a soft brush weekly
- Avoid direct sunlight to prevent color fading
- Seal with a light matte topcoat to reduce moisture uptake
- Store in a display case or covered box when not on display
If a piece starts to crumble, a quick fix is to reattach with a dab of fresh clay and a thin glaze layer to seal. It’s like giving them a little spa day.
Getting Creative: Community and Collaboration
Nothing beats a supportive creative circle. Find fellow clay crafters to swap tips, trade tiny props, or even organize a friendly challenge. The shared excitement doubles the fun and gives you a steady stream of new ideas. IMO, collaboration adds flavor you can’t conjure alone.
How to Start a Tiny Ice Cream Club
Kick things off with a simple plan:
- Set a monthly theme (e.g., summer flavors, fantasy scoops)
- Host a small online show-and-tell or photo swap
- Share tips and supply hacks to keep costs reasonable
FAQ
Are clay ice cream characters only for kids?
Not at all. These tiny figures attract crafters of all ages. They’re a charming creative outlet that doesn’t require full-scale sculpture training. IMO, they’re great for folks who want quick wins and visible progress without getting overwhelmed.
What tools make the process faster without losing charm?
Smaller, precise tools help a ton: fine-tipped sculpting tools, a rolling pin substitute (like a small bottle cap), and a steady hand for tiny details. A good set of polymer or air-dry clay and a reliable sealant also makes a big difference.
Can these survive being handled or displayed daily?
Yes, but handle with care. Air-dry clay can crack if you’re too rough. Glazing or sealing helps protect the surface, but avoid pulling pieces apart forcefully. Treat them like delicate miniatures, and they’ll reward you with longer life and better look.
What’s the best way to photograph them for social media?
Natural light is your best friend. Avoid harsh direct sun, use a clean background, and shoot from eye level. A tiny reflector—or even a white cardstock sheet—can bounce light nicely. And yes, a little post-edit to boost contrast is totally fair game, IMO.
How do you come up with new character ideas?
Start with flavors you love or random prompts. Mix mundane with magical—think “caramel sea breeze” or “pineapple sunset.” Jot quick backstories, then sketch or sculpt a rough version before committing to details. FYI, the more you practice, the faster the ideas flow.
Conclusion
Tiny clay ice cream characters prove that big charm can come in the smallest packages. They’re playful, endlessly customizable, and surprisingly satisfying to create. So grab some clay, sprinkle in your imagination, and start sculpting your own wacky sundae squad. After all, who wouldn’t want a parade of adorable scoops marching across their desk?


