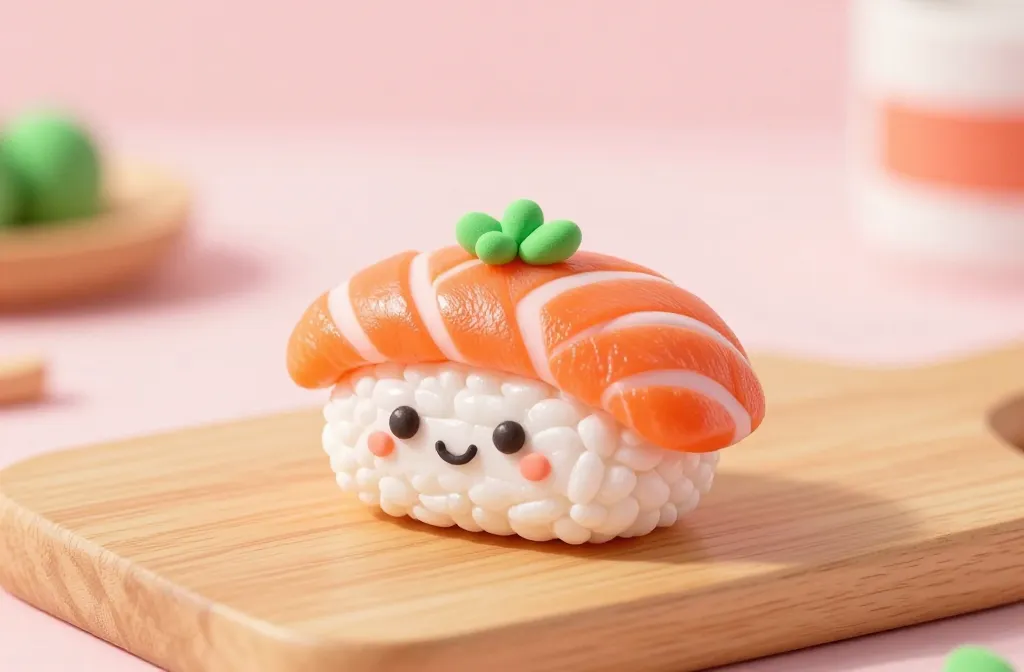
An idea that sounds bizarre is often the best kind of fun. Seriously, who wouldn’t smile at kawaii sushi that you can hug and reuse? We’re diving into polymer clay, tiny smiles, and all the steps to craft your own adorable, share-worthy rolling friends.
Why Smiling Sushi? Because Cute Wins
Smiling sushi isn’t just adorable; it’s practical. You get a durable display piece, a tiny conversation starter, and a reminder to take life a little less seriously. IMO, it’s also a great way to practice steady hands and patient coloring without the chaos of actual kitchen chores. FYI, the polymer clay world is full of color possibilities and tiny details that can rival a real nigiri with a smile.
What You’ll Need to Get Started
– Polymer clay in your favorite colors (tan, white, pink, orange, and green cover a lot of bases)
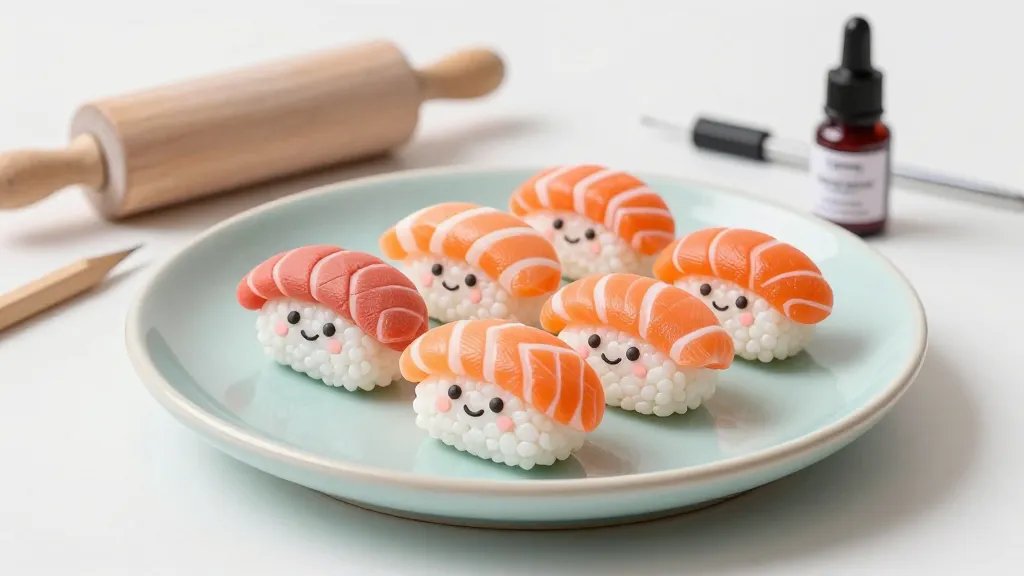
– A rolling pin or a sturdy glass bottle
– Exacto knife or clay blades
– Toothpicks or modeling tools for texture
– Bakeable gloss glaze or varnish
– A small baking sheet and parchment paper
– Optional: felt, magnets, or pin backbacks to turn smiles into fridge magnets or accessories
Are you ready to assemble your toolkit? The good news is you probably already have most of this in a craft box somewhere. If you’re missing something, you can improvise with household items and still get that cute factor.
Step-by-Step: Crafting Your First Smiling Sushi
1. Choose your “rice” base and shape. Roll a white ball, then flatten it into a disk. Keep the edges slightly uneven for a more natural-looking piece of sushi.
2. Create the filling. Roll small sausage shapes for nigiri toppings or cute fish pieces. For a smile, shape a tiny mouth with the blade and add two tiny dots for eyes.
3. Add texture. Use a needle or toothpick to poke tiny sesame seed textures on the rice surface. A few random tiny dimples give it personality.
4. Bake with care. Follow your clay’s guidelines for temperature and time. Don’t rush this step—overcooked clay loses charm and shine.
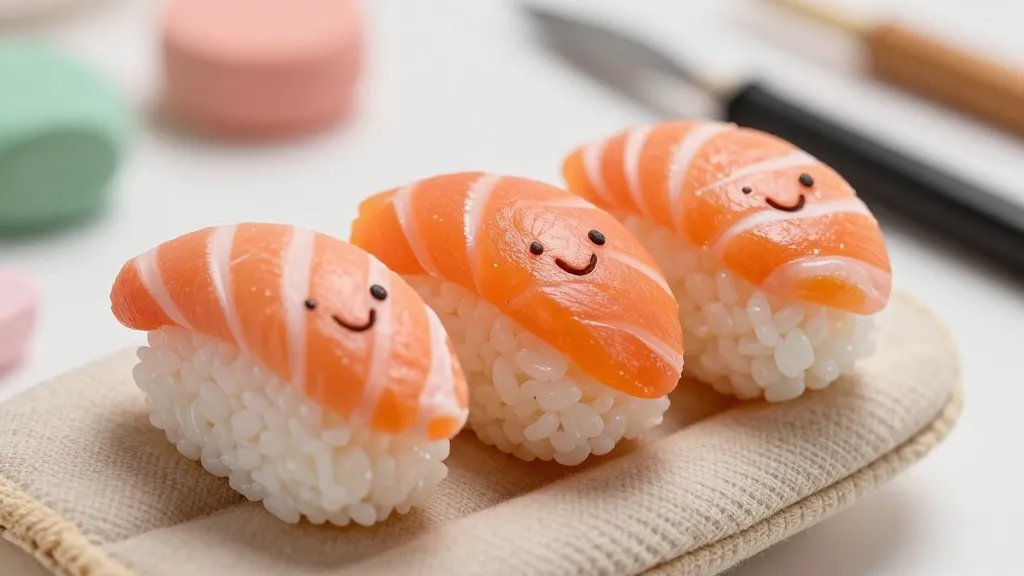
5. Finish with gloss. Once cooled, brush on a thin layer of gloss for a polished, camera-ready look. This makes colors pop and protects the surface.
Subtle Techniques That Elevate Your Smiling Sushi
– Layering colors: Add a touch of pink for cheeks or a light tan shading under the mouth to give depth.
– Expressive eyes: Tiny black dots can become mischievous or sweet depending on placement.
– Smile shape: A small curved line is cute; a wide arc reads playful and goofy. Play around to see what vibe you prefer.
Turning Your Sushi Into Decor or Gifts
– Refrigerator magnets: Attach a magnet disc to the back. Positive reinforcement for your creative bite.
– Jewelry charms: Add a jump ring before baking or glue on after for earrings, a necklace, or a charm bracelet.
– Mini artwork: Create a sushi shrine on a canvas or card—perfect for gifting or selling at craft fairs.
Finding The Right Finish
– Matte vs gloss: Matte looks modern and subtle; gloss makes colors pop for bright, cheeky smiles.
– Sealed or not: If you’ll handle pieces a lot, sealing can extend durability. If it’s just for display, a simple gloss might suffice.
Common Mistakes To Avoid (And How To Fix Them)
– Overhandling dough: Your tiny sushi hates rough treatment. Knead gently and work in short bursts to prevent fingerprints.
– Fading colors: Use high-quality polymer clay pigments and don’t overbake. If you see color shift, lower the temperature slightly next time.
– Cracking: Don’t bake too thickly or at too high a temperature. Thin layers cure more evenly and stay flexible.
Quick Fixes For Common Issues
– If your smile looks crooked, reattach a tiny clay piece for the mouth and smooth edges with a soft tool.
– If it’s too shiny, a quick buff with a cotton cloth can reduce glare, or you can sand gently with fine grit if you’re experienced.
Advanced Tips: Making A Batch That Shines
– Create a palette: Mix a few pastel shades for a cohesive set. Consistency creates a visually pleasing collection.
– Pre-plan poses: Sketch a few smiles and eye positions before you start to keep your characters expressive.
– Store smart: Keep finished pieces in a box with tissue paper to avoid scratches until you’re ready to display or gift.
How To Color Consistently
– Practice swatches: Make tiny circles of each shade on scrap clay to compare under different lights.
– Build shading gradually: Add small touches of a darker shade along edges to create depth.
– Set your colors: Use a light layer of glaze to unify colors and protect them from smudging.
Inspiration For Your Smiling Sushi Journey
– Mix it with other food characters: A smiling avocado roll or a giggling shrimp could join your sushi family.
– Themed sets: Valentine’s Day pinks, tropical blues, or autumn oranges can inspire seasonal smiles.
– Community feedback: Share pics with friends or online communities and invite input. You’ll pick up clever tips and new ideas fast.
Where To Share Your Creations
– Social media: Instagram and Pinterest love polymer clay art. Use hashtags like #polymerclay, #smilingSushi, and #handmadegifts.
– Local craft fairs: Small sets sell well and make great gifts. Bring display cards with care tips.
– Workshops: Teach a mini class at a local maker space and swap tips with fellow hobbyists.
FAQ
Can I bake polymer clay on a parchment-lined tray?
Yes. Parchment prevents sticking and makes cleanup easy. Place your pieces on the tray and bake according to the clay package instructions. Do not overcrowd the tray, or you’ll lose that crisp smile you worked so hard to perfect.
How durable are smiling sushi figures?
When baked correctly and sealed, they’re surprisingly sturdy for display. They’re not meant for rough handling, but you can happily make a small shelf of cuteness without worry.
What’s the easiest way to attach magnets or pins?
Add a dab of strong glue to the back after cooling, then press on magnets or pin backs. Let it cure fully before use. If you want to be extra tidy, add a tiny circle of clay to the back to cover the hardware.
How long does it take to learn this craft?
Depends on your pace. You’ll likely get your first smiling sushi done in a few hours, including prep and bake time. With practice, you’ll churn out batches in under an afternoon.
Should I seal my pieces?
Sealing is optional but recommended for longevity and shine. A satin or gloss seal protects against smudges and helps colors stay vibrant.
Can I mix baking temperatures for different pieces in the same batch?
If you’re baking multiple sizes or different thicknesses, bake at the lowest required temperature and for the longest time needed. This prevents underbaking delicate parts and burning the thicker ones.
Conclusion
Smiling sushi from polymer clay is more than just cute decorations. It’s a playful, bite-sized project that blends art, patience, and a pinch of whimsy. You don’t need mega talent to create something that makes people grin. IMO, the best part is you can start and finish a set in a weekend, with a tiny payoff every time someone spots a cheeky smile. So grab your clay, roll out some smiles, and let your inner sushi chef have a little fun. FYI, you’ll likely end up with a small army of cheerful rolls to brighten desks, shelves, and fridge doors.


