Hey friend, yes, we’re talking tiny, colorful macaron magic made from clay. If you’ve ever wanted to craft edible-looking mini treats without the real baking drama, you’re in the right place. Grab your clay, your patience, and your inner pastry chef—let’s make tiny masterpieces that look almost too cute to touch.
What You’ll Need Before You Begin
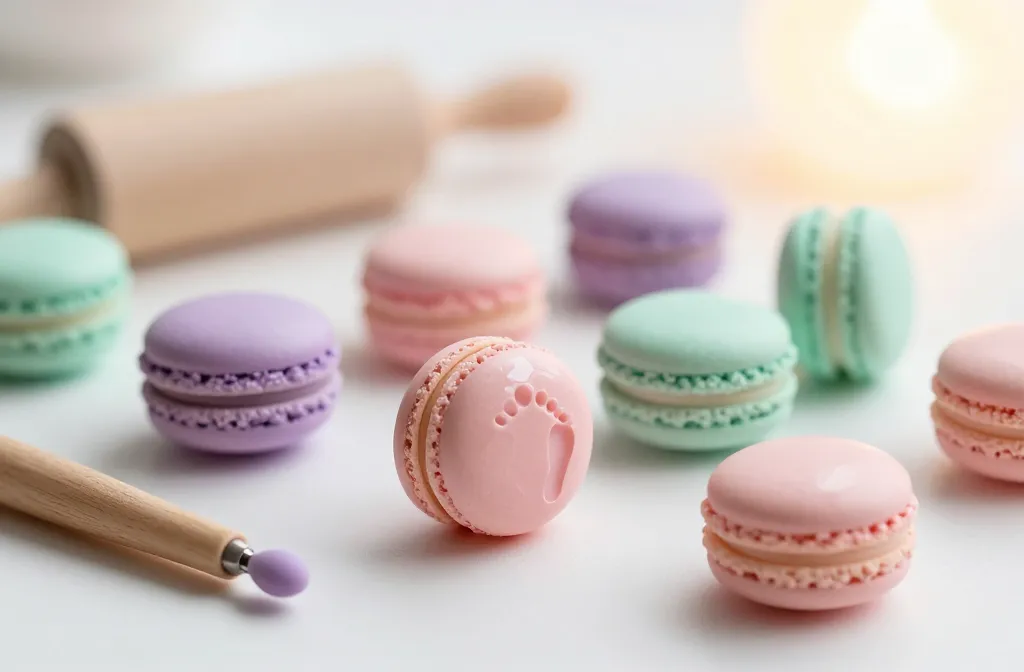
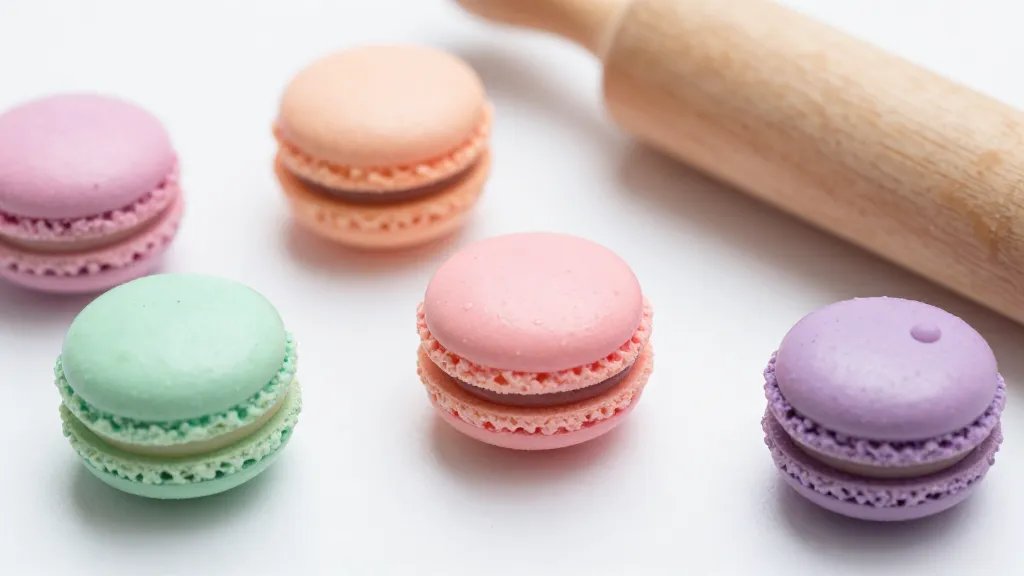
– Base supplies: polymer clay in pastel tones (think blush pink, mint, lavender), a blade, rolling pin, and a clean work surface.
– Tool kit: a small dotting tool or toothpick for the classic “foot” of a macaron, a thin needle for delicate lines, and a silicone mat.
– Glue and finish: clear-drying glue, a gloss glaze or UV resin for that shiny cookie shell look.
– Optional details: edible-looking fillings (aka more clay), tiny dusting powders for texture, and a tiny edible-looking ribbon if you’re feeling fancy.
FYI: you don’t need a fancy kiln for this project. We’re not baking; we’re crafting. So save the oven drama for actual cookies.
STEP 1: Shape Your Shells Like a Pro
– Knead the clay until it’s silky smooth. No lumps means a nicer shell.
– Roll a ball about the size of a pea, then flatten it into a disk that’s roughly 3–4 mm thick. The goal: even, cloud-like circles.
– Use a round cutter or the rim of a small bottle cap to punch out precise circles. If you love quirky sizes, go for it—just keep them consistent within each set.
– Smooth edges with a light pass of your fingertip. Imperfections add charm, but jagged edges aren’t cute here.
Pro tip: keep a little plastic wrap on your clay while not in use. It dries out fast, and nobody wants a brittle shell.
STEP 2: Create the Foot and Texture
– Dip a fine tool in a tiny bit of water or glaze, then gently trace around the edge of each shell. This creates that famous “foot” line that makes them look legit.
– For extra realism, sprinkle a touch of fine dusting powder on the surface while it’s still pliable. Don’t go full snowstorm—just a whisper for texture.
FAQ moment: Do you need to bake immediately? Not exactly—polymer clay typically cures in an oven. But we’re focusing on the look here, so let’s keep it playful.
STEP 3: Make the Filling We Can’t Eat (But Lookalikes Are Obvious)
– Roll a tiny balm of clay in a contrasting color to mimic the jam or ganache filling. Aim for a slightly domed center to imitate the real deal.
– Place the filling on the shell, then gently press a second shell on top—like a sandwich cookie with serious personality.
– Blend the seam by very lightly squeezing or rolling the edges. You want the seam to be subtle, not a dramatic crater.
Subsection: Different Filling Styles
– Classic Cream: pale ivory with a gloss glaze to mimic that glossy, gooey look.
– Fruity Center: a pop of coral or sunny yellow to simulate fruit jam peeking out.
– Choco-Dark: a deep brown center for a chocolatey surprise.
STEP 4: Perfect the Color and Shine
– Bake follows the clay’s instructions, typically at a low temp. If you’re unsure, test on a scrap piece first.
– Once cooled, apply a thin coat of gloss glaze or UV resin for that signature candy-shell shine. Don’t overdo it; a little gloss goes a long way.
– If you want a subtle matte finish, skip the glaze and seal with a clear varnish instead.
Question from a newbie: Do these shine up under a camera? Absolutely—gloss is your friend for those Instagramable macro shots.
STEP 5: Assemble the Mini Sets for Display

– Build small, color-coordinated sets: pastel pinks with mint greens, or lilac with peach.
– Use tiny stands or a cake plate to showcase your minis. Props matter: bubble wrap textures or a sprinkle of sugar-like beads can elevate the vibe.
– Label a few with cute captions like “Daydream Macarons” or “Studio Snack”—even though they’re not edible, the story sells.
Tip: arrange in odd numbers for a more dynamic display. Three or five per tray hits that sweet spot.
STEP 6: Troubleshooting Common Pitfalls
– If shells crack: work with softer clay and avoid over-rolling. Cracking often means the clay dried too much or you rolled it too thin.
– If the filling looks flat: rework the center to add a gentle dome before attaching the top shell.
– If the glaze smudges: apply varnish in a well-ventilated area and let each layer dry fully before adding another.
Bold tip: a tiny drop of glue on the back of the shell can help keep delicate minis from tipping over during display.
Deep Dive: Getting the Perfect Foot Every Time
– The foot should be a delicate ring around the base, not a chunky ring. Keep your tool angle shallow and steady.
– Press lightly as you trace, then lift abruptly to avoid dragging the edge. This saves you from a wobbly look.
FAQ: Quick Answers to Your Mini Macaron Questions
Can I use air-dry clay for these mini macarons?
Polymer clay is ideal because it cures with heat and holds shape well. Air-dry clay tends to crack or warp under pressure, so if you want durability, stick to polymer and bake as directed.
What glue is best for assembly?
Clear-drying glue works great for temporary holds, but for a long-lasting set, use a tiny dab of glue specifically designed for clay. Let it cure fully before displaying.
How long do these minis last?
If you’re careful with handling, they’ll hold up for quite a while. Keep them in a cool, dry spot away from direct sunlight to prevent warping or fading.
Can I customize colors for a party or gift?
Absolutely. Mix and match tones that match your event or recipient’s vibe. The more cohesive, the nicer the display will look.
Any quick tips for beginners?
– Start with a few shells at a time to practice the foot and dome shape.
– Keep your workspace clean—dust lands easily on clay and ruins the finish.
– Don’t overthink it; charm comes from imperfection, honestly.
Conclusion: Tiny Masters, Big Smile
Mini clay macarons aren’t just crafts; they’re tiny edible-adjacent bragging rights with a dash of whimsy. You get to show off bright colors, precise footwork, and a glossy finish without any actual dessert pressure. IMO, these little treats make a perfect desk décor, a cute gift, or a playful Instagram post that might just go viral. So go on, roll, fill, glue, and glow—your mini macaron army awaits.


