An antler-sized smile might be all you need to brighten your fairy garden. These clay mushrooms are tiny miracles you can craft at home, turning plain pots into miniature wonderlands. Ready to make your garden feel like a whimsical forest B&B? Let’s dive in.
Why Clay Mushrooms Make Fairy Gardens Special
Clay mushrooms aren’t just cute—they’re storytelling props. Each little cap caper adds personality to your miniature world, whether you’re aiming for woodland whimsy or a goofy, cartoonish vibe. FYI, they’re durable, paint-friendly, and surprisingly forgiving for beginners. Do you want a surface that sings with color or a more natural, earthy vibe? You pick, and clay makes it possible.
Materials You’ll Need (No Fancy Studio Required)
- Air-dry clay or polymer clay (your choice—air-dry is forgiving for quick projects)
- Acrylic paints in bold and pastel colors
- Fine-bristle brushes and a dotting tool
- Gloss or matte sealant for protection
- Toothpicks or small sculpting tools for details
- A clay roller or inexpensive plastic bottle to flatten
- Optional: tiny spoons or magnets if you want the mushrooms to be removable
Step-by-Step: Crafting Your First Clay Mushroom Pair
- Roll a small ball for the stem, then pinch and shape into a thin, sturdy column.
- Roll a larger ball for the cap, then flatten it slightly with your fingers.
- Attach the cap to the stem, blending the seams with a pinch of clay and a touch of water.
- Finish with a quick carve on the underside of the cap to create gills—don’t overthink it; rustic is charming.
- Let dry completely if you’re using air-dry clay, or bake according to your clay’s instructions if you’re using polymer clay.
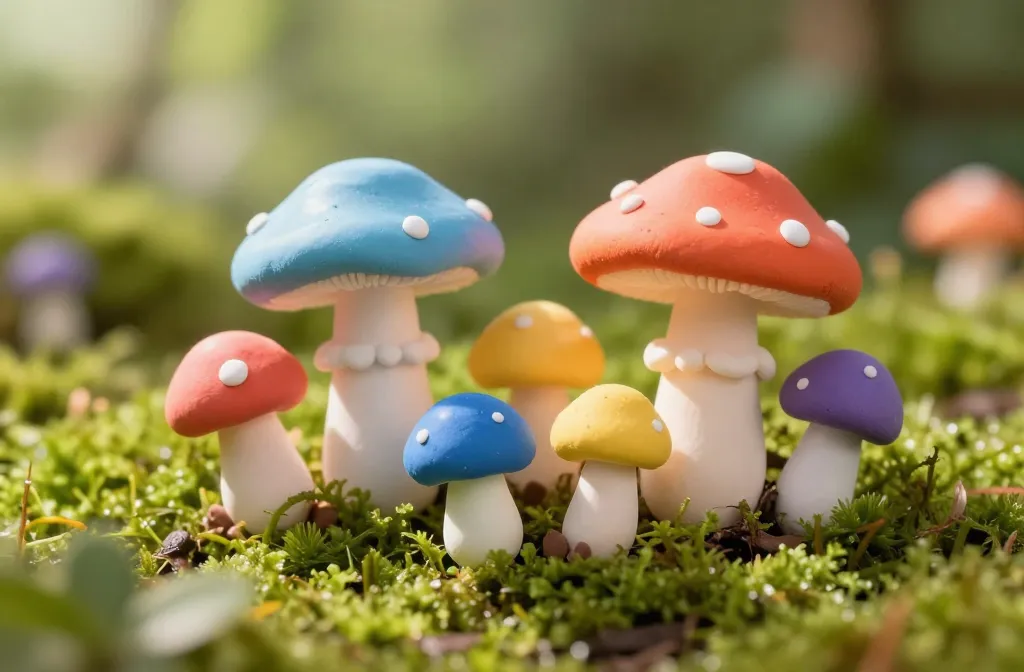
Color Play: From Classic Red to Fantasy Hues
Classic red and white mushrooms bring whimsy instantly, but don’t fear stepping outside the usual. Consider mint green caps with lilac stems for a candy-coated vibe, or mustard yellow caps with teal stems for a retro fairy-tlicking look. The key is contrast: light-colored caps on dark stems or vice versa to help the mushrooms pop in your garden scene.
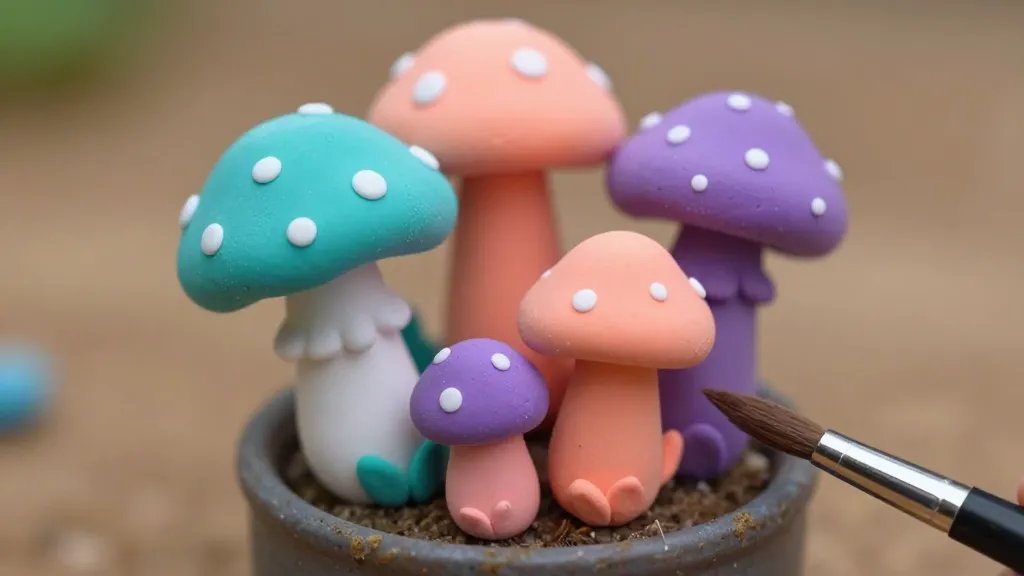
Tips for Painting Like a Pro
- Base coat first, then add details—this minimizes smudges and streaks.
- Seal between coats for sharp, lasting color. Pro tip: a quick, light spray helps keep paint from rubbing off during handling.
- Use a fine brush for dotted polka dots or tiny specks for texture.
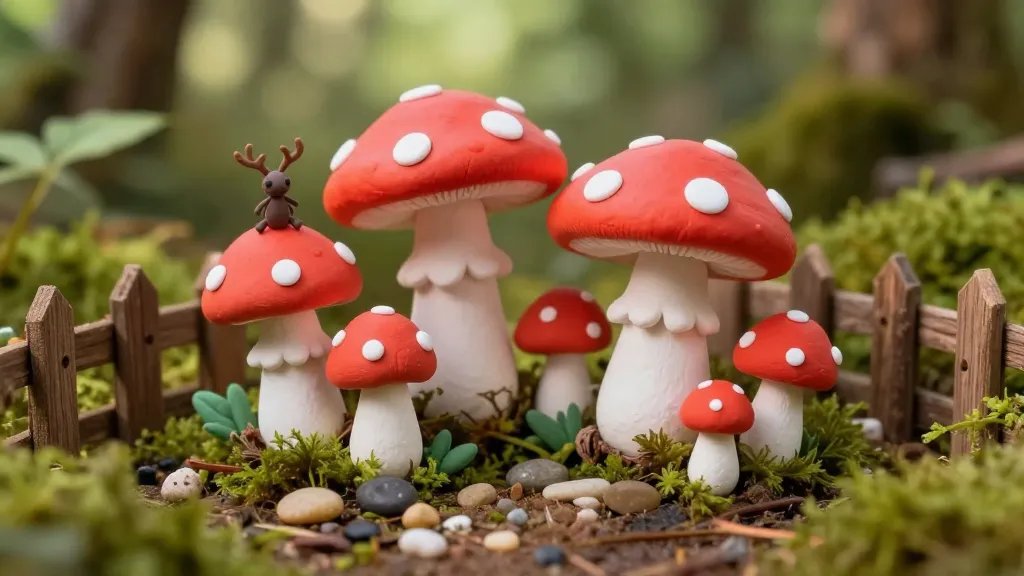
Ways to Use Clay Mushrooms in Your Fairy Garden
These little fungi aren’t just pretty; they’re practical decor. Place them around miniature toadstool houses, tuck them into mossy patches, or create a tiny mushroom circle for a fairy picnic. Wanna go extra? Glue a tiny lamp post nearby for a magical midnight glow, or sprinkle a few with a subtle glitter wash for a dreamy sparkle that catches the morning sun.
Mobility and Reuse
Want removable mushrooms? Attach magnets to the stems or a tiny clay base that sits in soil-like potting mix. This way you can rearrange scenes without touching the delicate caps. It also makes seasonal changes a breeze—Halloween, spring bloom, you name it.
Safety, Storage, and Care for Your Miniatures
Clay is sturdy but not indestructible. Keep pigments away from harsh sun to prevent fading, and store dried pieces in a labeled box to avoid chipping. If you salted your resin purchase too long in direct sun, you’ll notice the colors fade—your clay friends deserve better than sunburned caps. FYI, sealants make a big difference in maintaining vibrance and durability.
Maintenance that’s Almost Zen
- Dust with a soft brush every now and then; it keeps their colors popping.
- Re-seal every few seasons if you notice a dull finish.
- Store in a cool, dry place away from moisture to prevent warping.
Let Your Imagination Run Wild: Theme Ideas
Here are a few playful directions to spark your creativity without stressing about perfection:
- Enchanted forest: mix mushrooms with tiny ceramic animals, moss, and toad houses.
- Pastel dream garden: soft pinks, baby blues, and creamy whites for a whimsical sugar-cookie vibe.
- Gothic whimsy: deep purples, midnight blues, and charcoal stems for a mysterious fairy nook.
Mini Project: A Fairy Picnic Scene
Build a tiny blanket out of felt or fabric scraps, arrange two or three mushrooms as the centerpiece, and place a little acorn mug or teacup nearby. It’s adorable and surprisingly quick—bonus points for tiny food signs like “Nectar Tea” made from painted cereal-box cardboard.
Common Mistakes (And How to Avoid Them)
- Using too much water with air-dry clay—your shapes can slump. Keep a damp towel handy and wipe off excess moisture.
- Over-smoothing the cap edge; it loses character. Let a little ridge stay for charm.
- Rushing to paint without a proper dry time—patience pays off with crisper colors.
FAQ
Can I use polymer clay for outdoor fairy gardens?
Yes, but bake it correctly and seal it well. Polymer clay is heat-treated and durable, but outdoor exposure can shorten its life if you don’t seal. Use a weatherproof sealant and consider indoor placement during extreme weather.
What paints work best on clay?
Acrylics are reliable and easy to work with. For a natural look, mix in a bit of earth tones. If you want bold, pigmented hues, high-quality acrylics stay vibrant longer. FYI, thin coats beat chunky layers any day.
How can I make the mushrooms look more realistic?
Add a light wash of darker tones on the underside of the caps and a tiny bit of shading where the cap meets the stem. A few tiny, imperfect dots or speckles add charm—perfection isn’t the goal here, but personality is.
How long do these take to make?
First ones take about 30-45 minutes each if you’re moving slowly and enjoying the process. Once you get the hang of it, you can crank out a handful in an afternoon. IMO, the joy is in the making as much as the result.
Do I need to seal the finished mushrooms?
Yes. Sealing protects color and keeps fuzz, dust, and moisture at bay. Choose a sealant compatible with your clay type and apply in a well-ventilated area.
Conclusion: Your Tiny World Awaits
Cute clay mushrooms are more than crafts—they’re tiny portals to whimsy. Start with a few simple shapes, pick bold or pastel colors, and place them where they’ll brighten a mossy corner or corner of a pot. IMO, you’ll end up with a mini landscape that looks like it grew out of a fairytale, not a craft table. So grab your clay, channel your inner fairy, and let the mushrooms begin their magical takeover. Happy crafting, friend!


